Cloud BOT Gateway (Formerly Cloud BOT Agent)

Home > User guide > Cloud BOT Gateway
Refer to this page about Cloud BOT Gateway.
- 1. Glossary
- 2. Installation and Initial Settings
- 3. About Screens
- 4. Settings
- 5. Connection status
- 6. Gateway information
- 7. Connect and disconnect gateway
- 8. Request to register an account / Registered account
- 9. Change password / Logout
- 10. Missing Password
- 11. Uninstallation
- 12. How to Update
- 13. Frequently Asked Questions
Glossary
| Cloud BOT Gateway | Refers to Cloud BOT Gateway application. |
| Cloud BOT console | Refers to the Console page of Cloud BOT (https://console.c-bot.pro/). |
| BOT | Refers to Automatically-operated robot that is created at Cloud BOT. |
| BOT editor | Refers to the screen of Cloud BOT for creating/editing a BOT. |
| Virtual browser | Refers to a Virtual browser used by robots created with Cloud BOT to perform automatic operations. |
Installation and Initial Settings
Introduction
The initial setting procedure is different for Mac / Windows and Cloud BOT Agent LAN DISK.
Click here for Mac and Windows versions, and click here for Cloud BOT Agent LAN DISK version.
Mac version / Windows version
Installation is required to use the Mac version and Windows version.
Installation
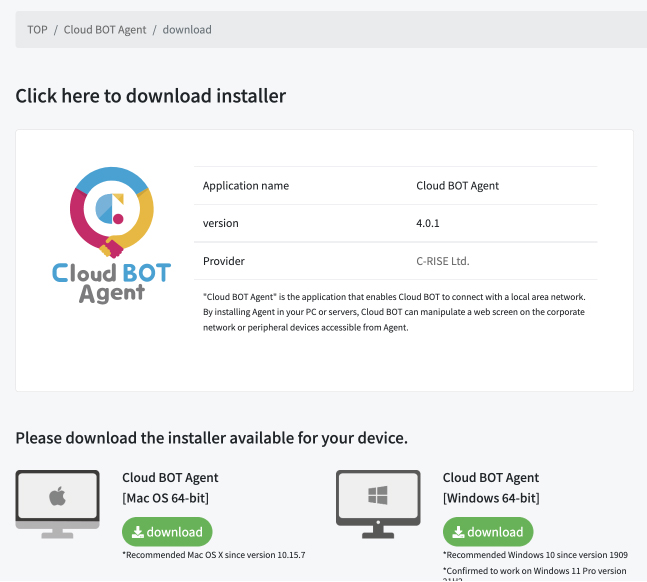
- Access the Cloud BOT official site Download Installer page.
- Download the installer suitable for your PC.
- Follow the installer to install.
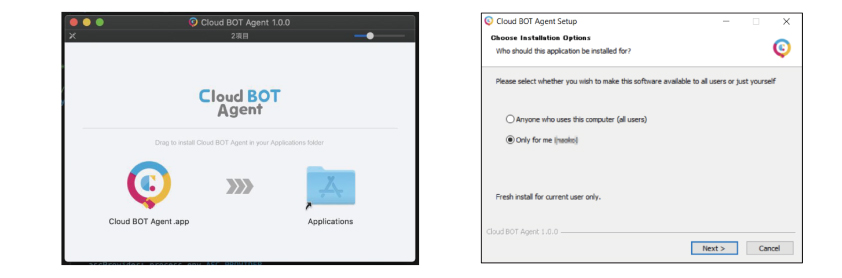
* “Cloud BOT Gateway.app” (Mac) or “Cloud BOT Gateway.exe” (Windows) is executed.
Initial Settings
- Start Cloud BOT Gateway.
- Follow the on screen instructions to configure settings.
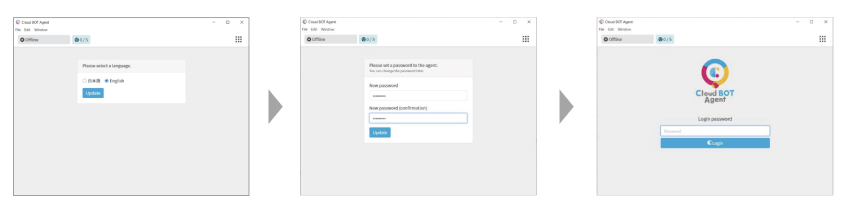
- Select the language used.
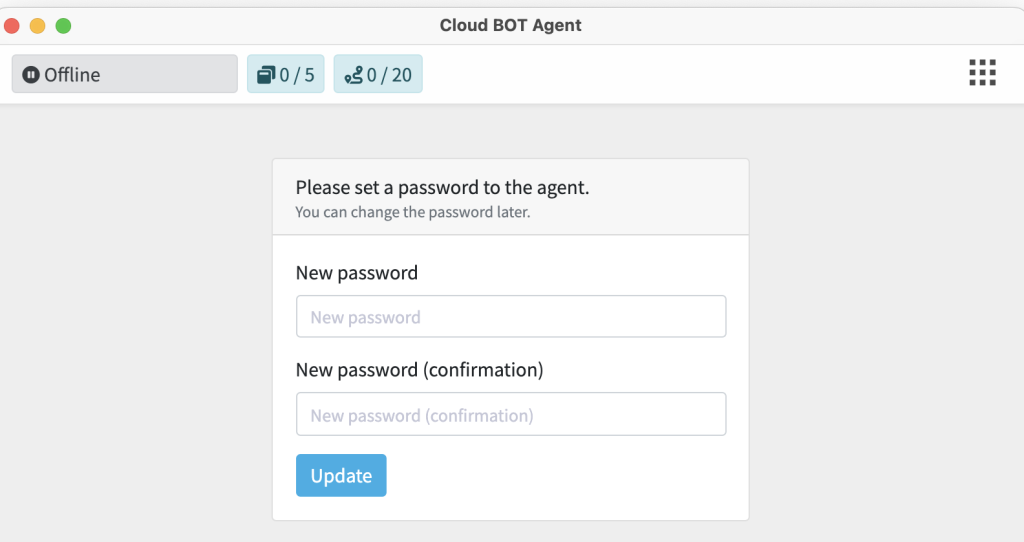
- Set your password.
You can log in to Cloud BOT Gateway using the set password.
* This password cannot be displayed hereafter. Please keep it secure.
* If you forgot the password, refer to this page.
Refer to this page about settings.
Cloud BOT Agent LAN DISK version
Installation is not required to use the Cloud BOT Agent LAN DISK version. You need to enable the Cloud BOT Agent LAN DISK version from the control panel.
Click here for a list of compatible models for Cloud BOT Agent LAN DISK. (Transition to Cloud BOT Agent LAN DISK version page)
* LAN DISK is set to automatically update the firmware by the factory setting (initial state). To use the Cloud BOT Agent LAN DISK version, the firmware version must be 1.30 or higher. Click here for manual updates. (Connect to IO Data's official Youtube)
Enable Cloud BOT Agent LAN DISK version
1.
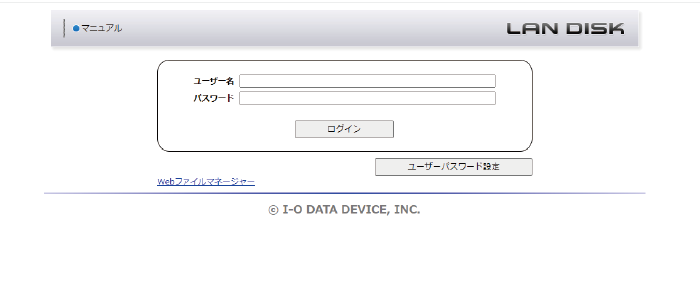
- Enter your username and password on the admin page to log in.
2.
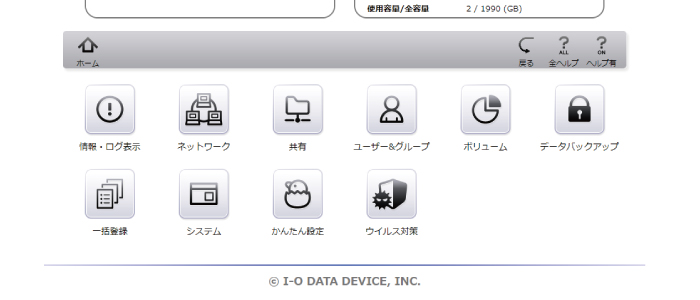
- Press the "System" icon in the control panel.
3.
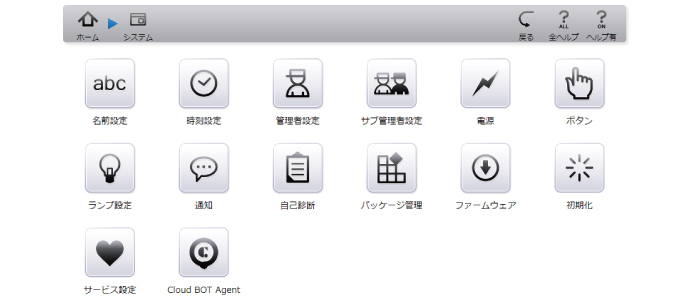
- Press the "Cloud BOT Agent" icon in "System" to set.
4.
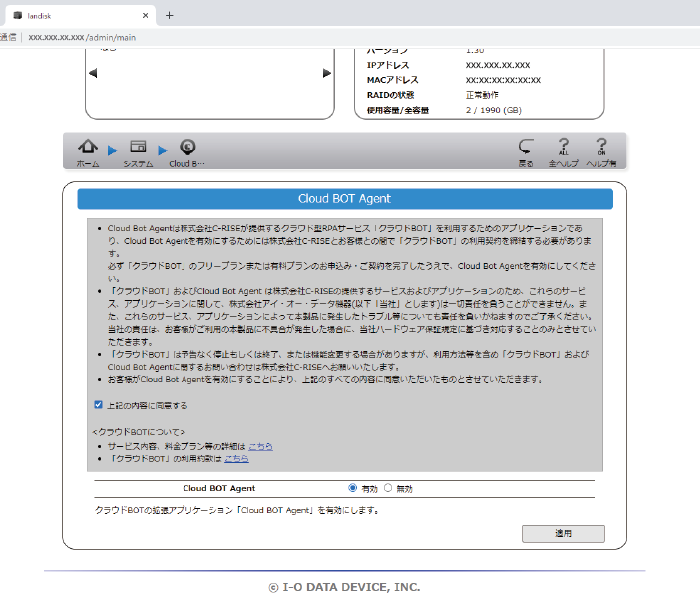
- Read the notes and check "I agree with the above". Select "Enable" for Cloud BOT Agent and press the Apply button.
Initial setting
- Execute the Cloud BOT Agent by pressing the "Apply" button in the control panel.
- Configure the settings according to the screen flow.
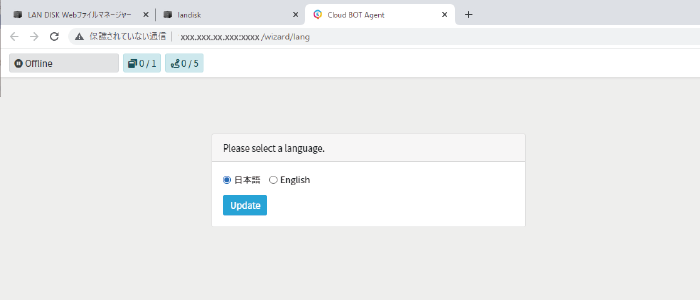
- Select your language.
- Set your password.
You can now log in to the Cloud BOT Agent using the password you set earlier.
* The password will not be displayed in the future, so please keep it in a safe place.
※* If you have forgotten the password you have set, please initialize the Cloud BOT Agent LAN DISK version and reset the password.Please see here for the detail.
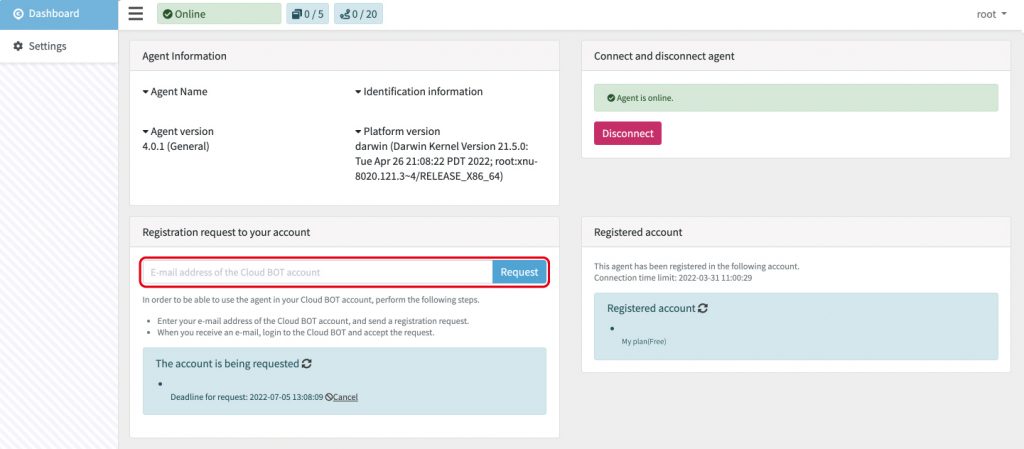
About Screens
This section describes the screen displayed when Cloud BOT Gateway is started and various settings.
This screen has following features.
- Settings
- Connection status
- Gateway information
- Connect and disconnect gateway
- Registration request to your account / Registered account
- Change Password / Logout
Settings
You can change settings below.
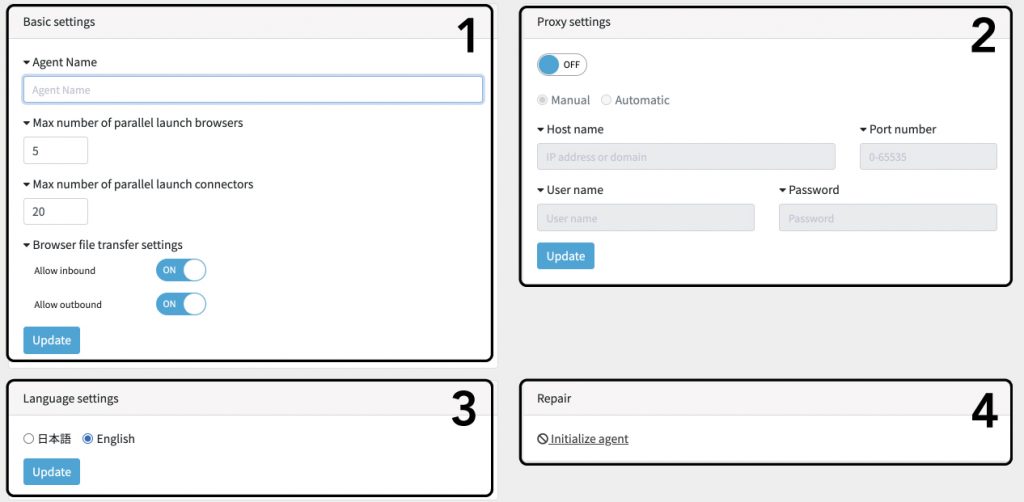
Basic settings
Change the settings and press [Update] to apply the settings immediately.
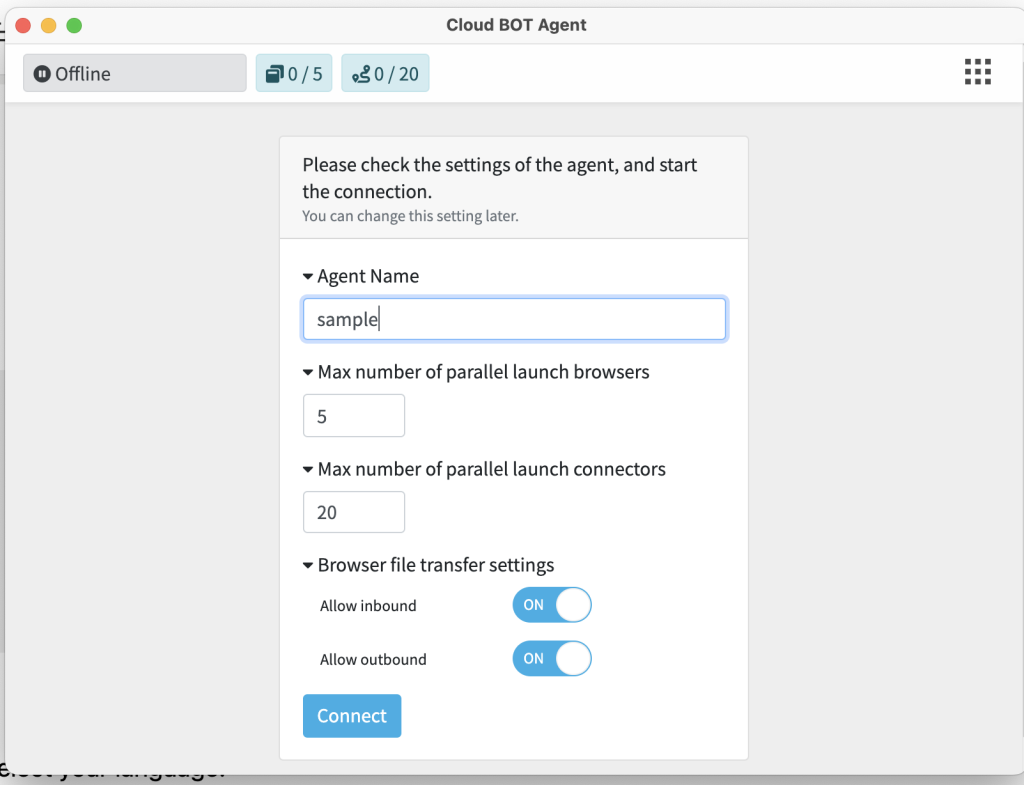
Gateway name
Enter any name. Used to identify Cloud BOT Gateway from Cloud BOT.
Max number of parallel launch browsers
Specify the number of browsers which can be opened at the same time in Cloud BOT Gateway. Select the number according to your PC’s spec.
Max number of parallel launch connectors
Specify the number of connectors which can be opened at the same time in Cloud BOT Gateway.
File transfer setting of browser
Allow inbound…Enables to bring in a file during file transfer.
Allow outbound…Enables to bring out a file during file transfer.
Proxy setting
When using a proxy to connect to the Internet from your organization, you need to configure the proxy settings for the Cloud BOT Gateway.
- Set the Proxy settings to “ON”.
- Enter the host name, port number, and optionally user name and password.
Change the settings and press [Update] to apply the settings immediately.
* When setting a proxy of the Virtual browser, refer to this page.
About proxy settings for Cloud BOT Agent LAN DISK version
In the Cloud BOT Agent LAN DISK version, the "Proxy" item cannot be set. The proxy is synchronized with the LAN DISK settings. It can be changed by operating the control panel.
Language setting
Can switch the language used. Change the settings and press [Update] to apply the settings immediately.
Repair
Initializes Cloud BOT Gateway. Note that you cannot undone this operation.
About initialization of Cloud BOT Agent LAN DISK version
In the Cloud BOT Agent LAN DISK version, there is no "Repair" item. It can be initialized by operating the LAN DISK control panel.
- Go to the LAN DISK admin page and log in.
- Click "System", "Cloud BOT Agent" in the control panel.
- Change Cloud BOT Agent from enabled to disabled and click the Apply button.
- Select Enabled again and press the Apply button to initialize the Cloud BOT Agent.
Connection status
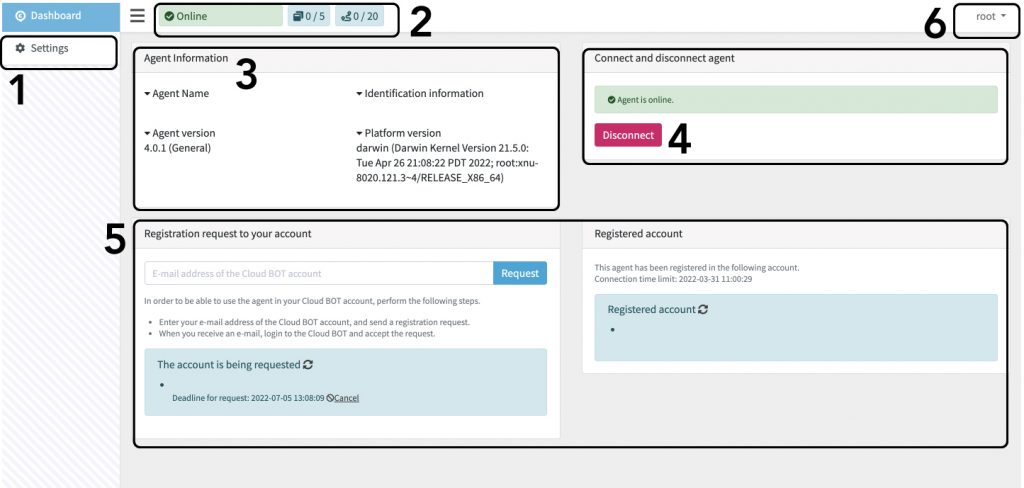
Current status of Cloud BOT Gateway (online, offline, or using active Virtual browser/Virtual connector) is displayed.
Online status

When status is online, you can use Cloud BOT Gateway without any problems.
Offline state

You cannot use Cloud BOT Gateway.
Refer to this page to make Cloud BOT Gateway online.
Offline state(Connection expired)

You cannot use Cloud BOT Gateway.
Refer to this page to extend the connection expiration date.
Connection error status

You cannot use Cloud BOT Gateway.
Refer to this page about web proxy settings.
Gateway information
You can check the Cloud BOT Gateway information.
Connect and disconnect gateway
You can switch to connect/disconnect to Cloud BOT Gateway. Possible display patterns are as follows.
Online status
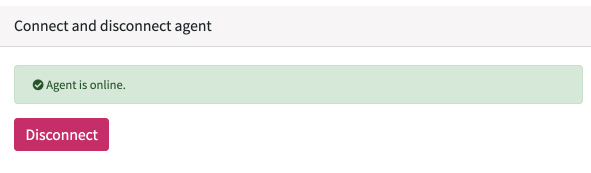
[Disconnect] button is displayed when Cloud BOT Gateway is online. Press the [Disconnect] button to make Cloud BOT Gateway offline.
Offline state

[Connect] button is displayed when Cloud BOT Gateway is offline. Press the [Connect] button to make Cloud BOT Gateway online.
Offline state(Connection expired)
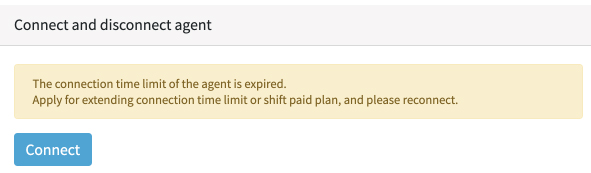
Alert and the [Connect] button is displayed when Cloud BOT Gateway’s connection is expired. When this message is displayed, you cannot connect even if you press the [Connect] button.
Check whether Cloud BOT Gateway’s Web proxy and Internet settings are correct.
Connection error status
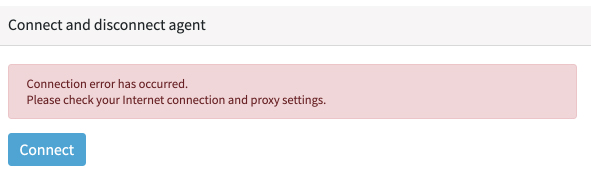
Alert and the [Connect] button is displayed when Cloud BOT Gateway’s connection is expired.When this message is displayed, you cannot connect even if you press the [Connect] button.
Refer to this page to extend the connection expiration date.
Request to register an account / Registered account
You can request to register to Cloud BOT account. You can also review the registered account.
- Populate your mail address which is used for Cloud BOT into the box on “Registration request to your account”.
- Click the [Request] button.

- Log in to Cloud BOT Console(https://console.c-bot.pro)and accept the request.
- Click the [Request] button.
Refer to this page about gateway registration request.
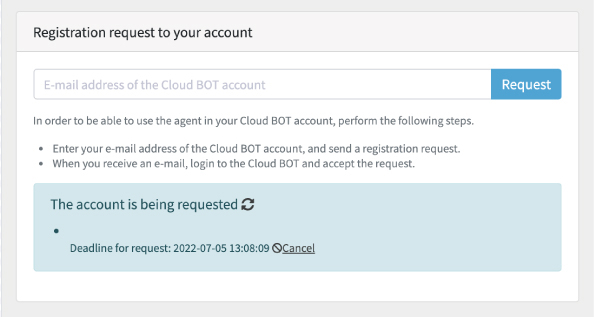
If you have a registered account, you can cancel it by clicking the [Cancel] button.
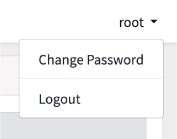
Change password / Logout
You can change your password and log out from the root menu.
Change password
You can change your password on this screen. The current password is necessary to change the password.
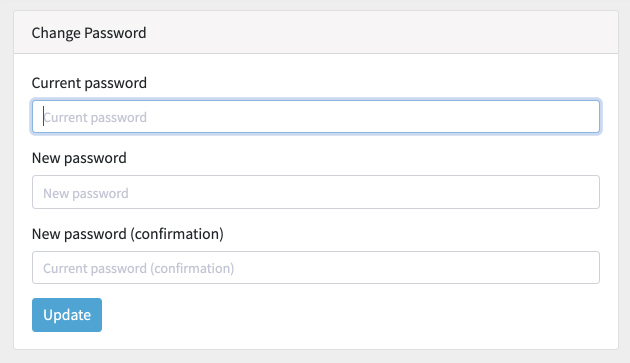
• Enter the current password.
• Enter the new password twice.
• Press [Update] to apply the change immediately.
Refer to here when password is missing.
Logout
Log out from Cloud BOT Gateway.
Missing Password
Mac version / Windows version
For Mac and Windows versions, If you forget your Cloud BOT Gateway login password, you will need to follow the steps below to delete the configuration file and restart Cloud BOT Gateway.
For Using Mac
- Go to user folder (Macintosh HD > User > “User name”).
- Delete a “.cbot-agent” folder.
- Restart Cloud BOT Gateway and set your password again.
* If “.cbot-agent” folder is not found, press Cmd+Shift keys simultaneously to display hidden files.
For Using Windows
- Go to user folder (C drive > users > “user name”).
- Delete a “.cbot-agent” folder.
- Restart Cloud BOT Gateway and set your password again.
* If “.cbot-agent” folder is not found, select [Show] from the Explorer menu, select [Hidden] check box to display hidden files.
Cloud BOT Agent LAN DISK version
In the Cloud BOT Agent LAN DISK version, if you forget the login password of Cloud BOT Agent, you can initialize it by operating the control panel side and the password will be reset.
- Go to the LAN DISK admin page and log in.
- Click "System", "Cloud BOT Agent" in the control panel.
- Change Cloud BOT Agent from enabled to disabled and click the Apply button.
- Select Enabled again and press the Apply button to initialize the Cloud BOT Agent and reset the password.
Uninstallation
This section describes how to uninstall Cloud BOT Gateway when it is no longer needed.
For Using Mac
- Go to the application folder.
- Delete the Cloud BOT Agent.app file.
- Delete the setting file. Refer to this page about deleting the setting file.
* If “.cbot-agent” folder is not found, press Cmd+Shift keys simultaneously to display hidden files.
For Using Windows
- Go to [Settings] > [App] > [Apps and Features].
- Run Cloud BOT Gateway uninstallation.
- Delete the setting file. Refer to this page about deleting the setting file.
* If “.cbot-agent” folder is not found, select [Show] from the Explorer menu, select [Hidden] check box to display hidden files.
How to Update
Mac version / Windows version
- Download the updated Cloud BOT Gateway installer.
- Run the installer and overwrite the application.
- Restart app.
- Update is now completed.
Cloud BOT Agent LAN DISK version
The factory default settings (initial state) are set to automatically update. To use the latest version of Cloud BOT Agent LAN DISK, you need to update the package.
In the initial state, when the firmware will be updated, the package containing Cloud BOT Agent is automatically installed at startup. The package will be added automatically when the reboot is performed.
Manual update
- Go to the LAN DISK admin page and log in.
- Click "System", "Package Management", "List" in the control panel.
- You can update manually by selecting the Cloud BOT Agent with the check box and pressing the update button.
Frequently Asked Questions
Q. Cloud BOT Gateway gives a connection error. I use a proxy when connecting to the internet from within the organization.
A. You can set proxy with Cloud BOT Gateway. Refer to “Proxy Settings” for details.
Q. Proxy server is installed in my company, and I cannot access the web service from the BOT Editor.
A. If you are using a proxy to access your web service, you can configure the proxy settings in your Virtual browser. Refer to “Proxy Settings in Virtual browser” for details.
Q.Do I need to launch Cloud BOT Gateway after registering Cloud BOT Gateway in my account?
A. To use a Virtual browser with the Cloud BOT Gateway function, you need to start Cloud BOT Gateway and turn it online.
Q.The Cloud BOT Gateway connection has expired. Can I use it again?
A. You can use it again if you apply for time extension. Refer to “About Gateway’s Connection Expiration” for details.