Excel(xlsx) / Create new

Home > User guide > BOT > How to use the BOT editor > Extention> Excel(xlsx) > Excel(xlsx) / Create new
App overview
Create an Excel file with a .xlsx extension.
| Extended Feature URL | cbot-extension://cloud-bot:xlsx:create:1 |
| Provider | Cloud BOT official |
| External communication | None |
| Version | 1 |
Screen description
Input screen
Step 1
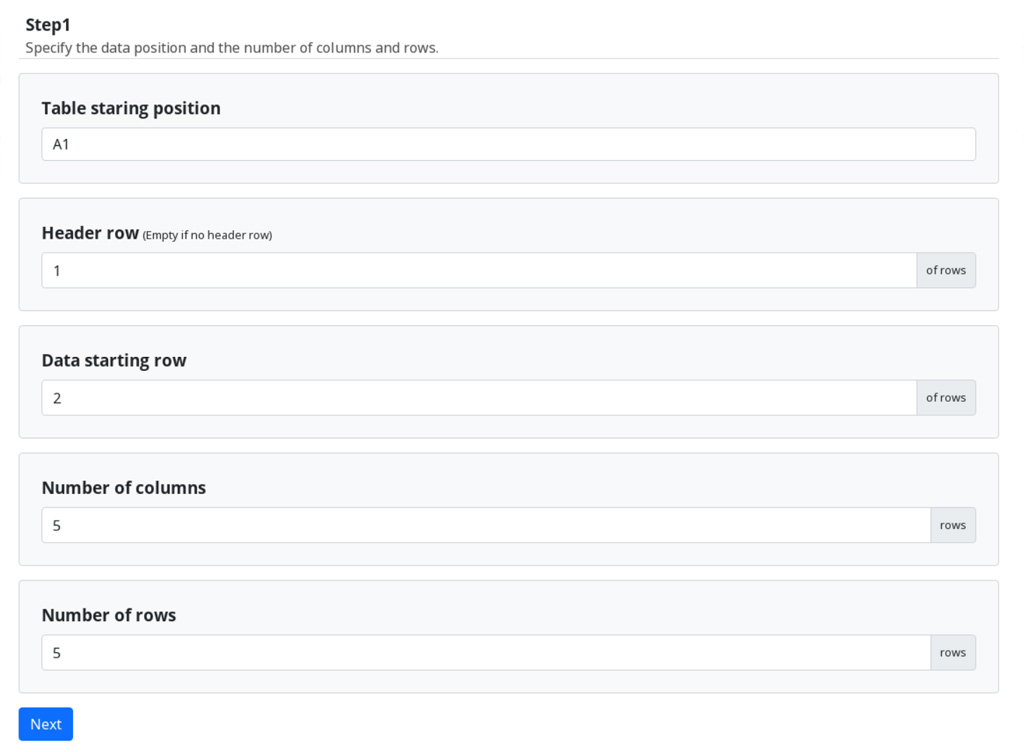
Table starting position
Specify the table starting row to display.
Header row
Specify the header row. Refer to this page about a header row.
* Leave blank if the header row is not necessary.
Data starting row
Specify the row to start writing. Refer to this page about a data starting row.
Number of columns
Specify the number of columns in the file to create.
Number of rows
Specify the number of rows in the file to create.
Step 2
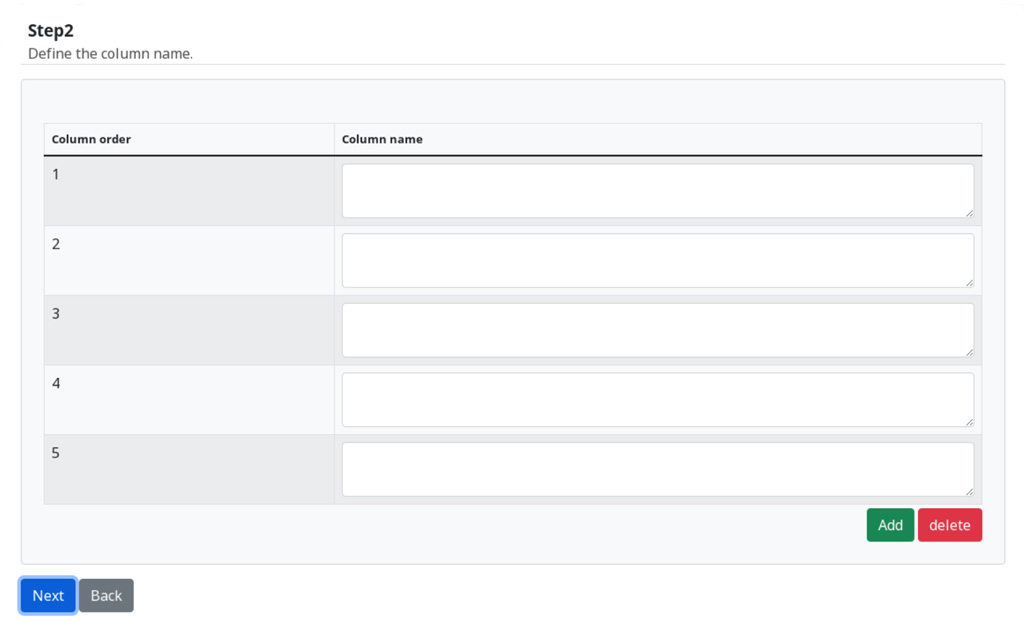
Column name
Enter the column name.
You can increase or decrease columns by pressing the Add / Delete buttons.
[Note]
If the header row is left blank in Step 1, Alphabets are assigned to each column name and you cannot enter these column names in Step 2.
Step 3

Data
Input data to add. You can increase or decrease data rows by pressing the Add / Delete buttons.
* [Link elements and rows] function is useful to paste group data.
File name
Enter any file name.
Sheet name
Enter any name.
Result Screen
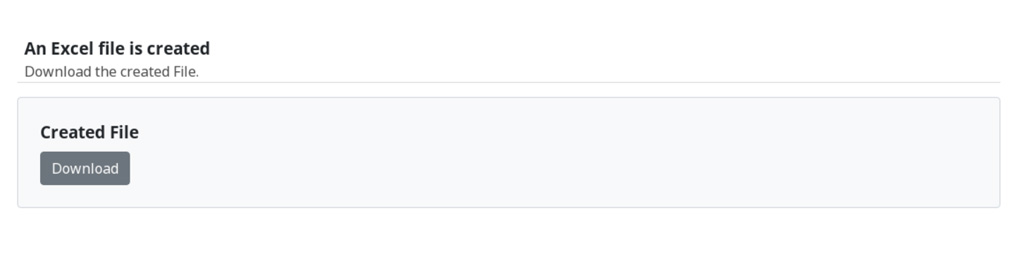
Press the Download button to download the file.