Account

Home > User guide > Account
Here is describes of the account information.
Create Account
You will be redirected from the "Create Account" link in various places such as the product page.
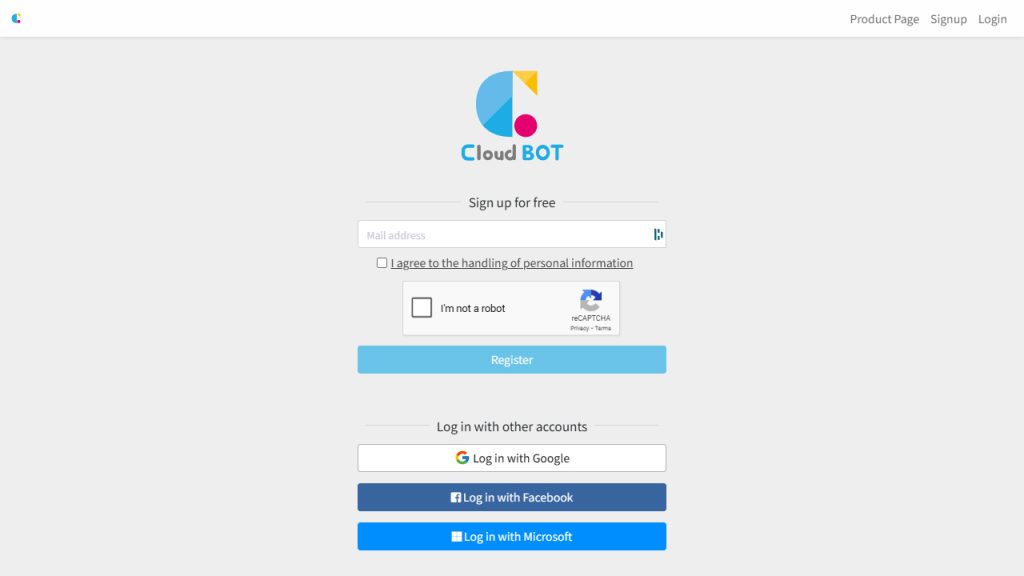
Create a new account
- Enter your email address, check both "I agree to the handling of personal information" and the reCAPTCHA verification, then click "Register".
* Please make sure to read and agree to the "Handling of Personal Information" before checking the box.
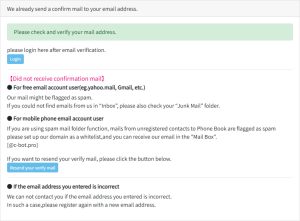
2. The screen will transition, and an email will be sent to the address you entered in step 1. Please access the URL provided in the email.
*If you do not receive the email, click the "Resend verification email" button.
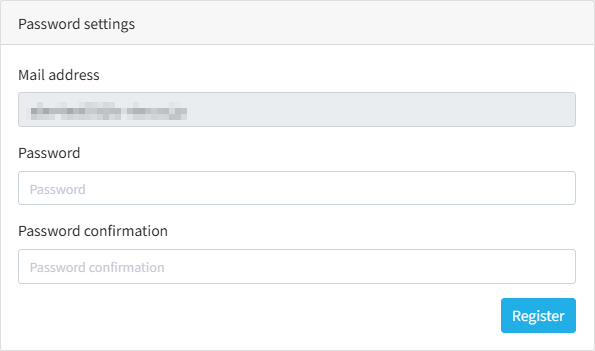
3. You will be redirected to the Cloud BOT service. Enter a password of your choice and click "Register."
* You can change the password later.
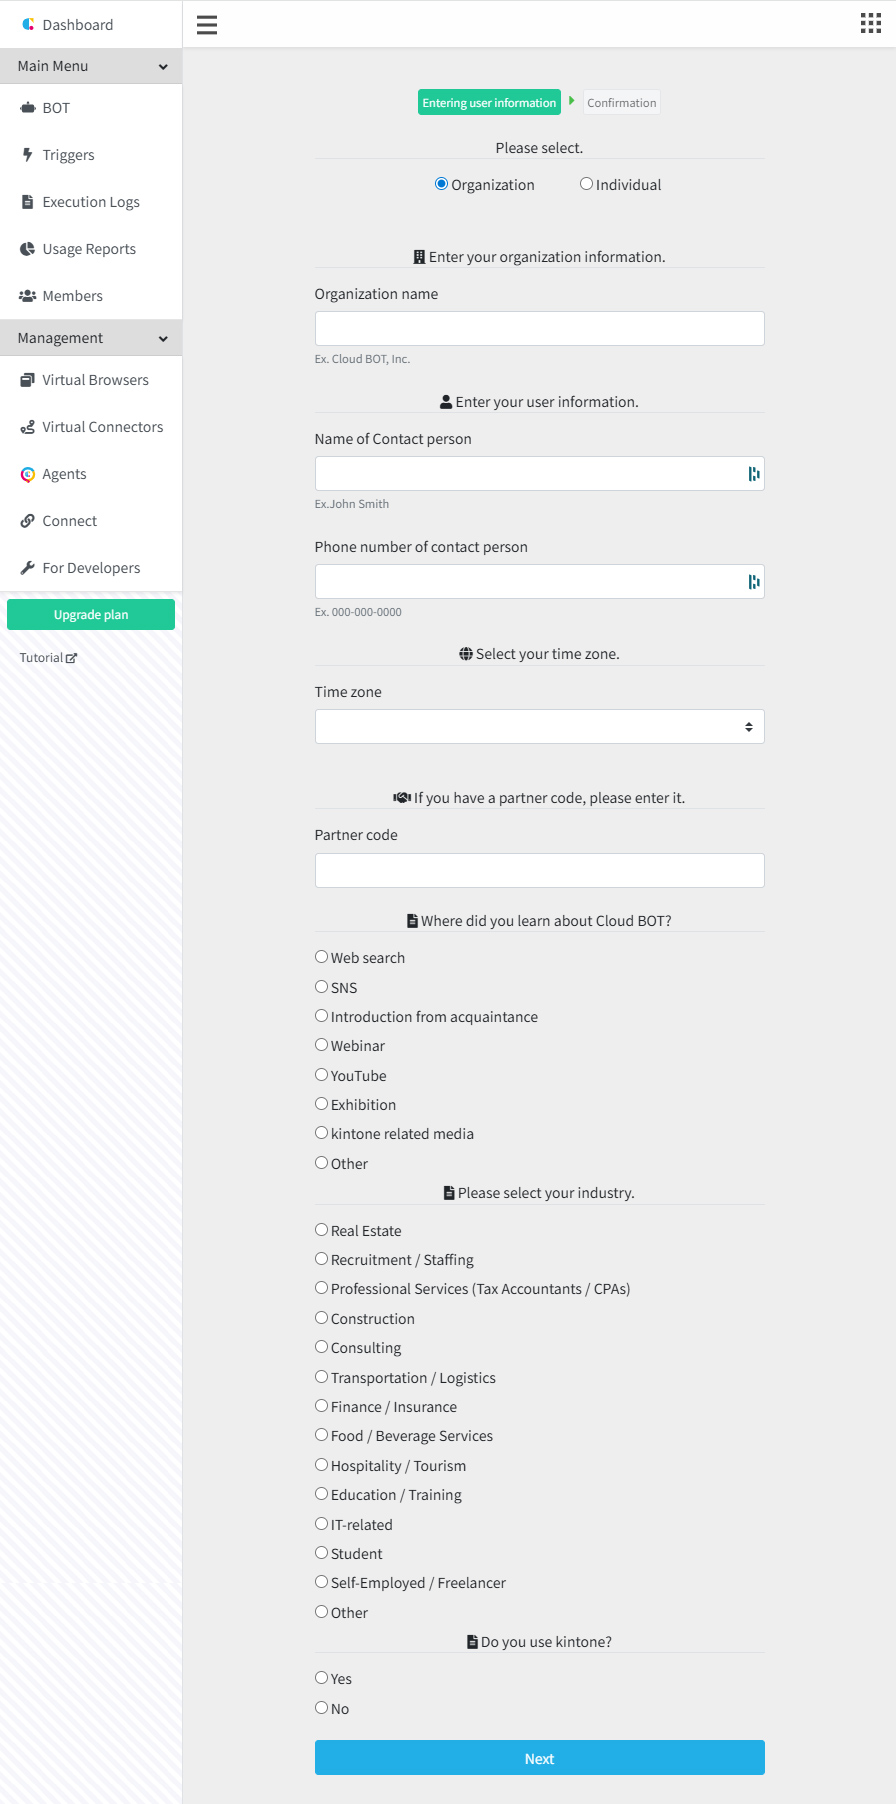
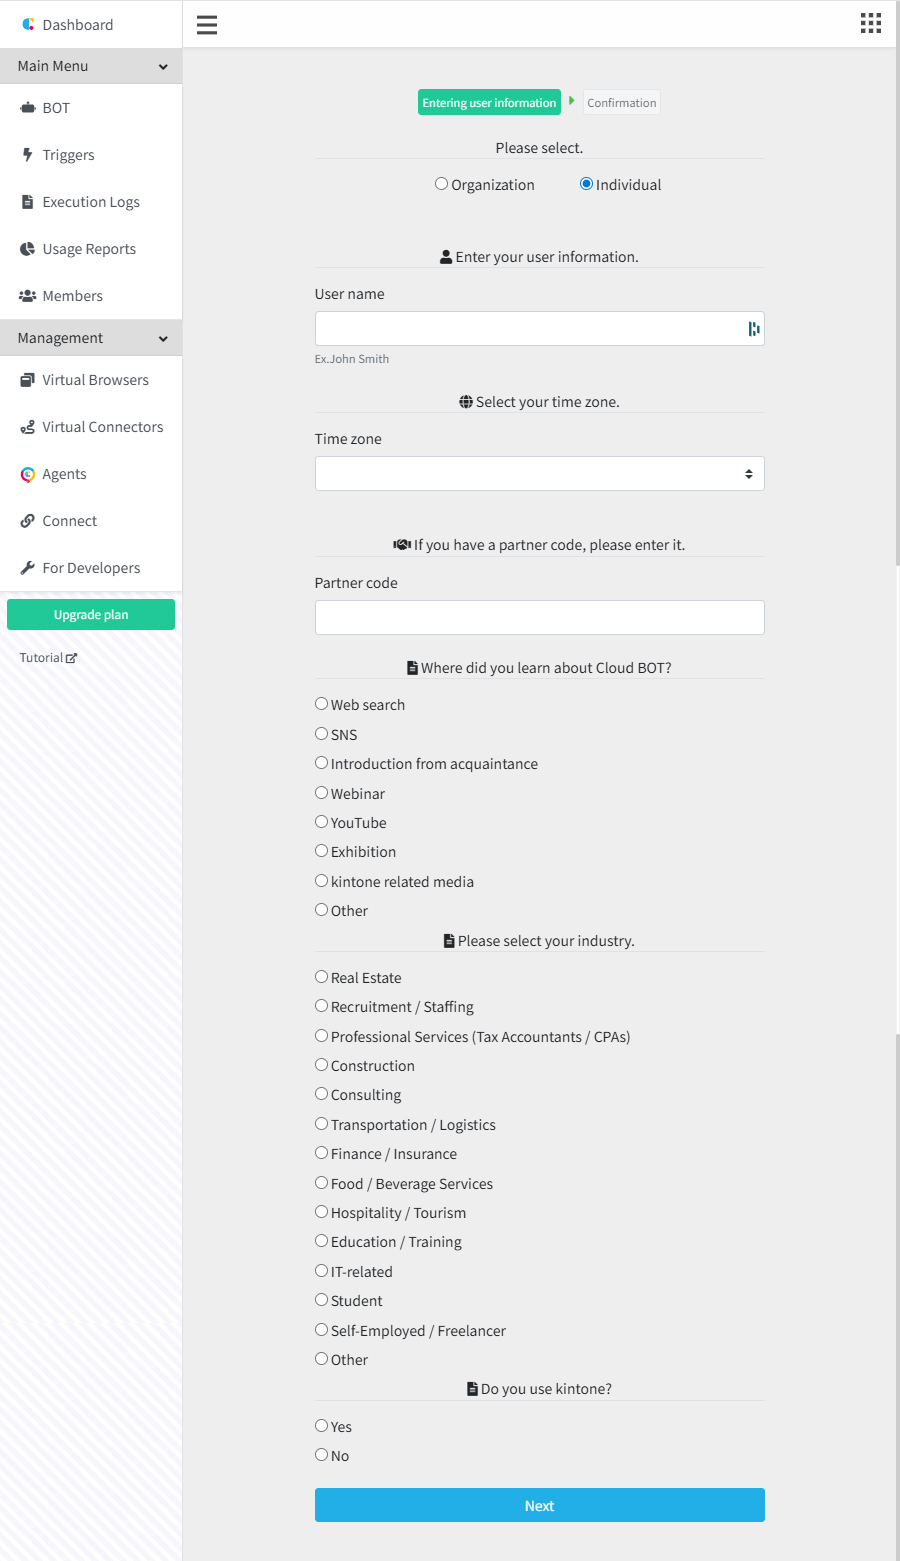
4. You will be redirected to the user information input screen. Select either "Organization" or "Individual," and enter the required information.
* You can modify the entered information later; however, if you select "Organization," you cannot change it to "Individual" afterward. Please be aware of this.
For organizations
For individuals
- Organization name : Enter the name of the organization you belong to.
- Name of Contact Person / User name : Enter the name of the person who will be using the service.
- Phone Number (Contact Person) : Enter the contact person's phone number. If unavailable, enter the organization's phone number.
- Time zone : Select the time zone of your country of residence.
- Partner Code : If you have a partner code from a sales partner, please enter it.
* For more information about partner codes, click here
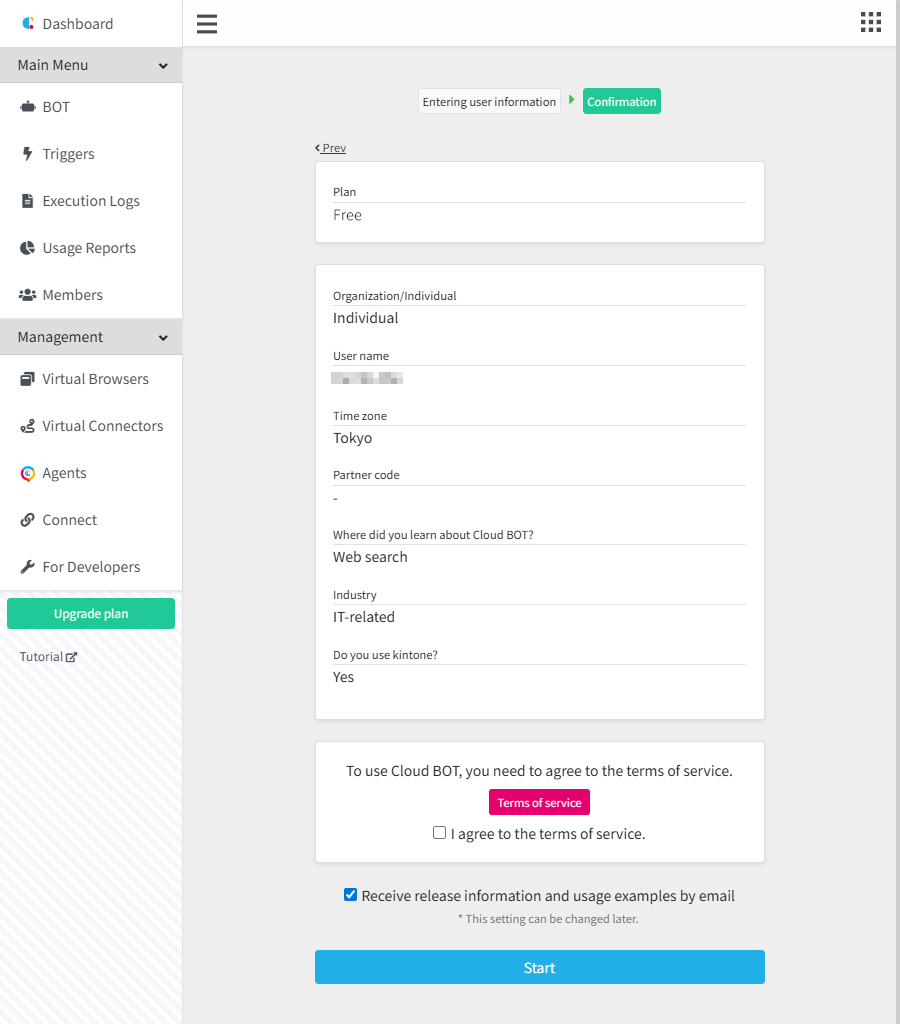
5. Review the entered information, read the Cloud BOT “Terms of service,” and be sure to check the box for “I agree to the terms of service”.
Clicking “Start” will create your Cloud BOT account.
About the Partner Code
If you have a partner code from a sales partner, please enter it in the Partner Code field.
Login
You can log in to the service with the account you created.
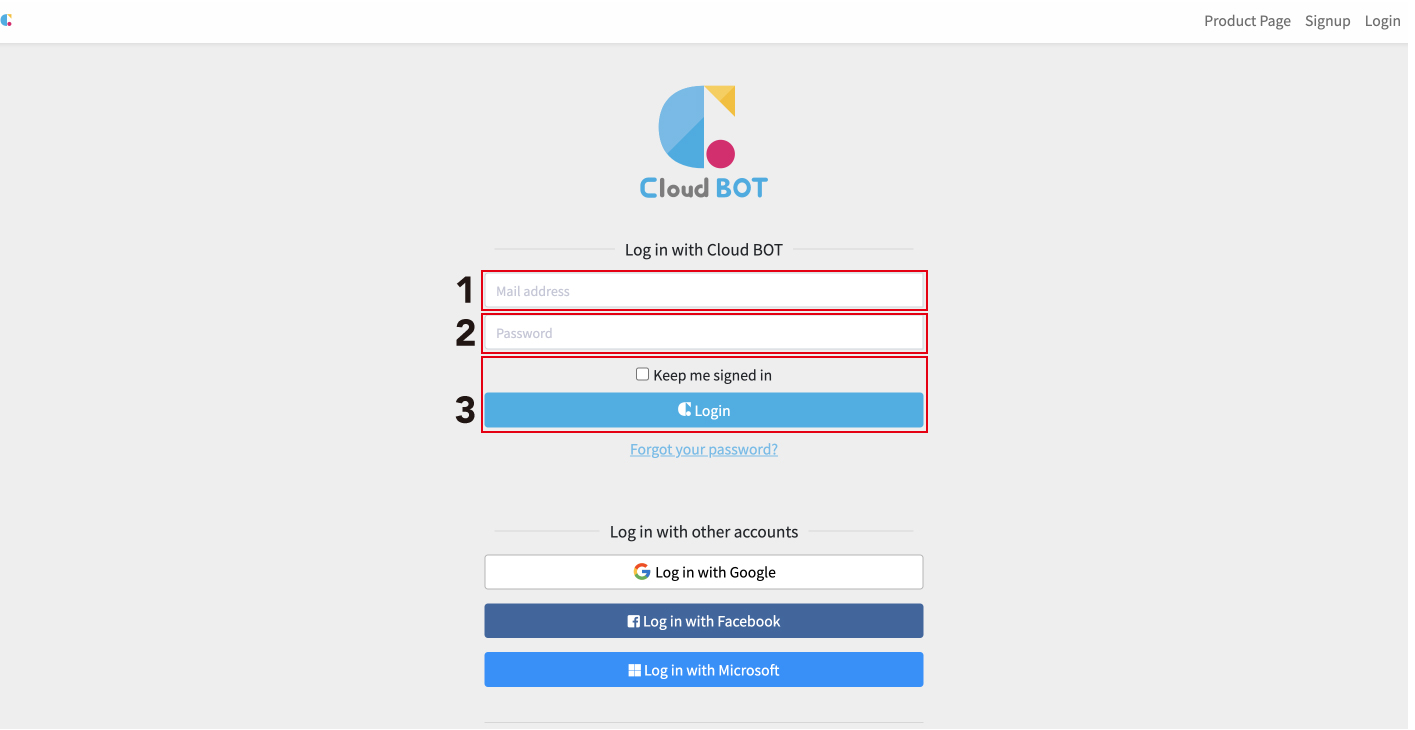
- Enter the registered E-mail address.
- Enter the password you set.
- Click the [Log in] button to go to the Console menu.
Sign in automatically next time
Select this check box for the next time you want to sign in automatically.
When the password is missing
- Click the [Forgot your password?] link below the [Login] button.
- Enter the registered E-mail address.
- Select the reCAPTCHA check box.
- Click the [Send password reset link] button.
- Click the URL link described in the email you received.
- Reset your password.
Log in with a different account
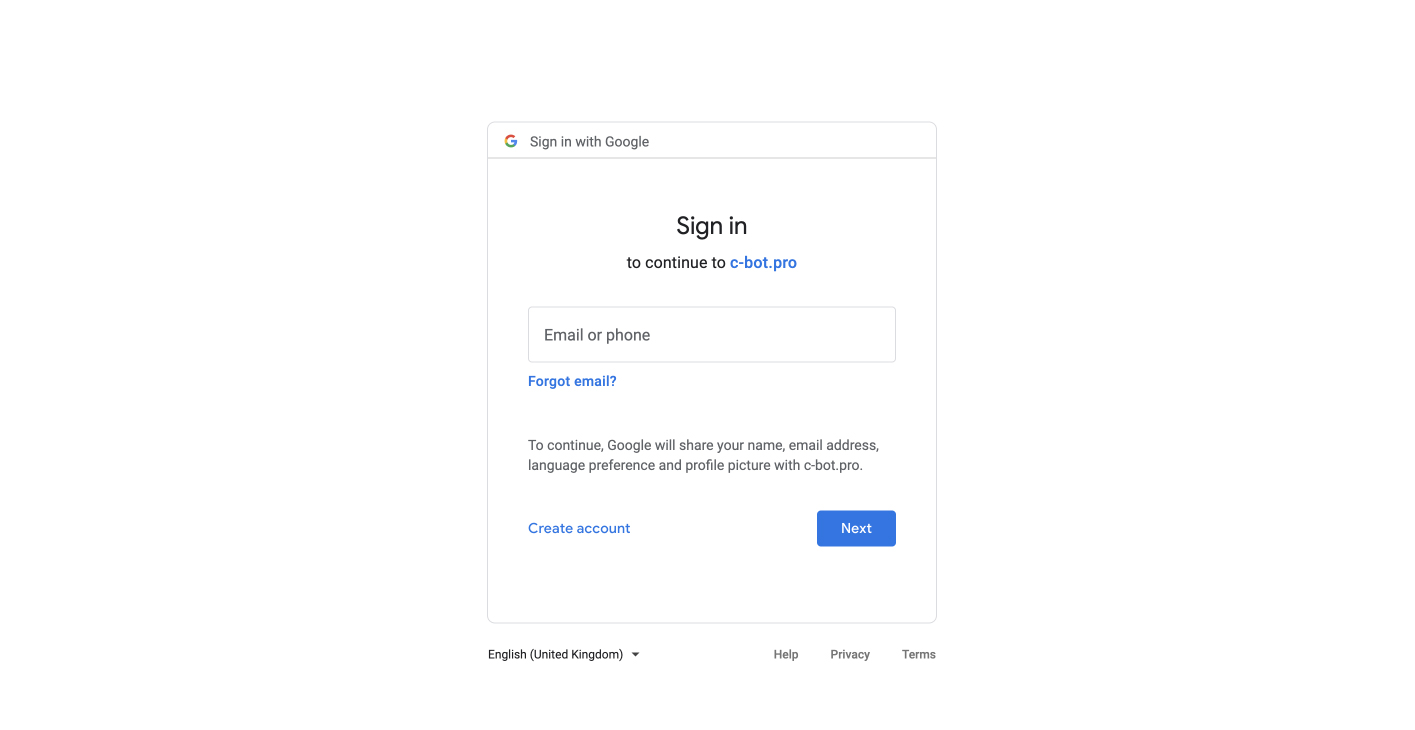
Log in with Google
Enter the required information and log in to the Cloud BOT. Passwords cannot be reset within the Cloud BOT service.
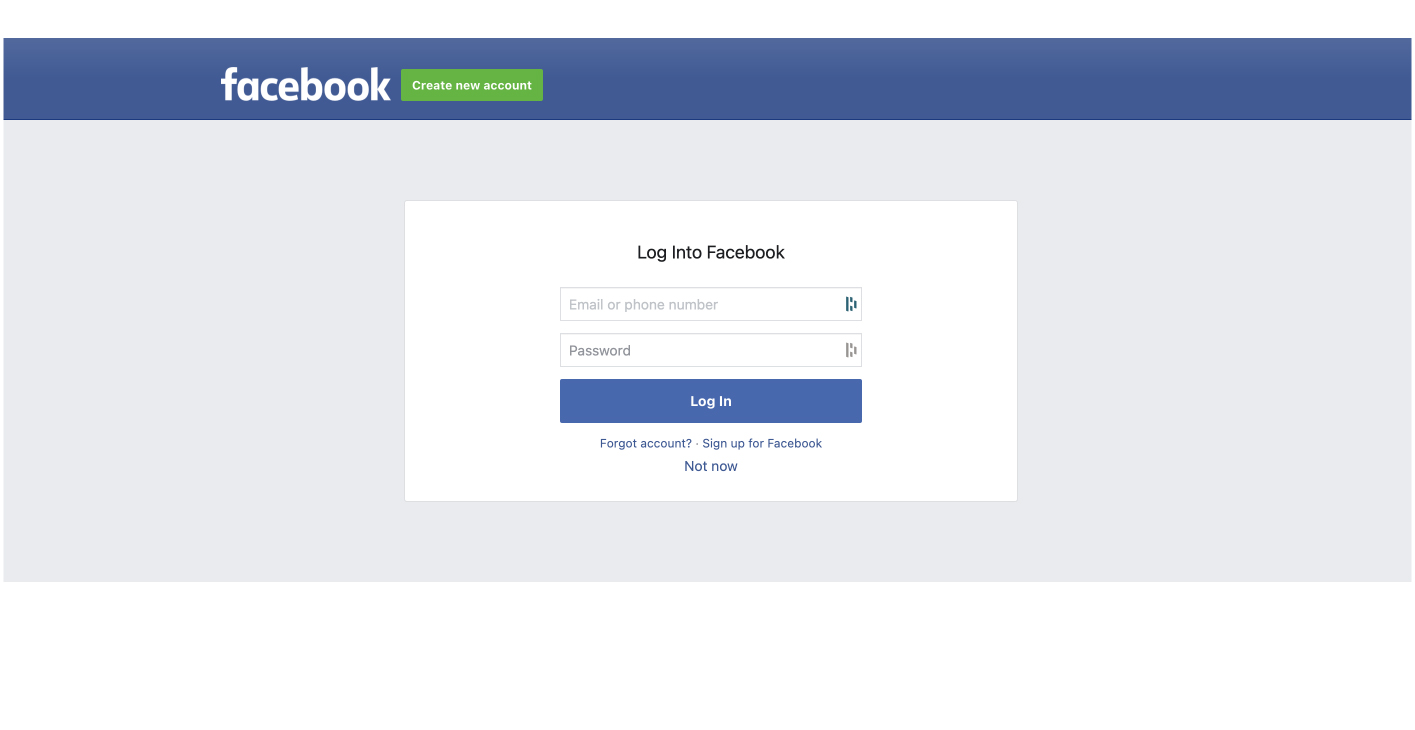
Log in with Facebook
Enter the required information and log in to the Cloud BOT. Passwords cannot be reset within the Cloud BOT service.
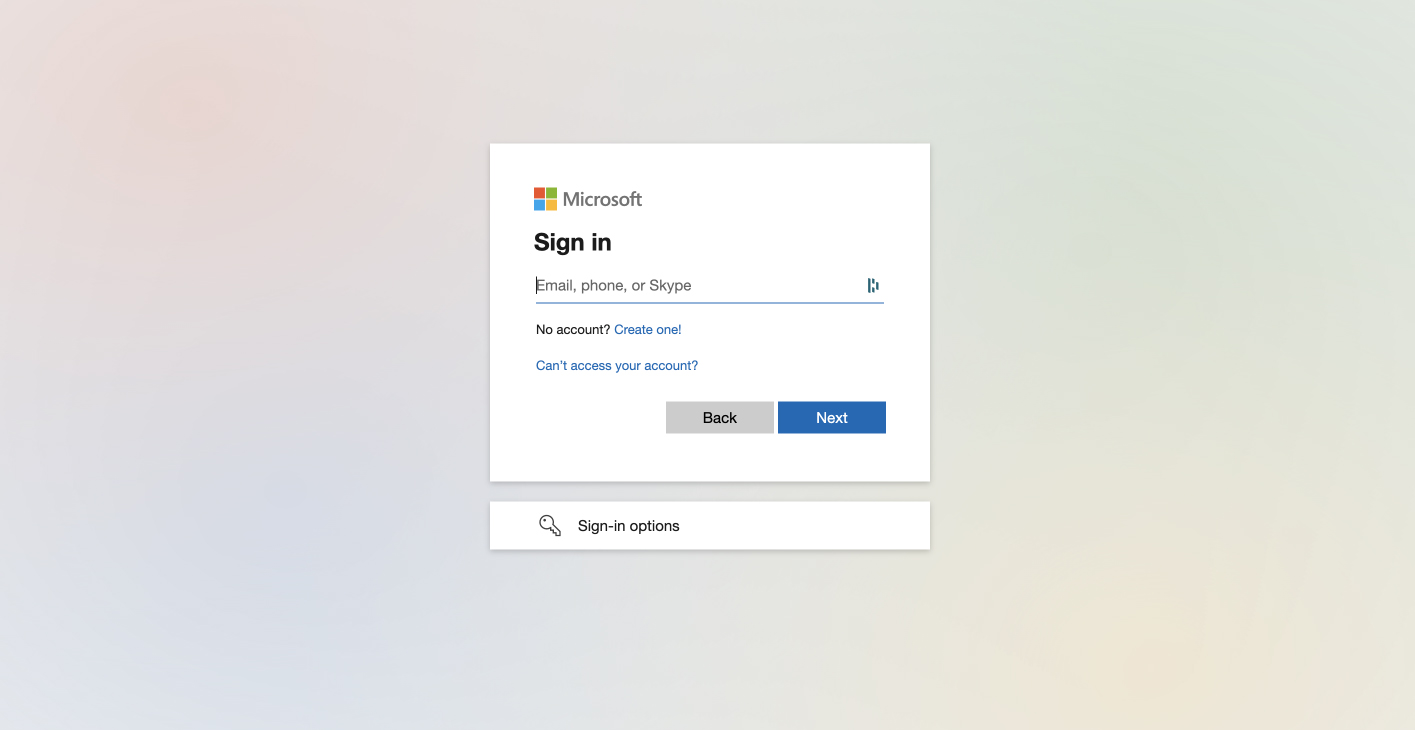
Log in with Microsoft
Enter the required information and log in to the Cloud BOT. Passwords cannot be reset within the Cloud BOT service.
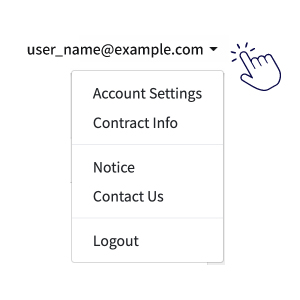
Logout
You can "log out" from the account menu on the navigation bar. The login screen is displayed.
Account Management
You can make settings such as Account, Security, Connected Apps, Access Token, and Account Deletion. You can display this screen from the account menu on the navigation bar. Refer to this page for details.
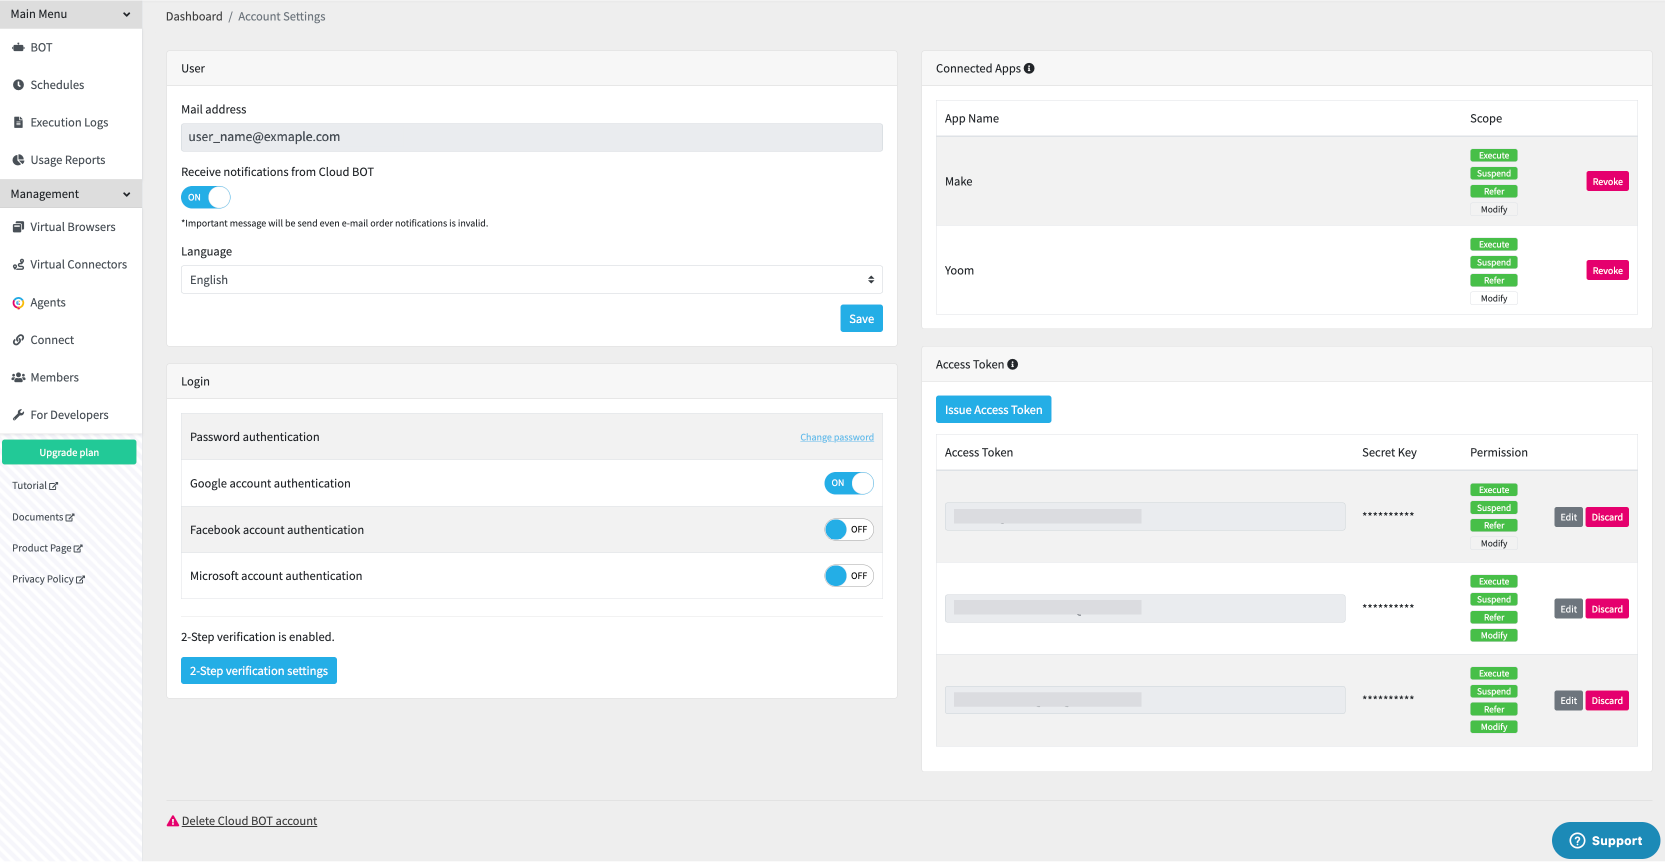
User
You can view and change the account settings on this screen.
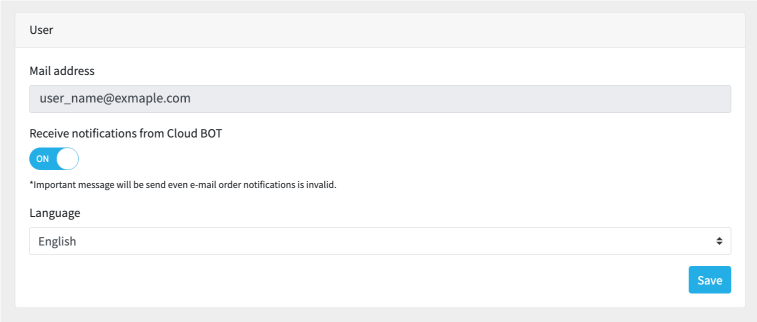
Receive notifications from Cloud BOT
You can switch the notification on / off.
Language
You can switch the language. Select Japanese or English.
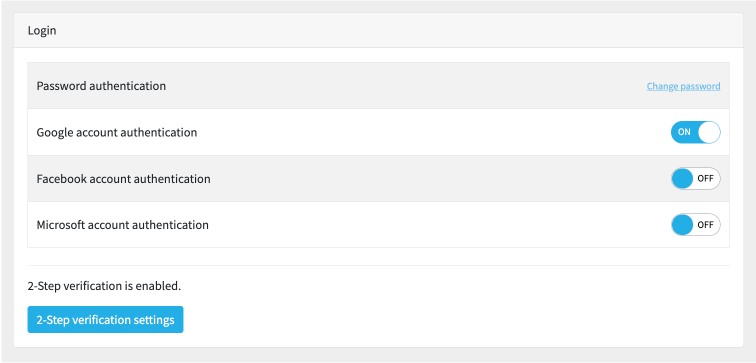
Login
You can configure the login settings for Cloud BOT.
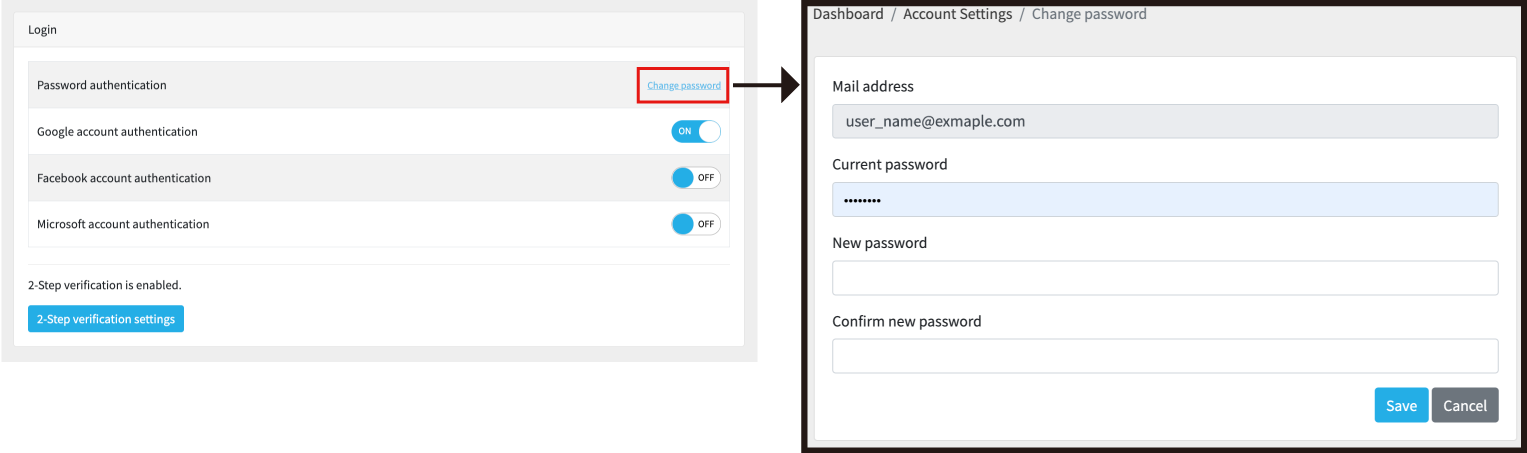
Change Password
You can change your password for email address authentication.
The current password is necessary. Enter the new password twice and click the [Save] button.
Login Authentication Method
Set the authentication method to be used for login.
You can switch ON / OFF for Google Authentication, Facebook Authentication, and Microsoft Authentication.
* Multiple authentication methods can be set at the same time.
* To cancel all Google, Facebook, and Microsoft authentication, you will need to set a password.
2-step verification
Enables 2-Step verification.
* The Authenticator application is required to enable 2-step verification.
Connected Apps
List of apps to which the currently logged-in account is allowed access.
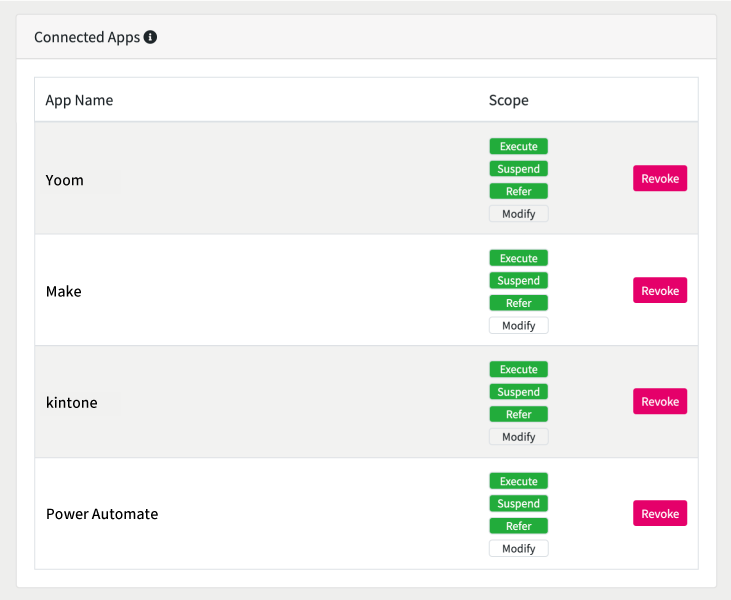
Canceling linked apps
If you want to prohibit access, please press the "Cancel" button.
Access Token
Manages the access tokens and secret keys needed to access the API.
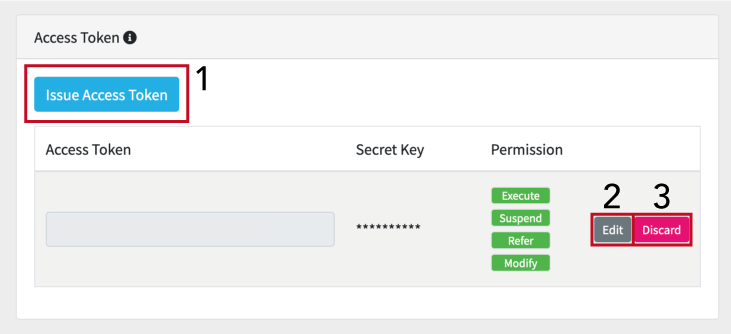
Lists already published access tokens. You can view access tokens, secret keys, and permissions.
The following operations are available from this screen.
Issue Access Token
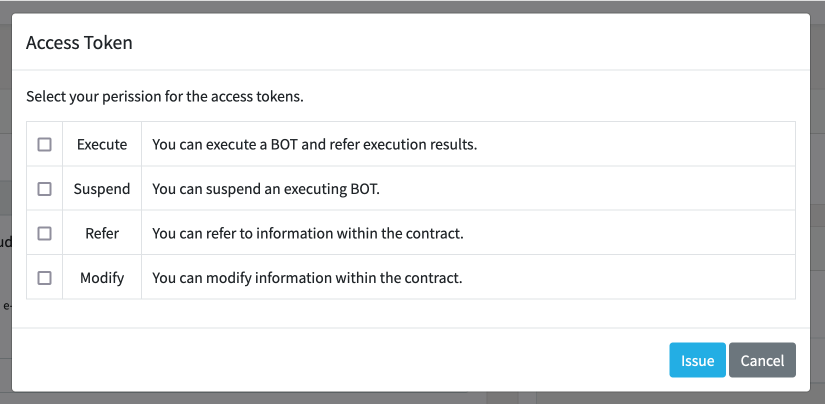
- Click [Issue Access Token].
- A modal window is displayed. Select permission to grant access to the token.
- Click [Issue] to publish the access token.
Up to 3 access tokens can be issued per user.
If the secret key is leaked, a malicious third party can operate the API.
Be sure to store it in a safe place.
The secret key can no longer be verified.
Be sure to keep it with the access token.
If you should lose it, discard the access token and reissue it.
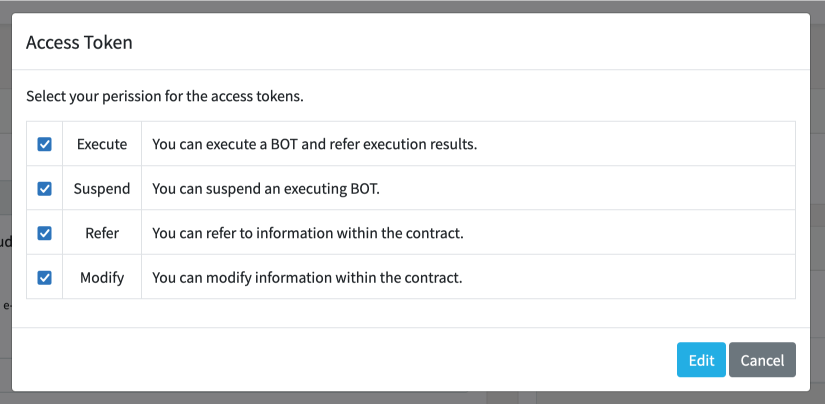
Edit the Access Token Permissions
Clicking the [Edit] button displays a modal window as same as when issuing an access token. Change permission to grant the access token.
Discard Access Token
Click [Discard] to discard the access token.

Delete Cloud BOT account
You can delete your Cloud BOT account. All saved BOTs and storage contents are deleted.
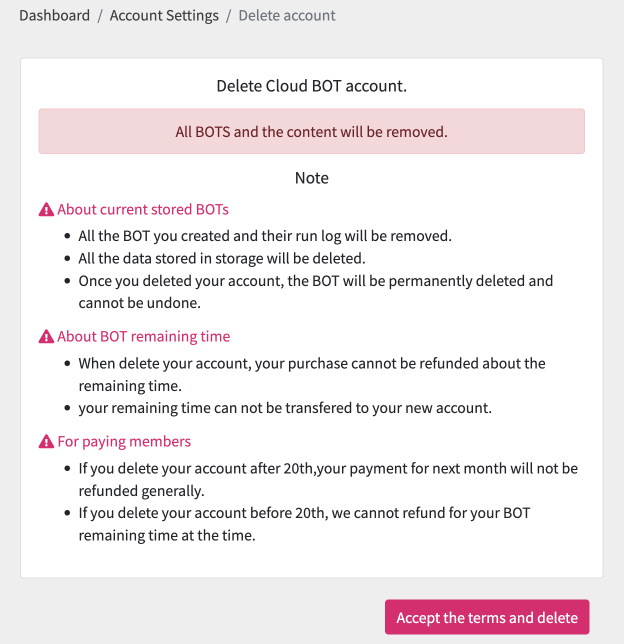
Click the [Accept the terms and delete] button to delete your account. Once clicked, it cannot be undone.
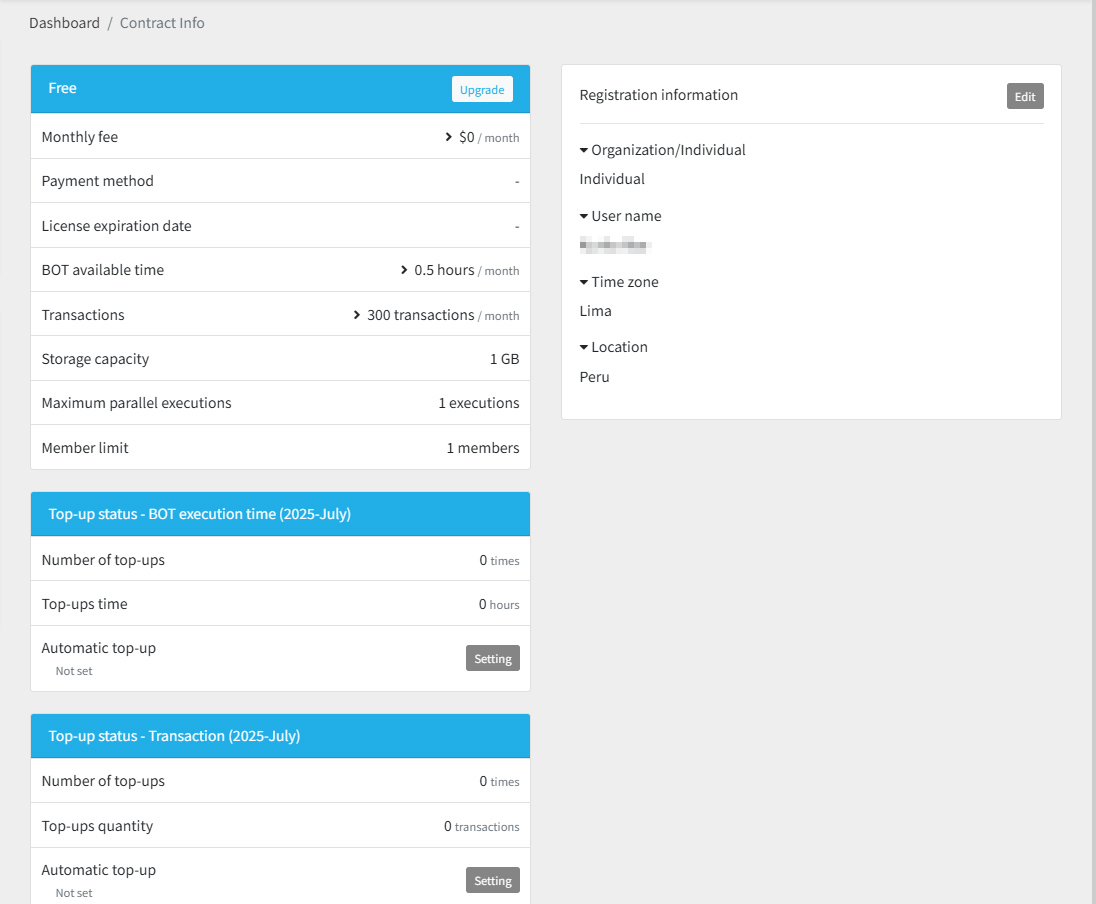
Contract Information
You can set the contract information. You can display this screen from the account menu on the navigation bar. Refer to this pagefor details.
Edit registration information
You can edit your registration information by clicking “Edit.”
Select either “Organization” or “Individual” and update the information as needed.
The information you can enter may vary depending on your contract.
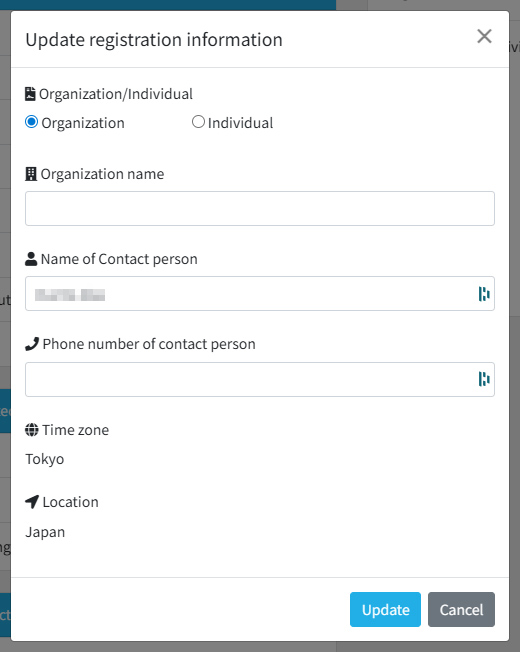
* Please note that if you select “Organization,” you will not be able to change it to “Individual” later.
*Changing this setting does not impose any functional restrictions.
Upgrade plan
You can access the upgrade page by clicking “Upgrade Plan” under the global menu or by using the “Upgrade” button available on various pages. On this page, you can change your current subscription plan.
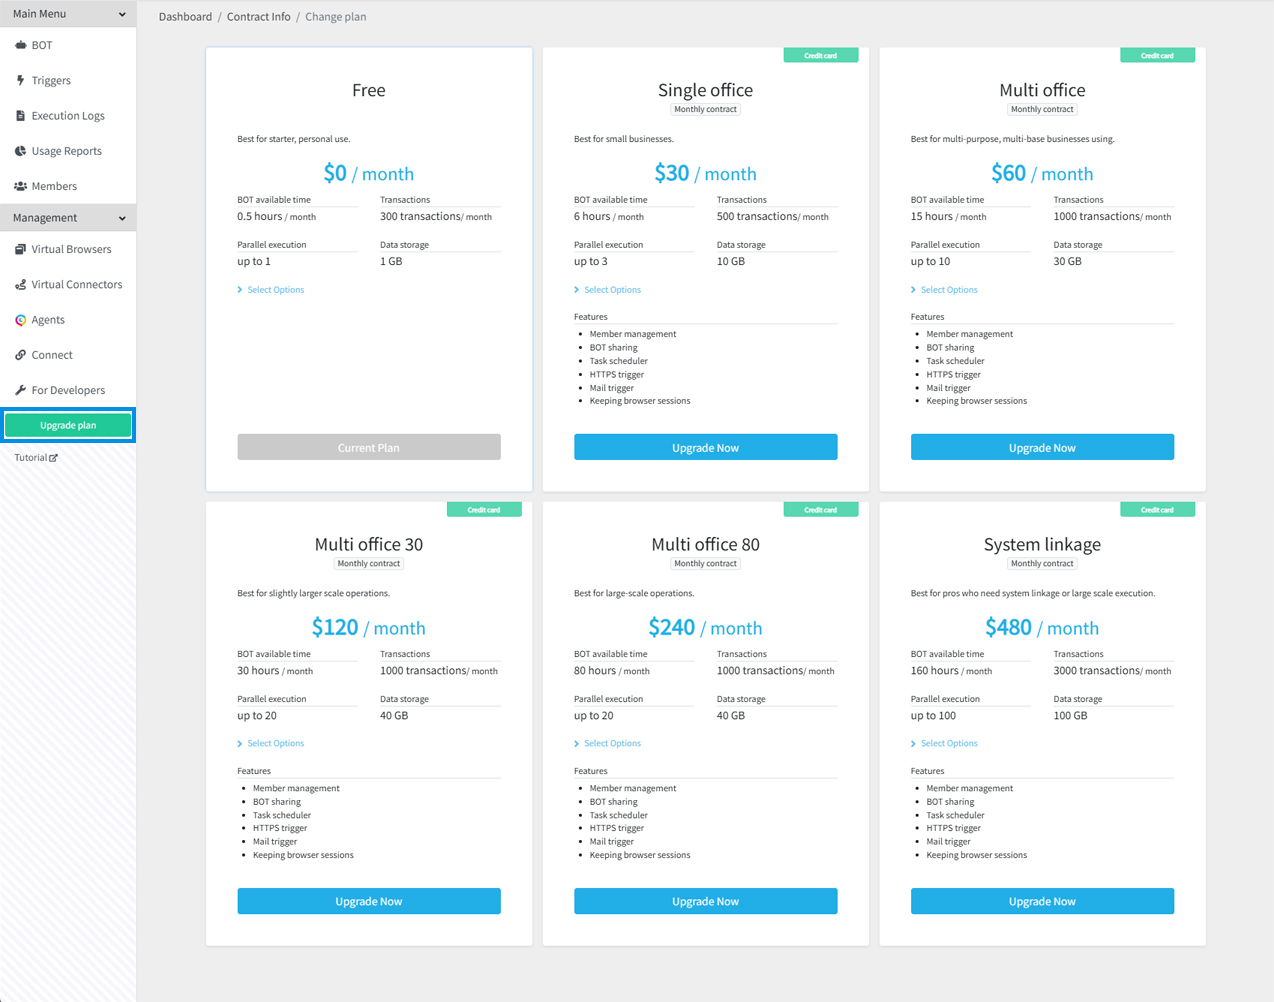
You can change your plan by clicking the “Upgrade Now” button.
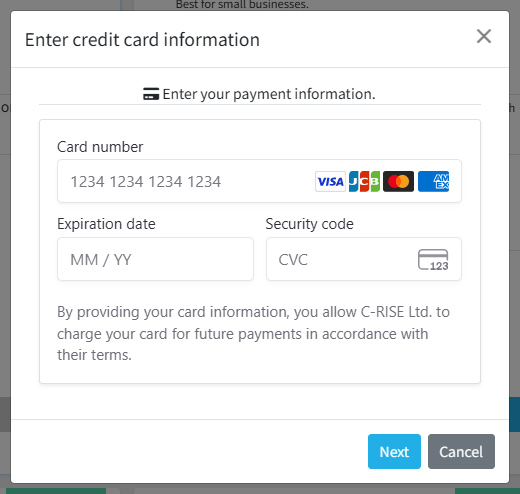
Enter the required information, such as payment details.
Click the “Submit Plan Change” button to complete the process.
Automatic top-up
For information on Automatic top-up settings, please see here.
Option
You can purchase additional BOT execution time and transactions as optional add-ons.
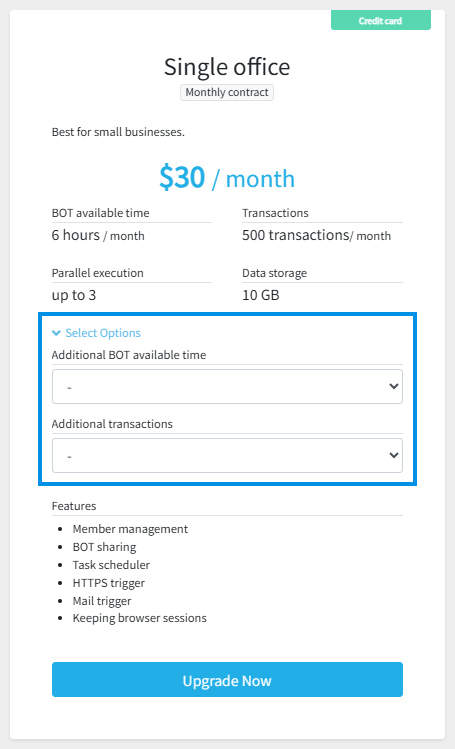
Subscription-based Option
Add a fixed amount of BOT execution time and transactions each month in advance.
You can apply for the Subscription-based option from the plan upgrade screen.
Under “Select Options” for your current plan, specify the amount of BOT execution time and transactions to be added each month, then click “Upgrade Now”.
For information on the pricing of Subscription-based option, please refer to this page.
We use a prepayment system for the following month, so the options you apply for in the current month can be used free of charge.
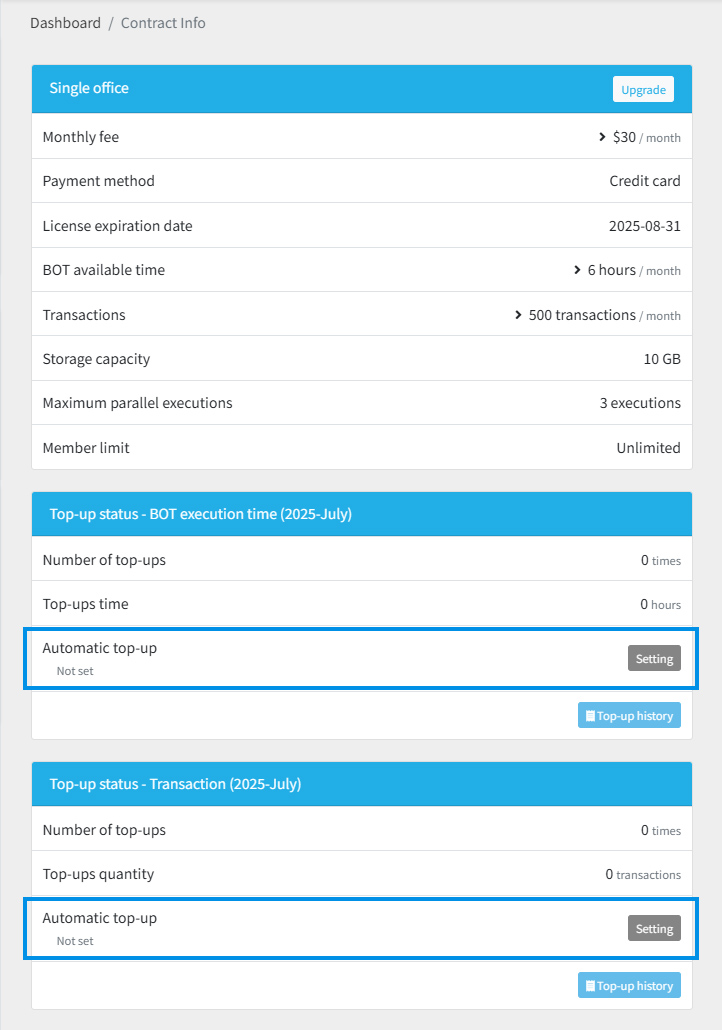
On-demand Option (Automatic top-up)
When the usage of BOT execution time or transactions reaches the limit, a preset amount will be automatically charged.
The On-demand Option can be configured from the contract information screen.
For information on the pricing of the on-demand option, please refer to this page.
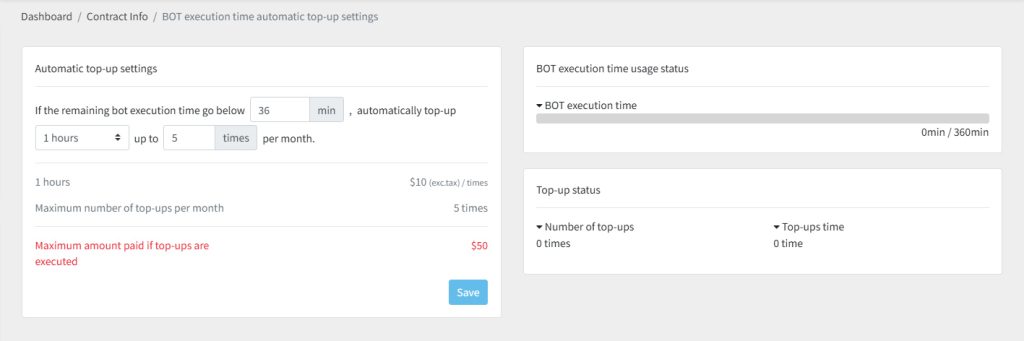
Top-up status - BOT execution time
You can configure automatic charging for BOT execution time.
Set when to charge, how many hours of BOT execution time to add, and the maximum number of charges.
Top-up status - Transaction
You can configure automatic charging for transactions.
Set when to charge, how many transactions to add, and the maximum number of charges.
