Notifying by Gmail when BOT execution ends

Home > Connect > Workato > Notifying by Gmail when BOT execution ends
Creating a recipe
Create a recipe that uses the BOT execution of the Cloud BOT as a trigger and notifies the execution status by Gmail when the BOT execution ends.

Cloud BOT(When BOT execution is completed)
Retrieves the BOT execution result when a BOT has executed completely.
Gmail(Send email)
Email the BOT execution status.
Setting Cloud BOT
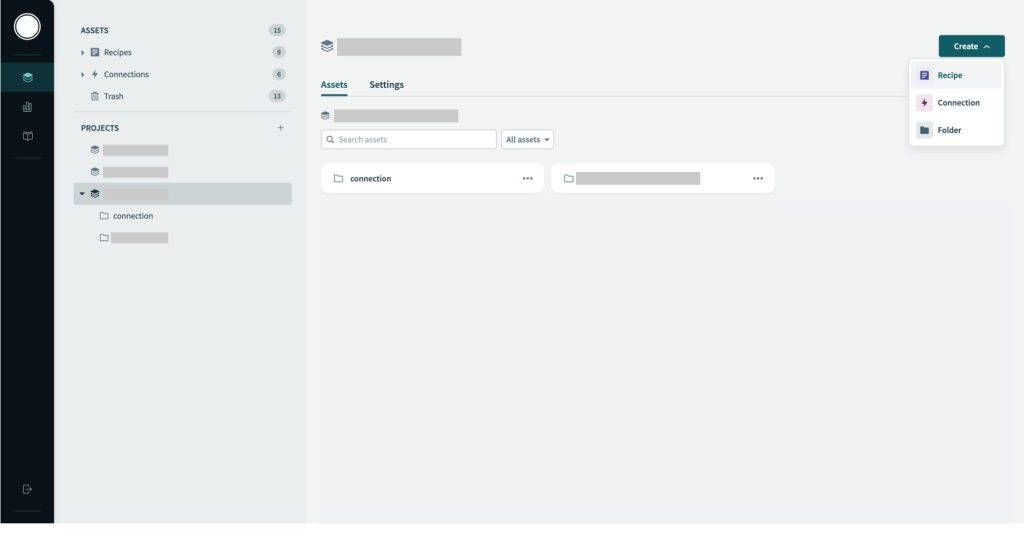
1. Click "Create" to create a Recipe.
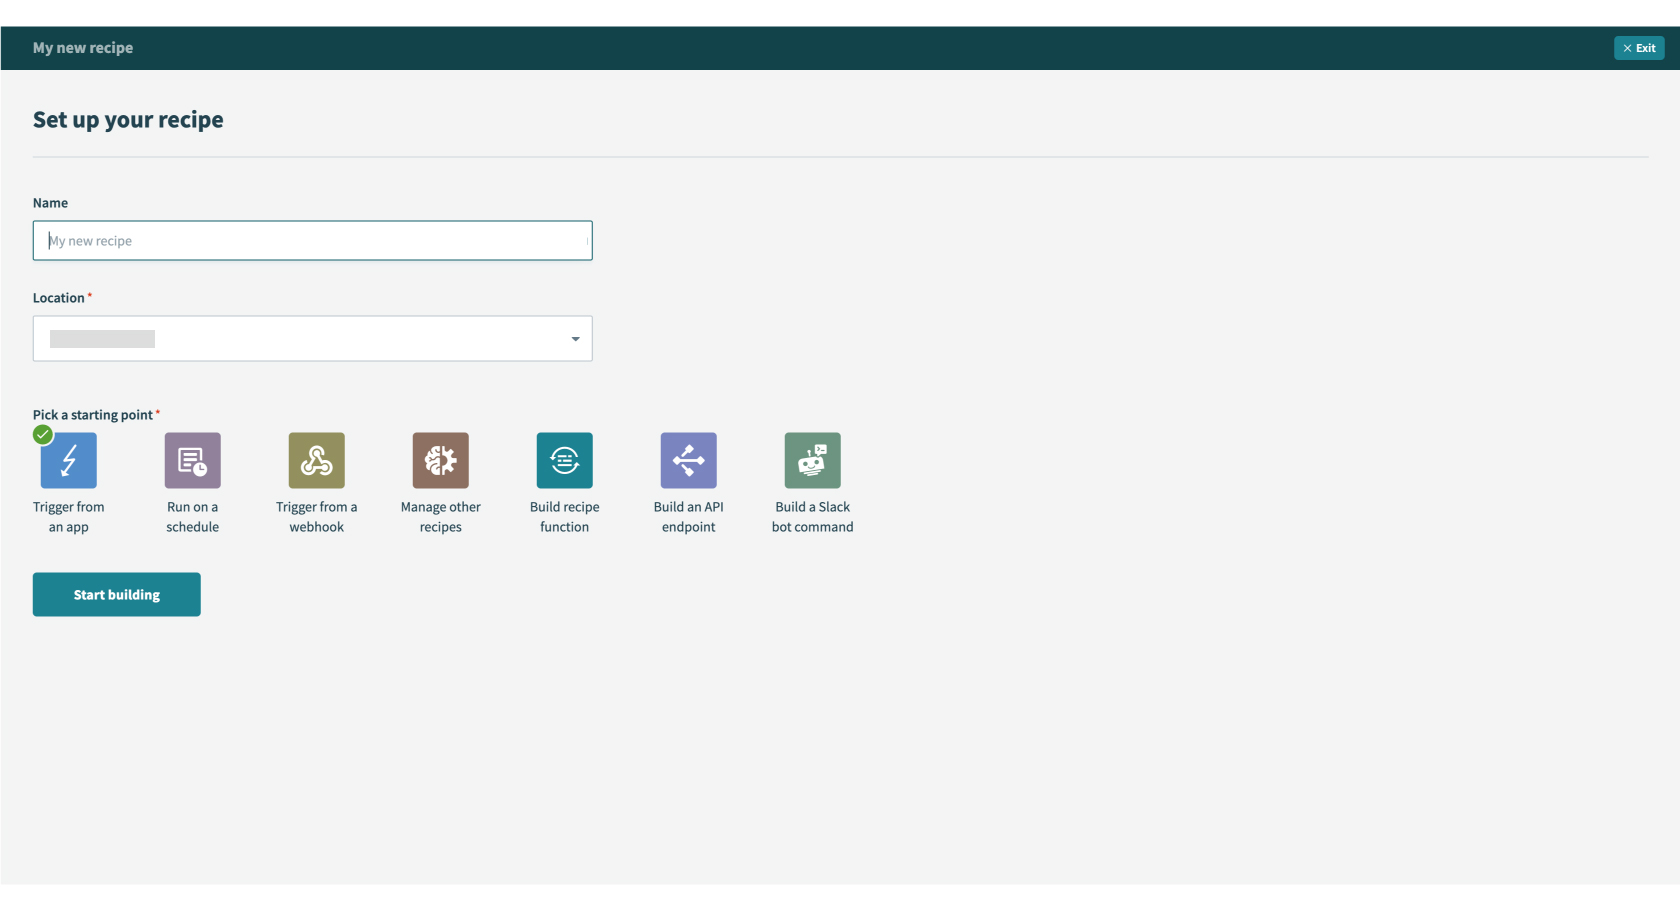
2. Optionally type a recipe name in "Name" and specify "Location", then click "Start building".
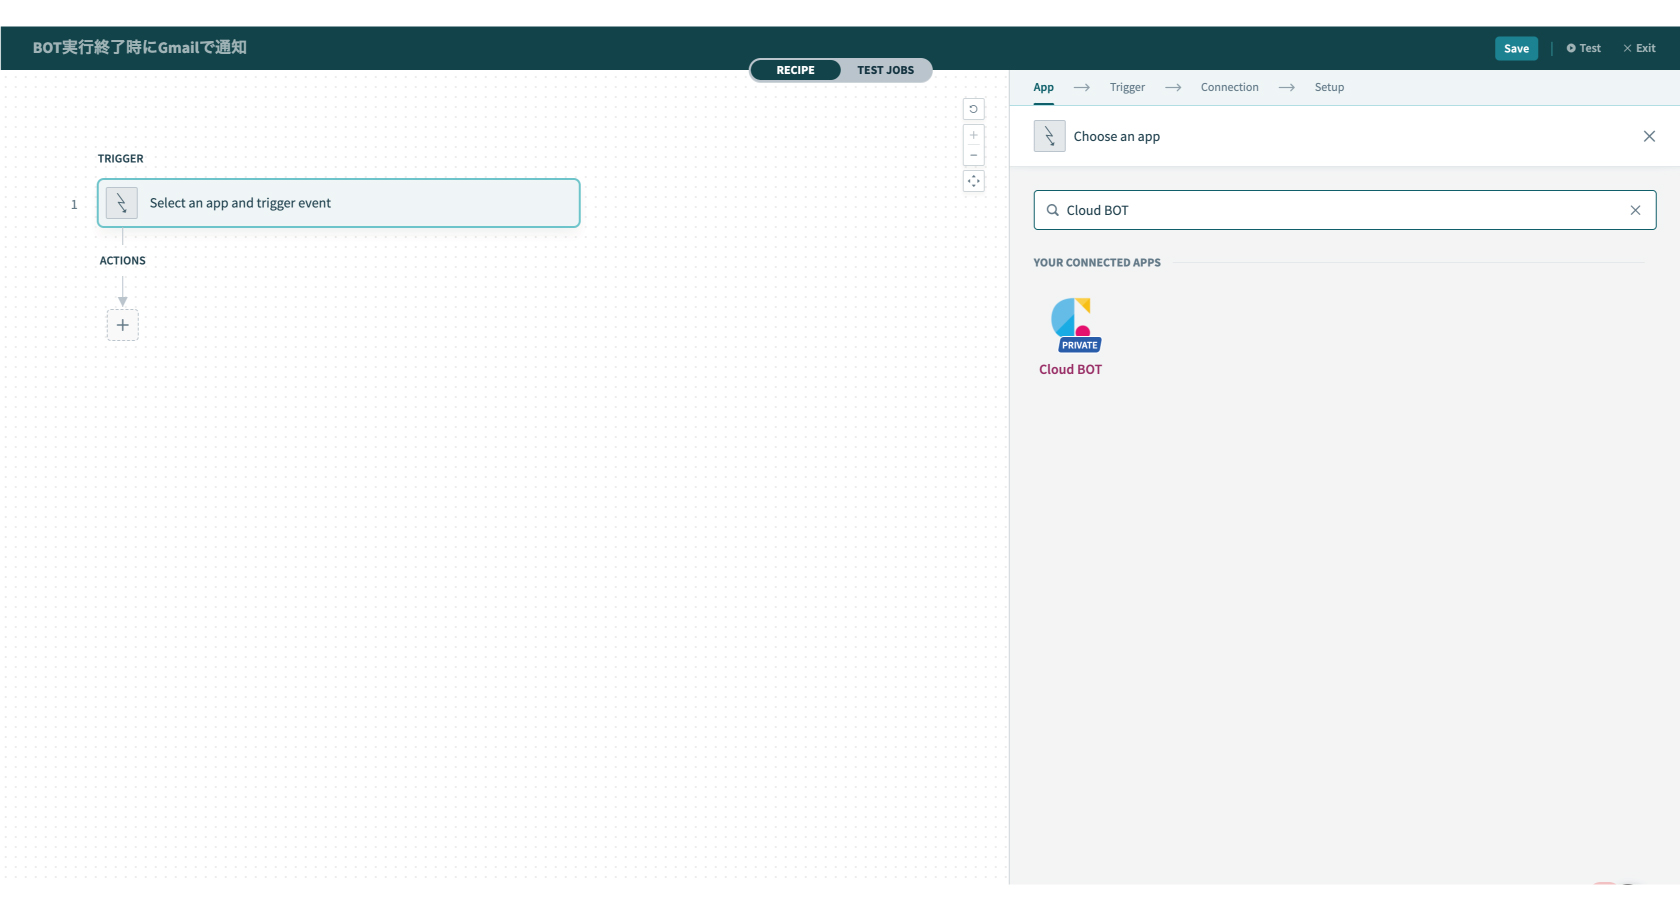
3. Search “Cloud BOT” in the search box and select the Cloud BOT app. The Cloud BOT connector must be installed. Click here for details.
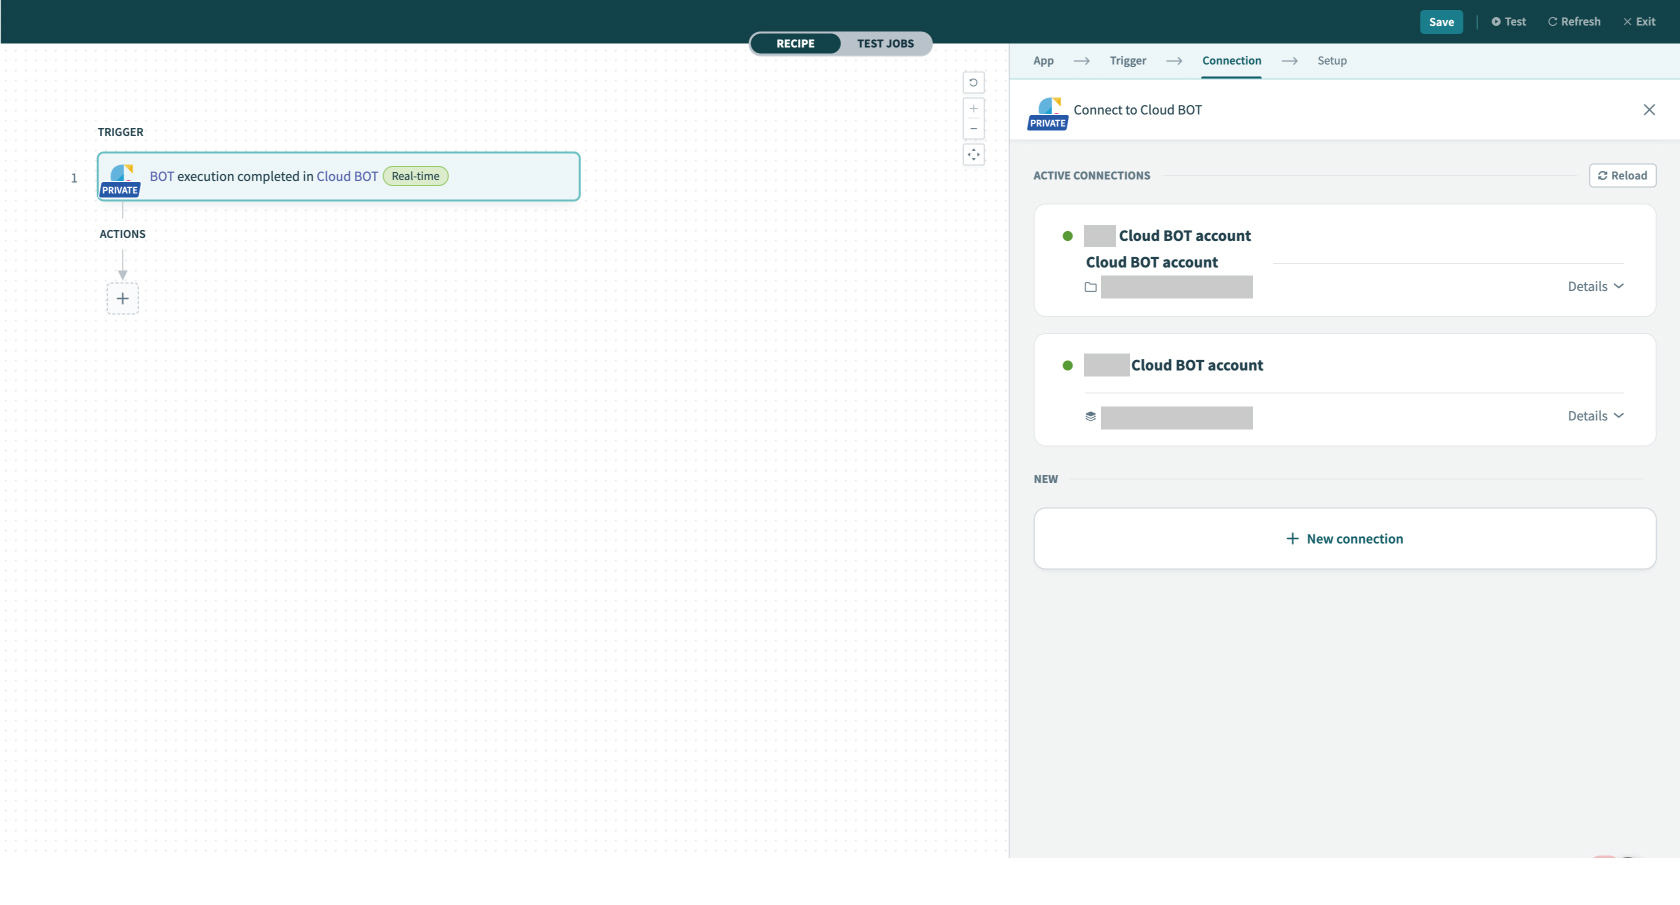
4. Configure the "Connection" settings.
When the Connection is already created, the created connections list is displayed. Refer to this page about creation.
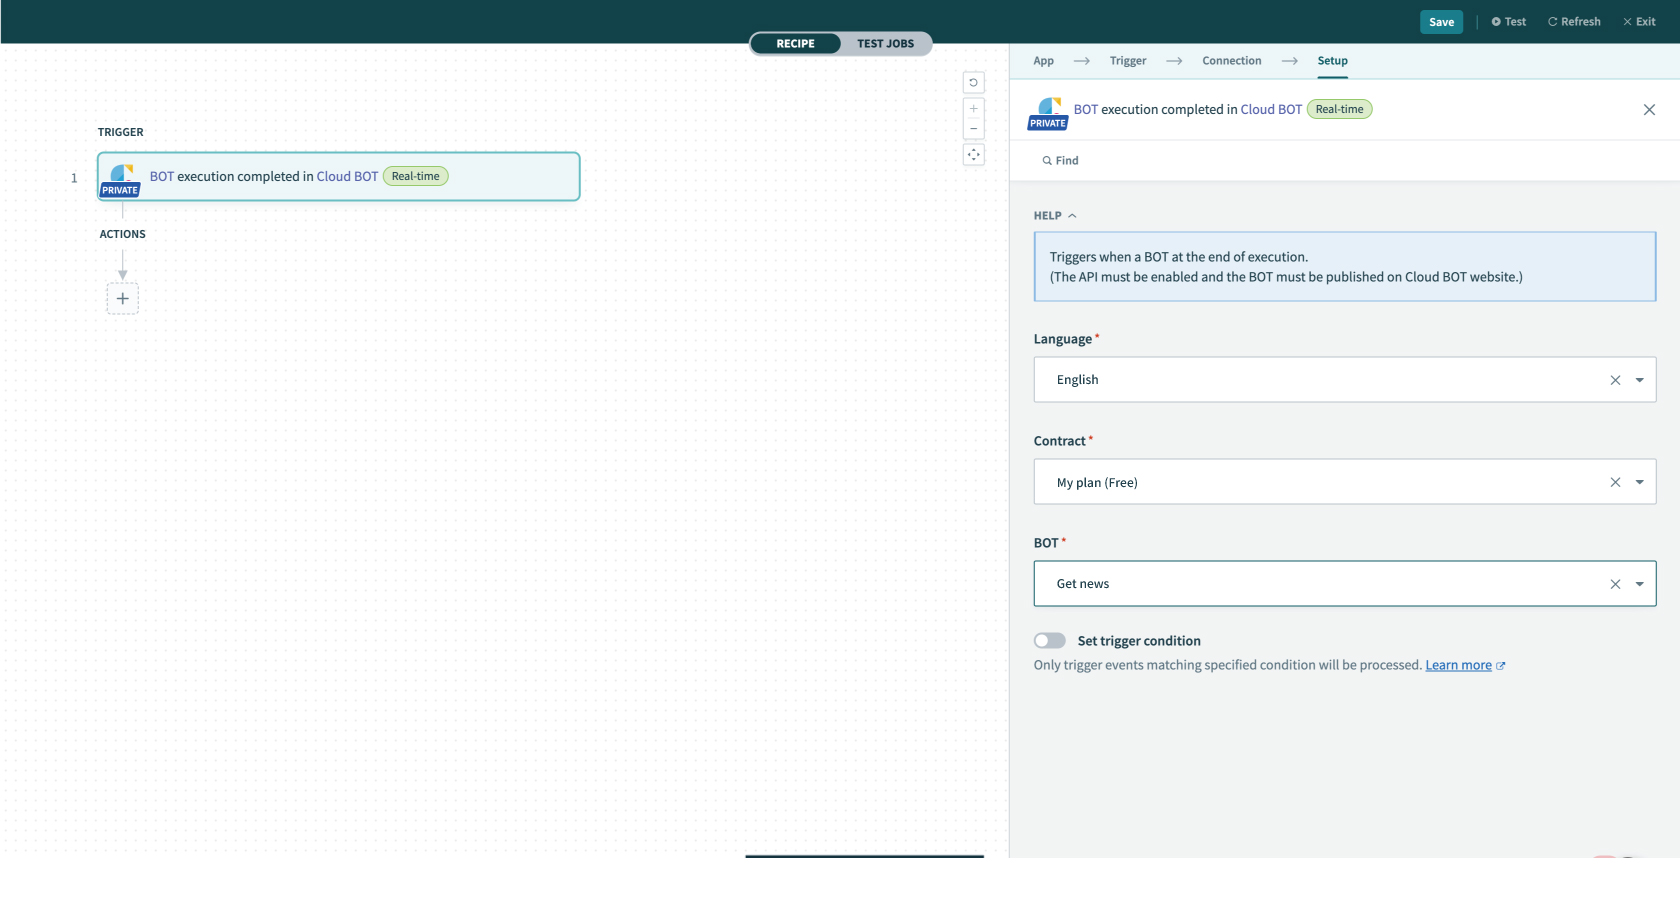
5. Configure the [Setup] settings. Refer to this page about setting values.
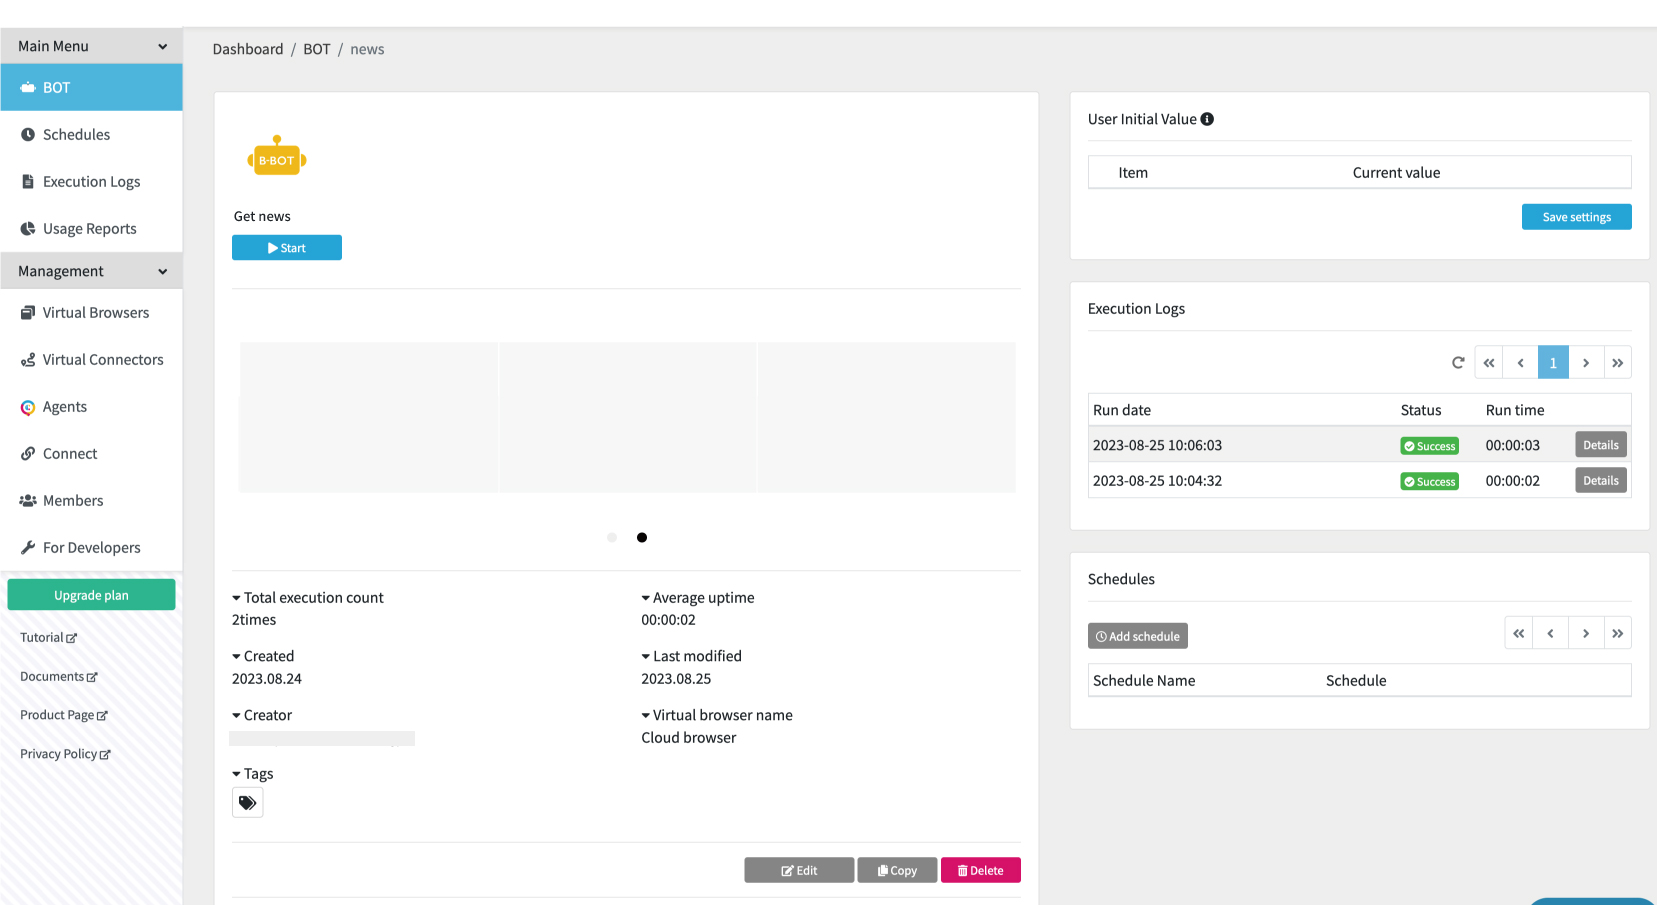
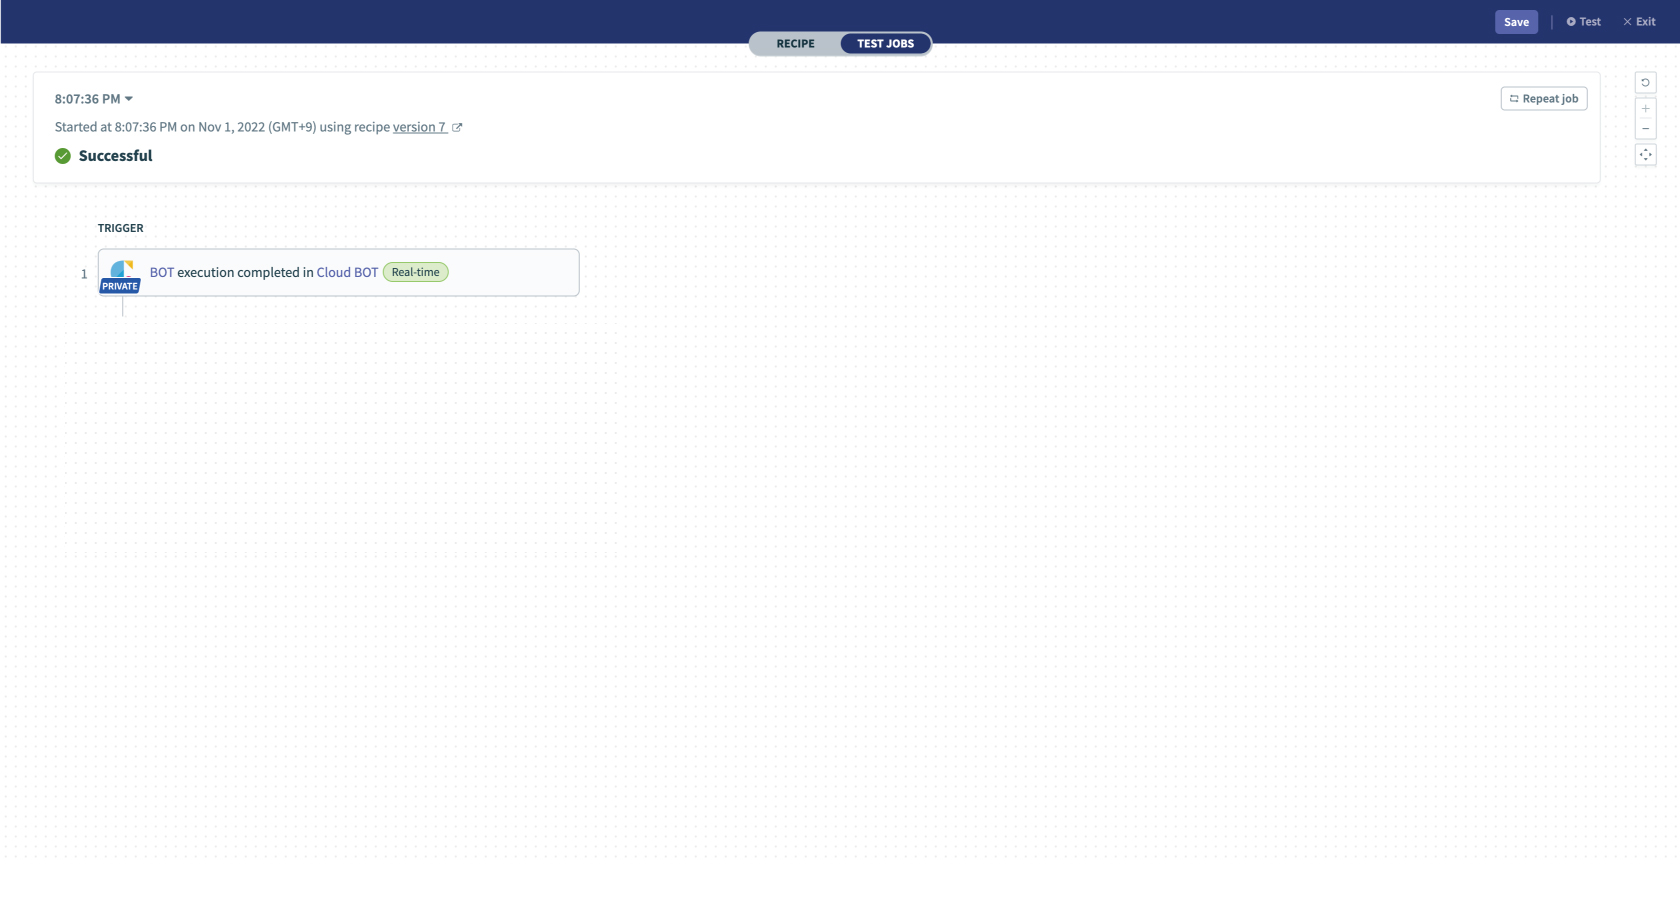
6. Click "Test" on the top menu (top right corner) to check if it works correctly. Execute the BOT on the Created BOT website.
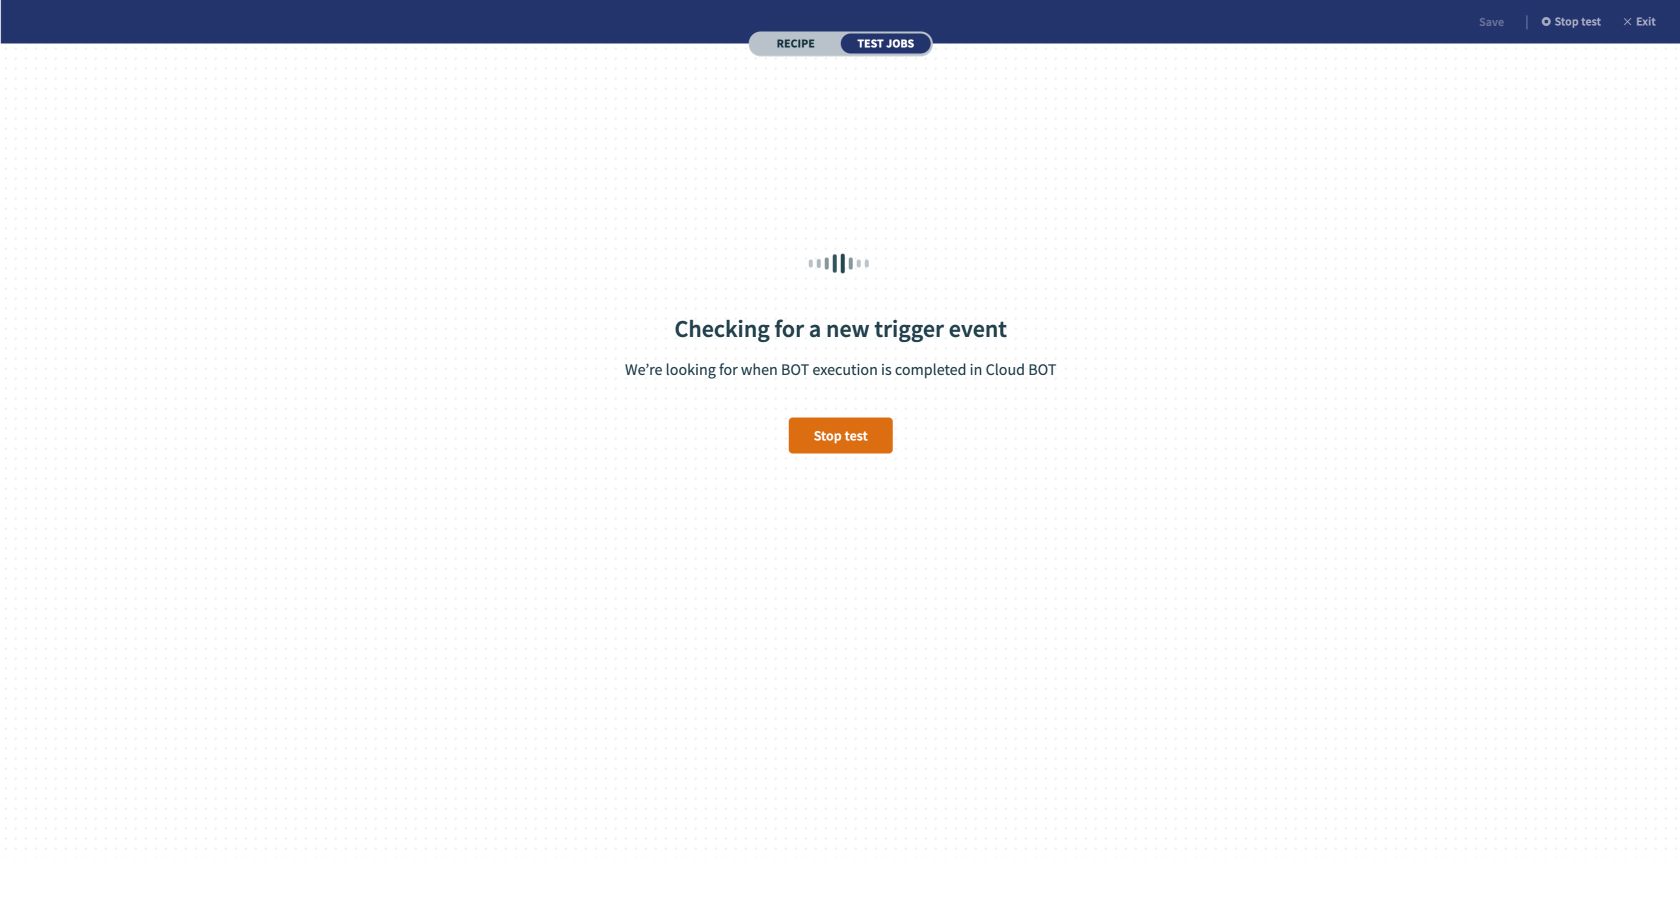
If you can confirm the execution result, the trigger setting is complete.
Setting Gmail
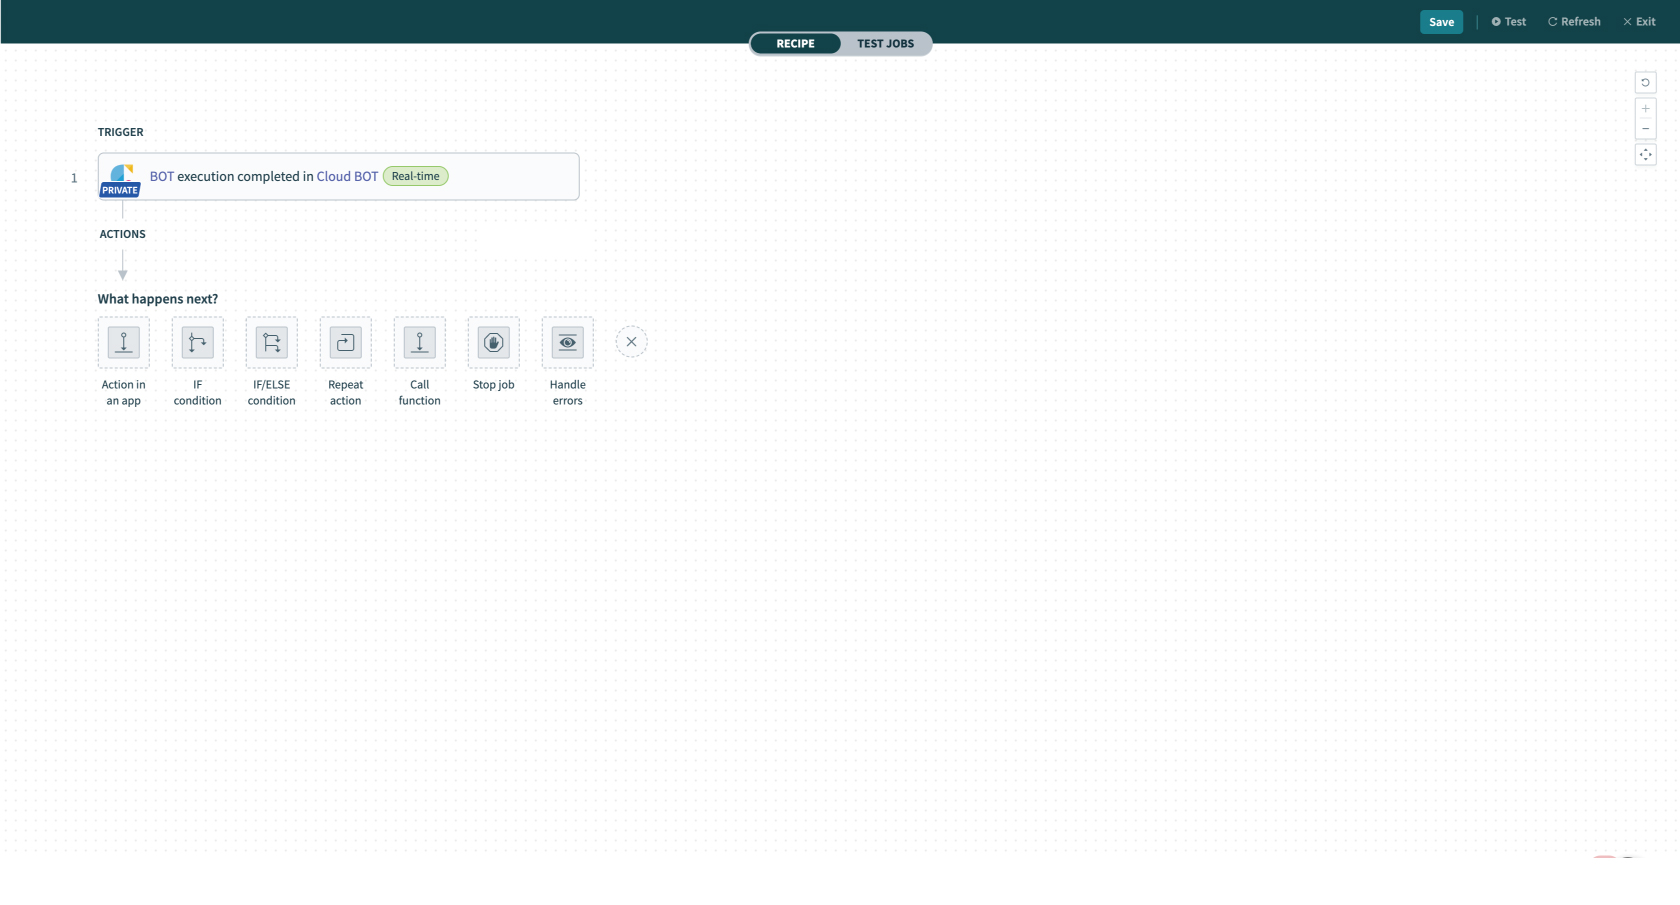
1. Configure the "ACTIONS" settings. Click "+" then select "Action in an app".
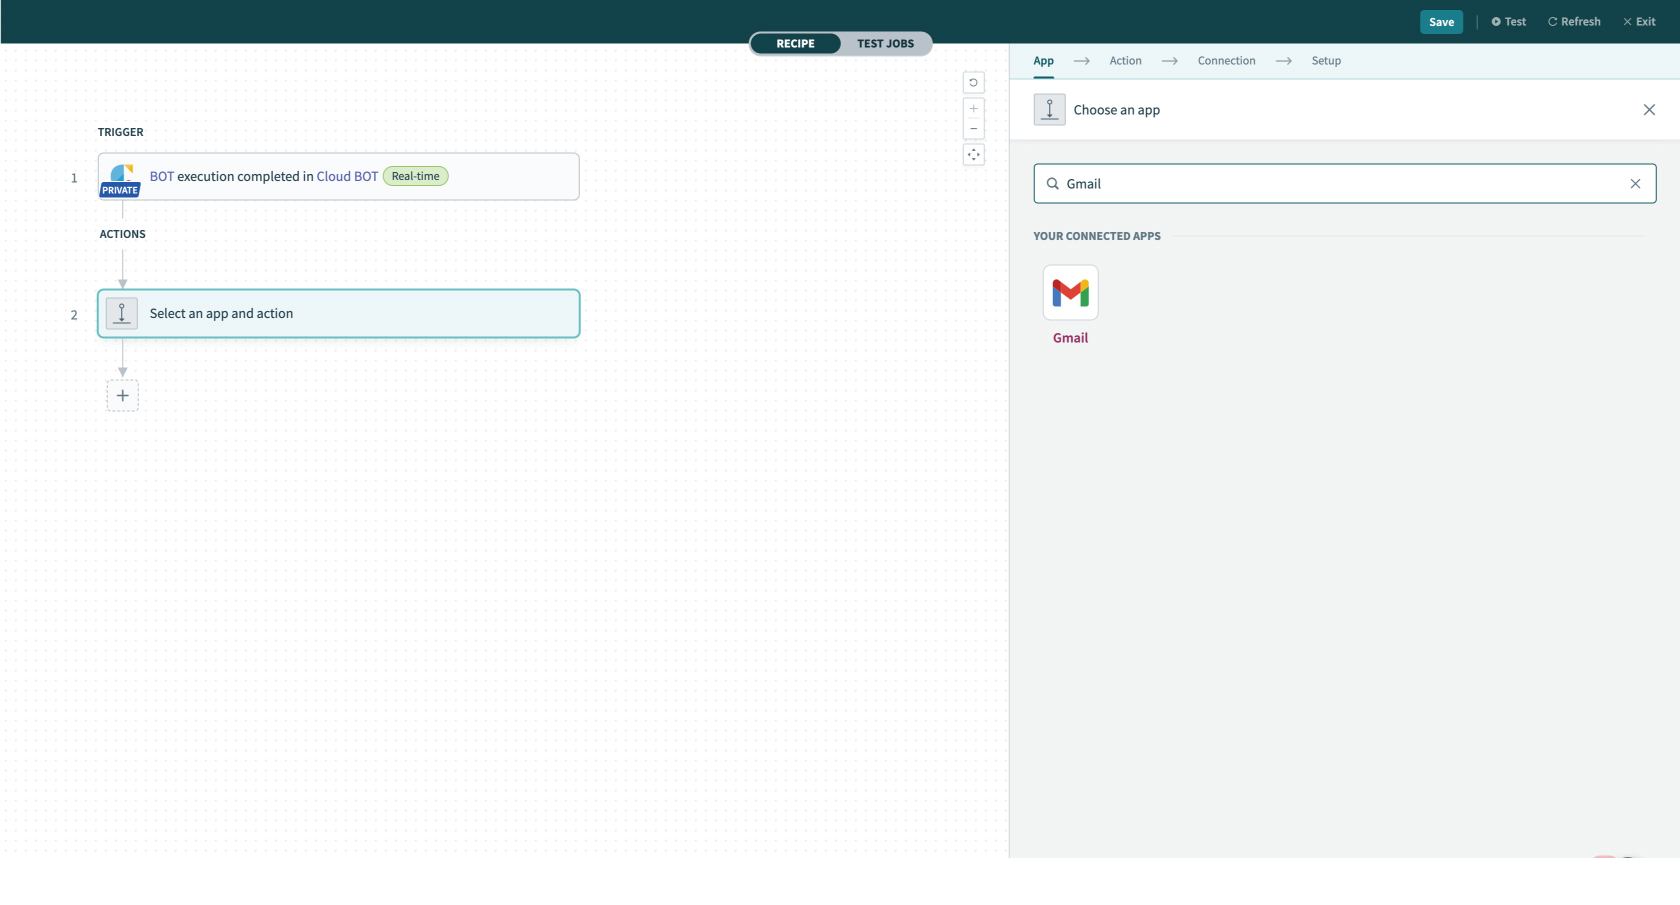
2. Type “Gmail” in the search box and select the app.
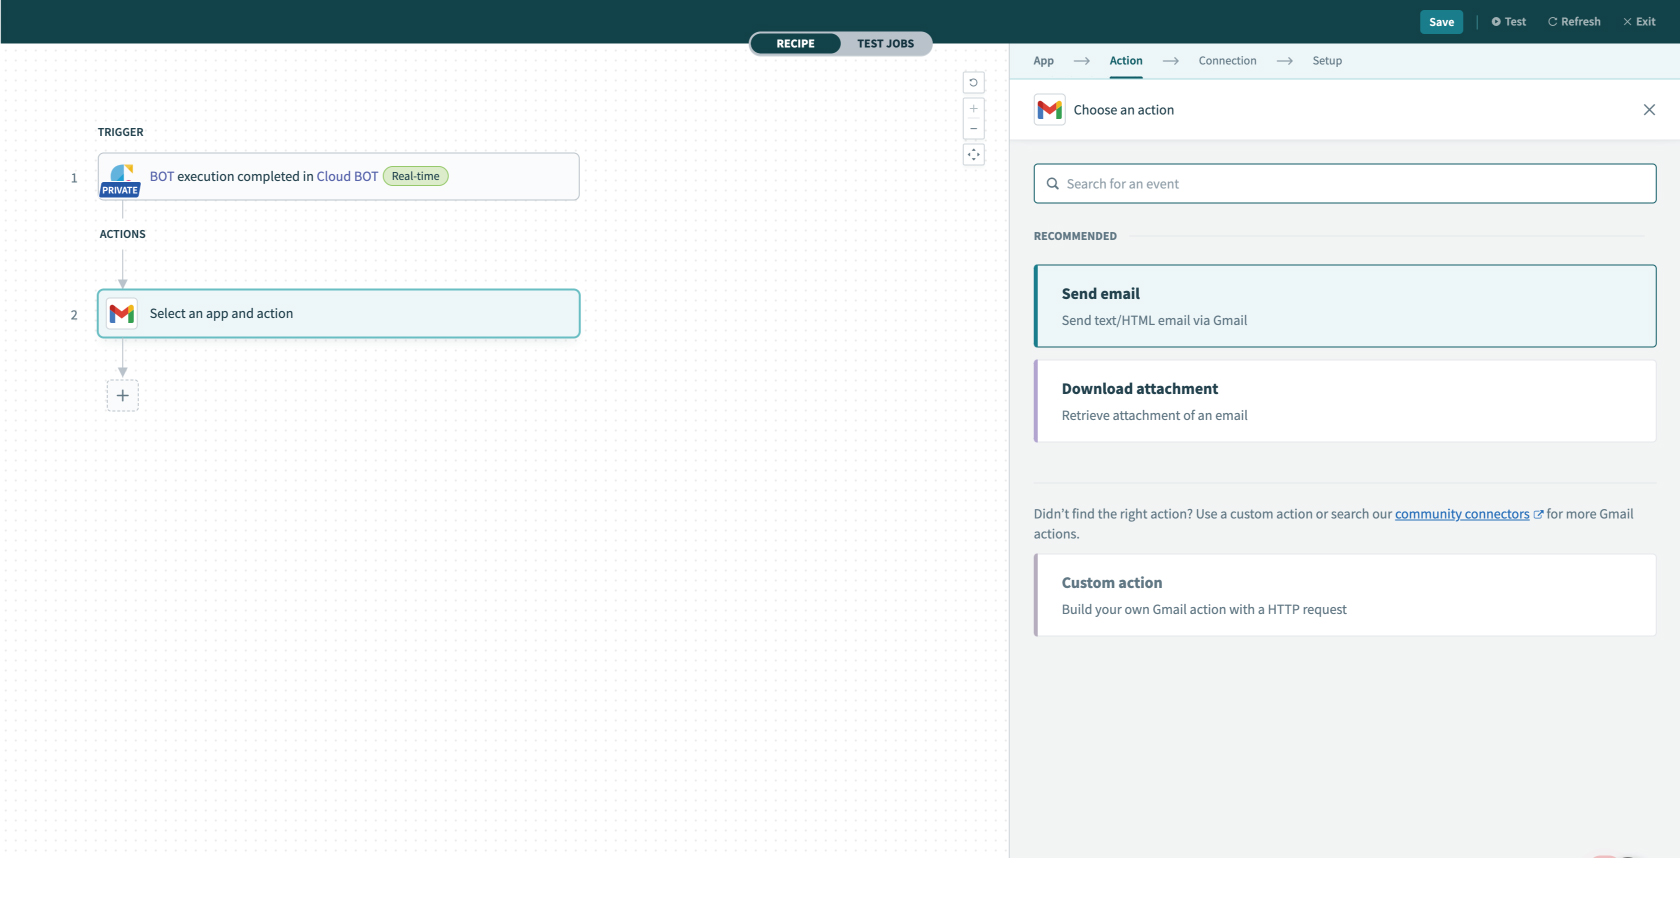
3. Select an action type. Here, select "Send email".
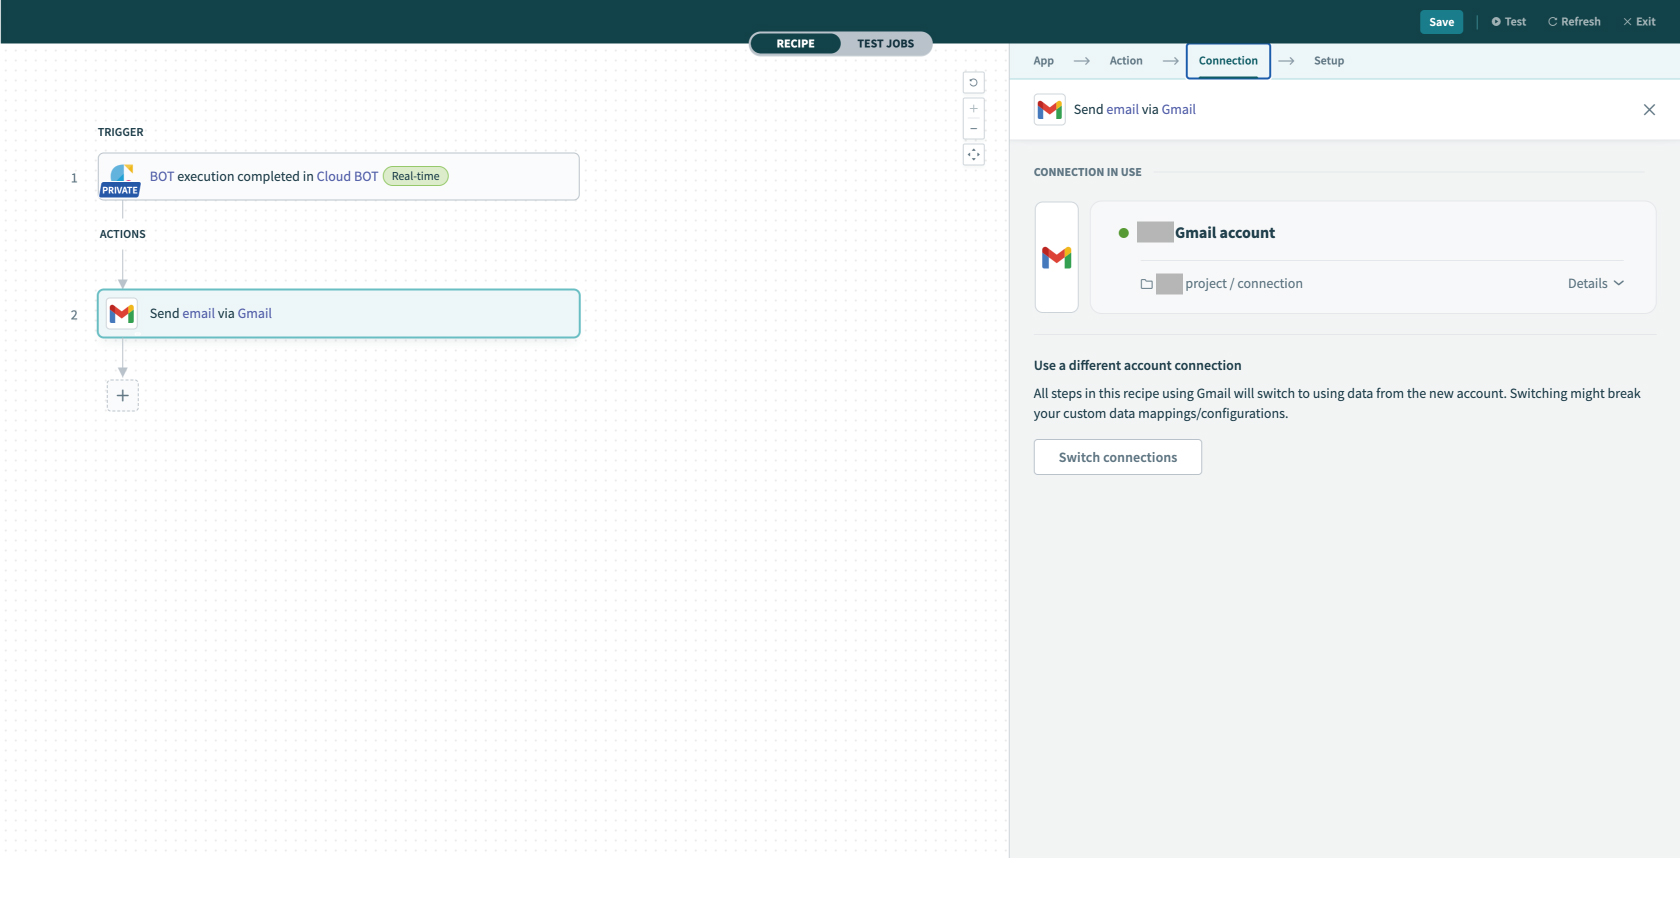
4. Configure the [Connection] settings.
When the Connection is already created, the created connections list is displayed. Refer to this page about creation.
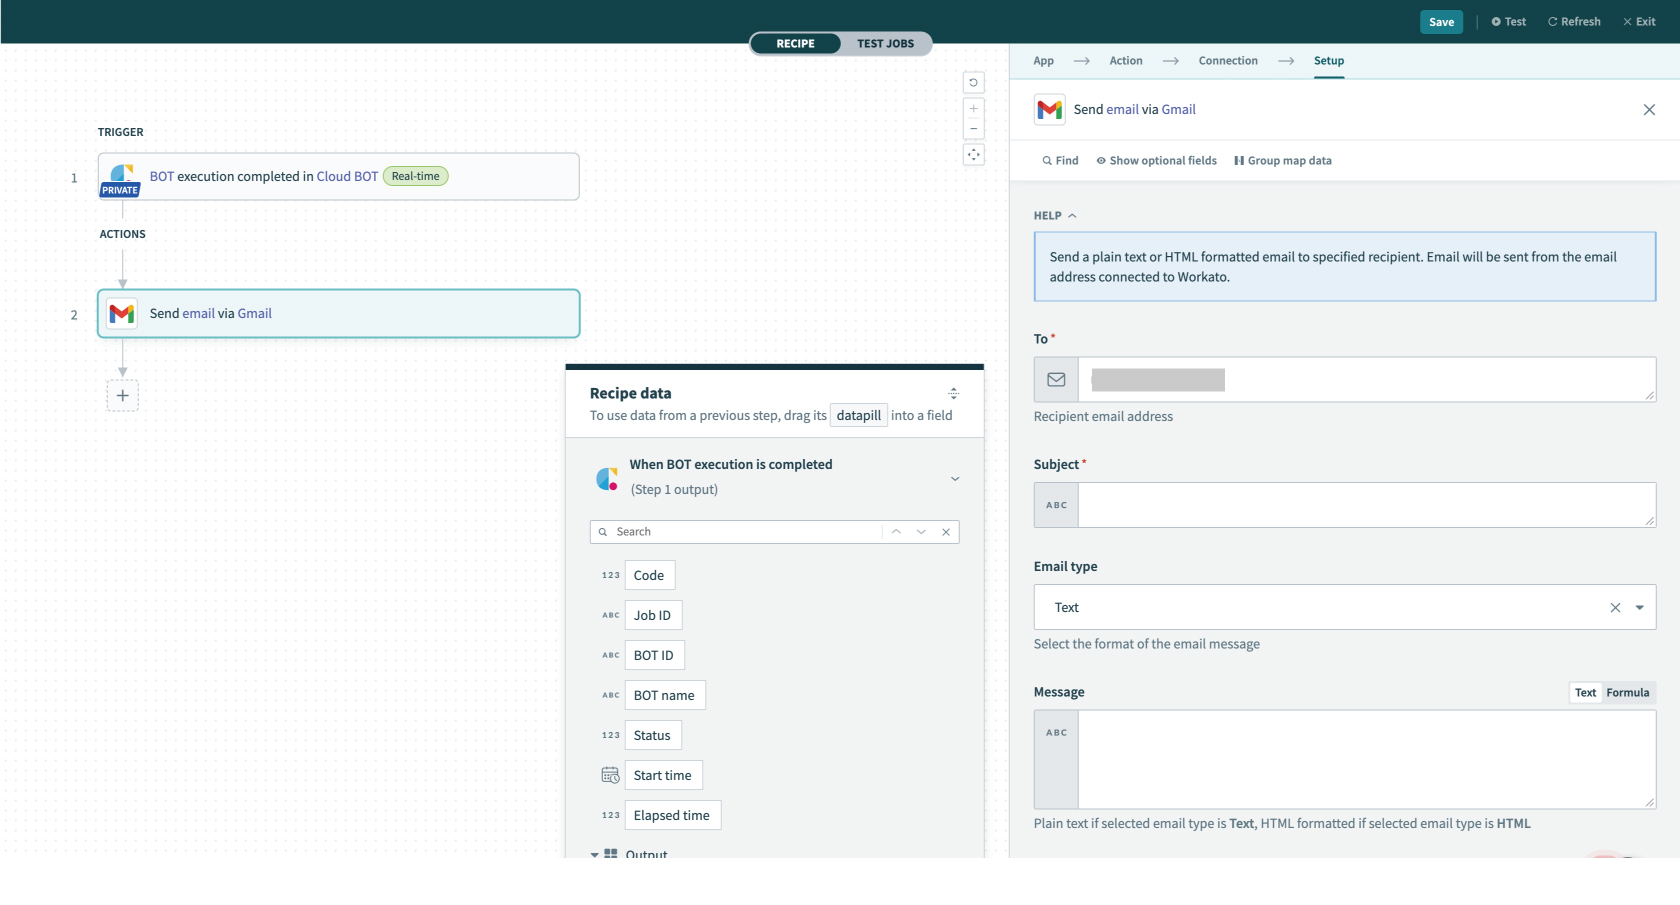
5. Configure the "Setup" settings. Enter "To (mail address)", "Subject", etc.
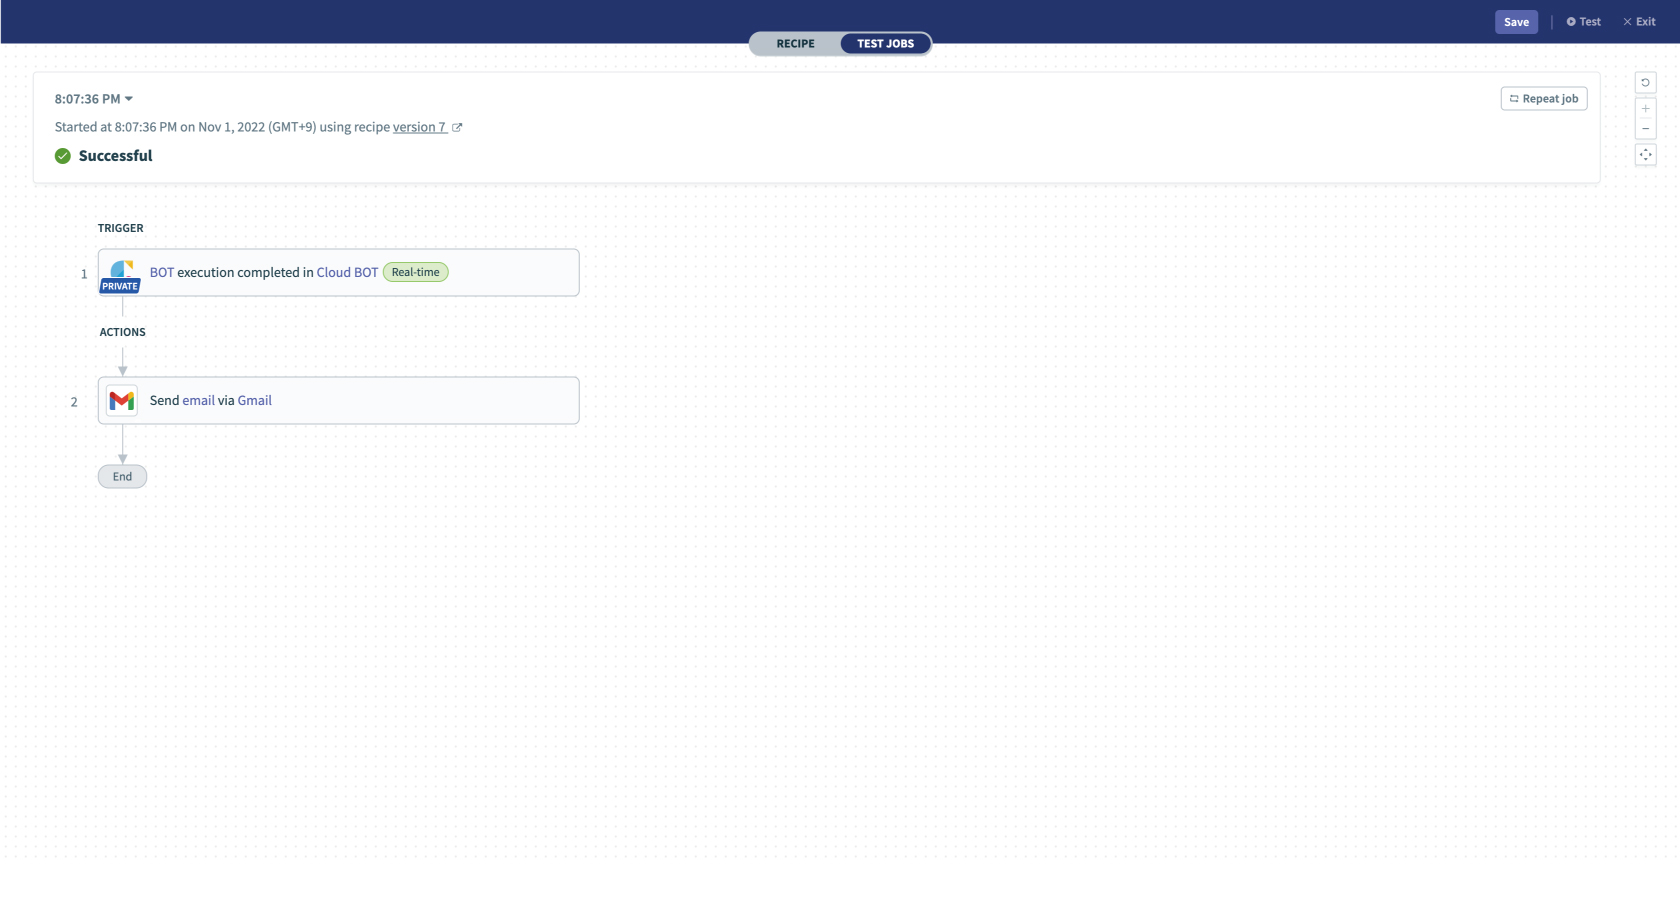
6. Now, the recipe is created. Click "Test" on the top menu (top right corner) to check if it works correctly.
If you can confirm the execution result, the setting is complete.