Upload the file downloaded from Google Drive using BOT

ホーム > Connect > Zapier > Upload the file downloaded from Google Drive using BOT
Creating a Zap
Creates a Zap that uploads the file downloaded from Google Drive with a BOT execution.
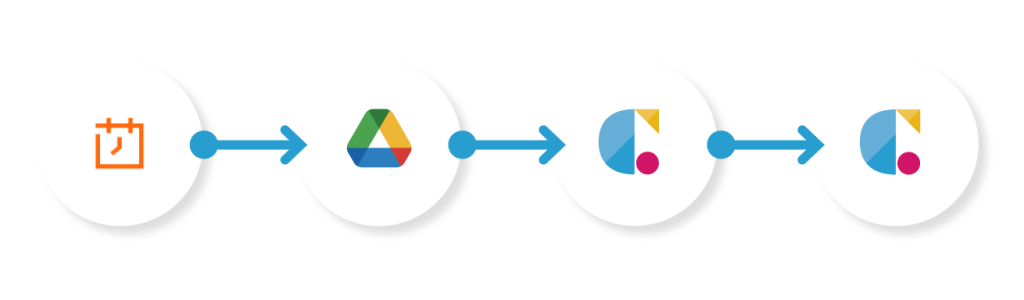
Schedule
Activate a trigger based on the specified schedule.
Google Drive(Find a File)
Get File from Google Drive.
Cloud BOT(Upload File)
Upload the file data to Cloud BOT.
Cloud BOT(Execute BOT)
Execute arbitrary bots.
Setting Schedule
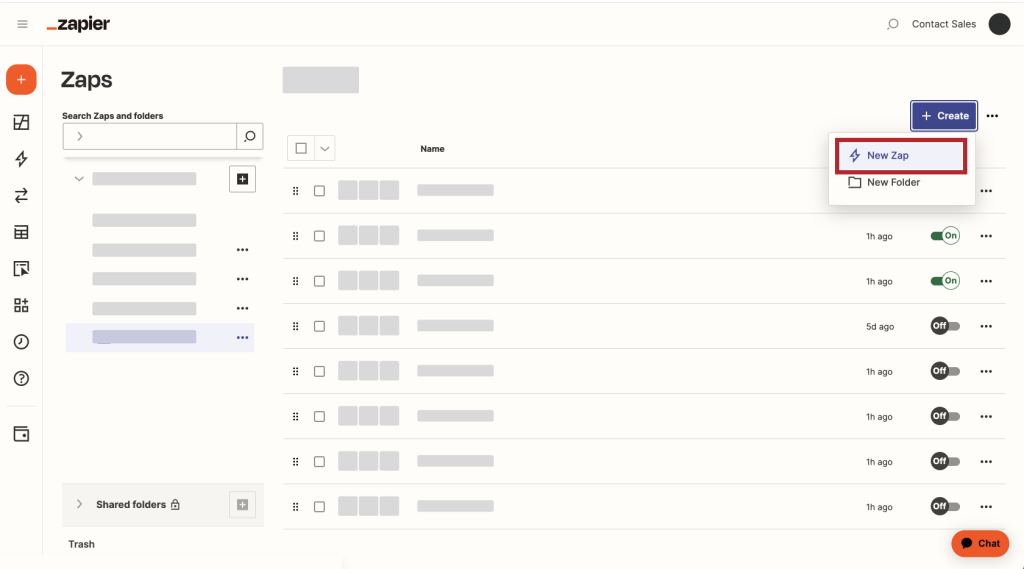
1. Click "Create" to create a Zap.
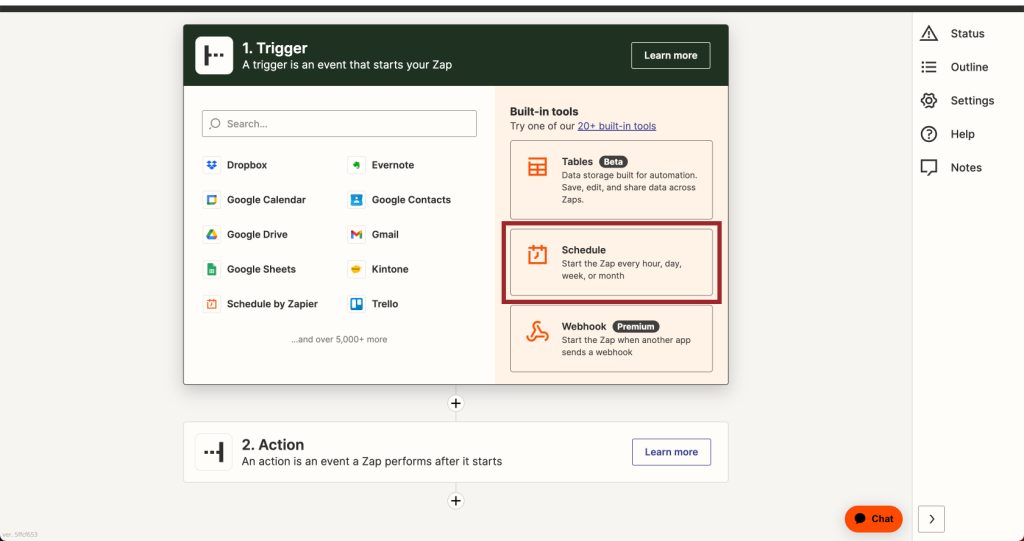
2. Click the Schedule icon.
3. Set the Trigger account and click "Continue".
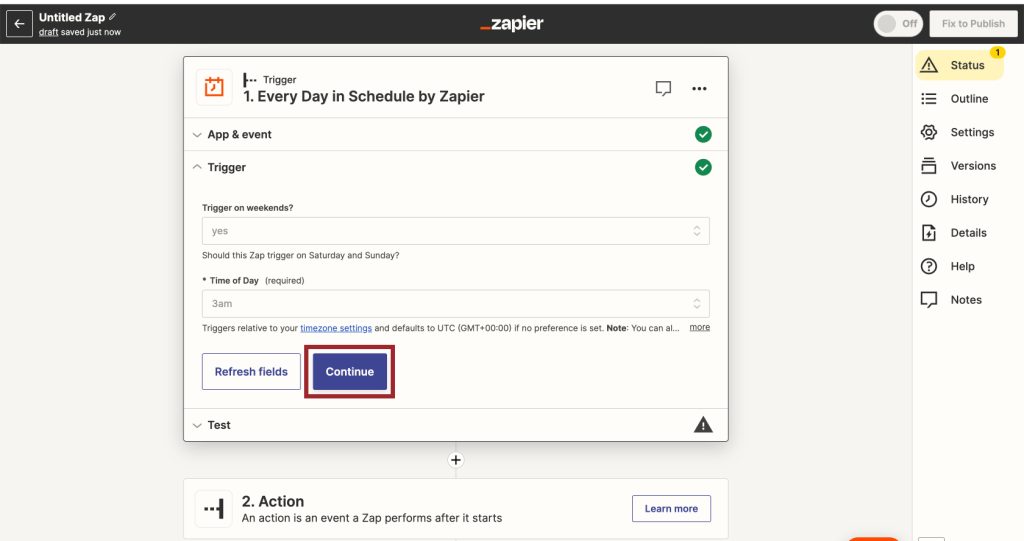
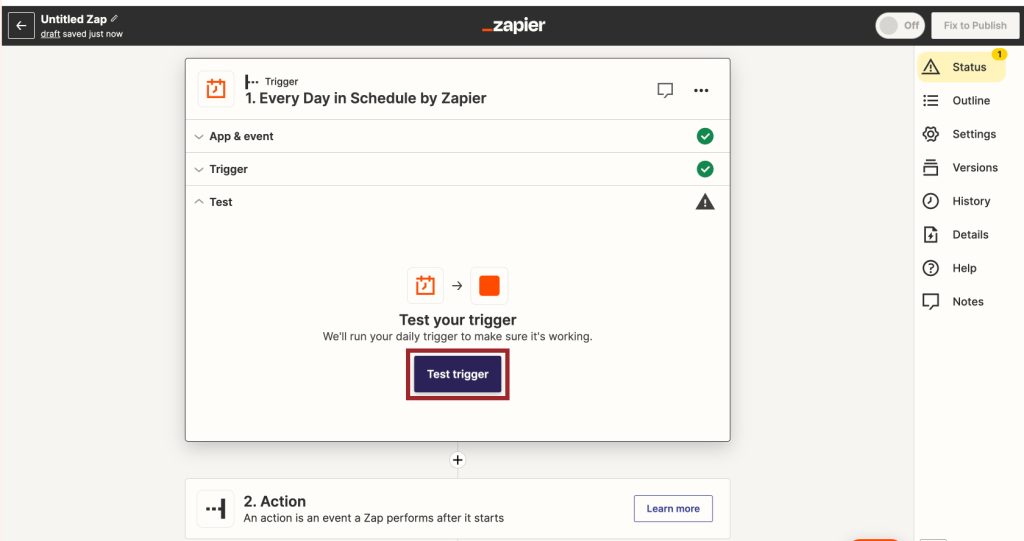
4. When the configuration is complete, click "Test trigger" to check the operation.
Setting Google Drive
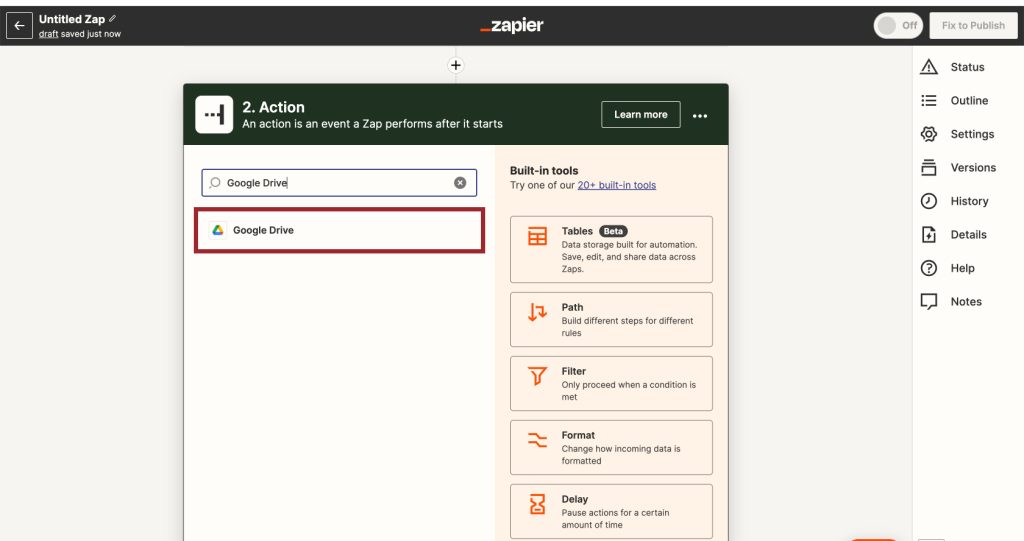
1. Search for 'Google Drive' in the search field of Action and click on the icon.
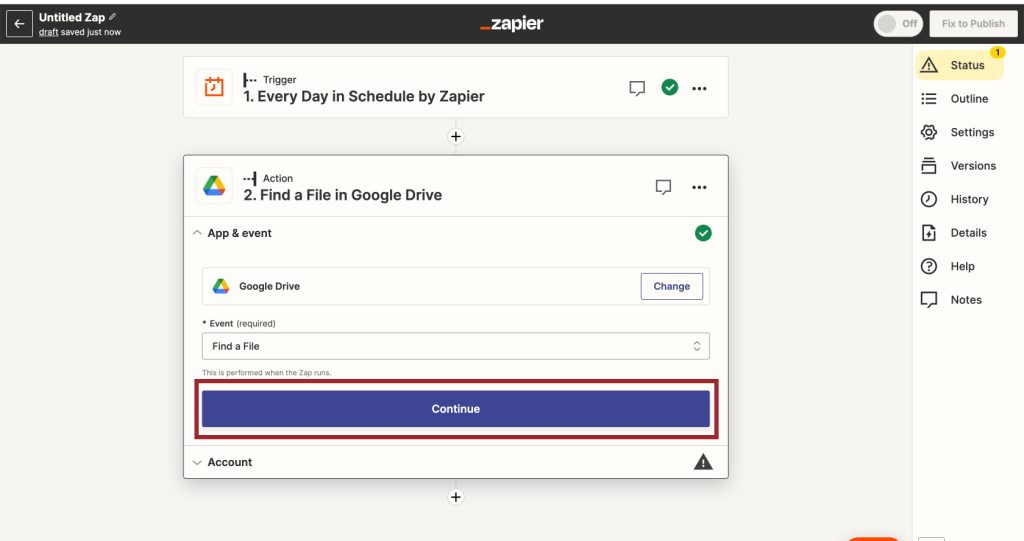
2. Select "Find a File", and click "Continue".
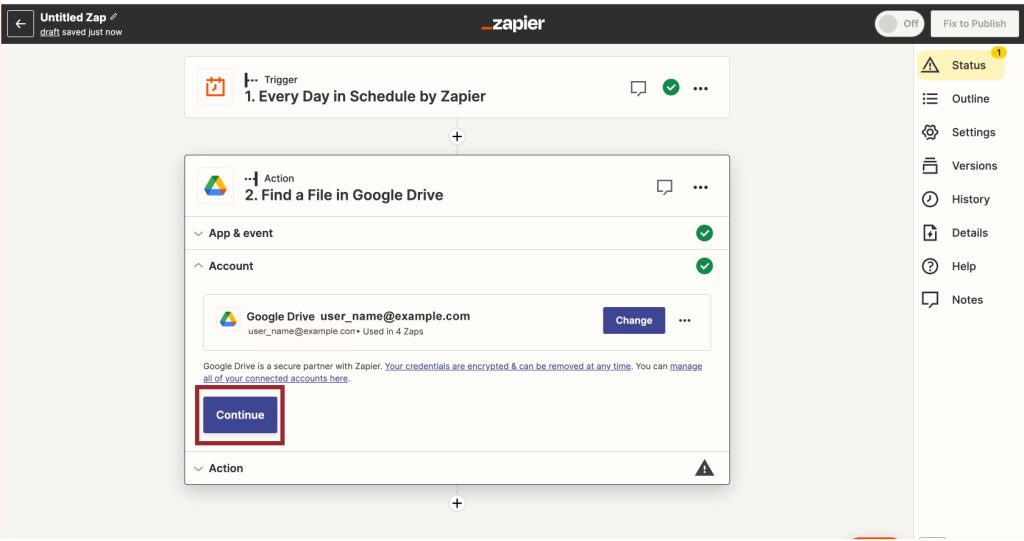
3. Set the Action account and click "Continue".
*Create a Connect if it does not exist.
4. Set the Action and click "Continue".
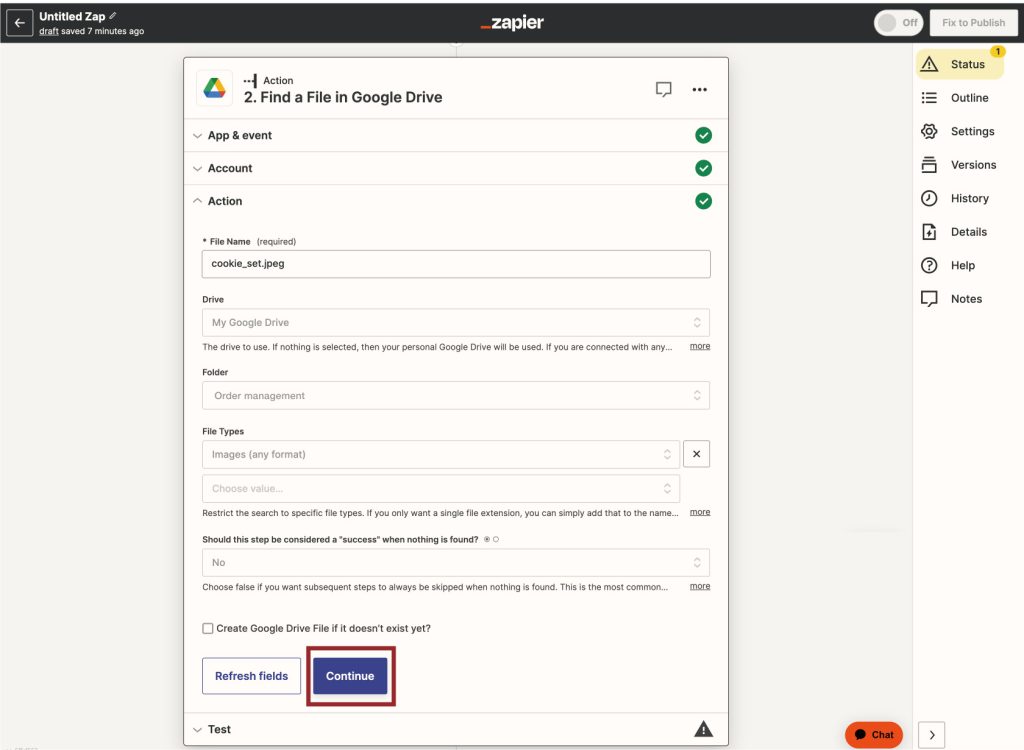
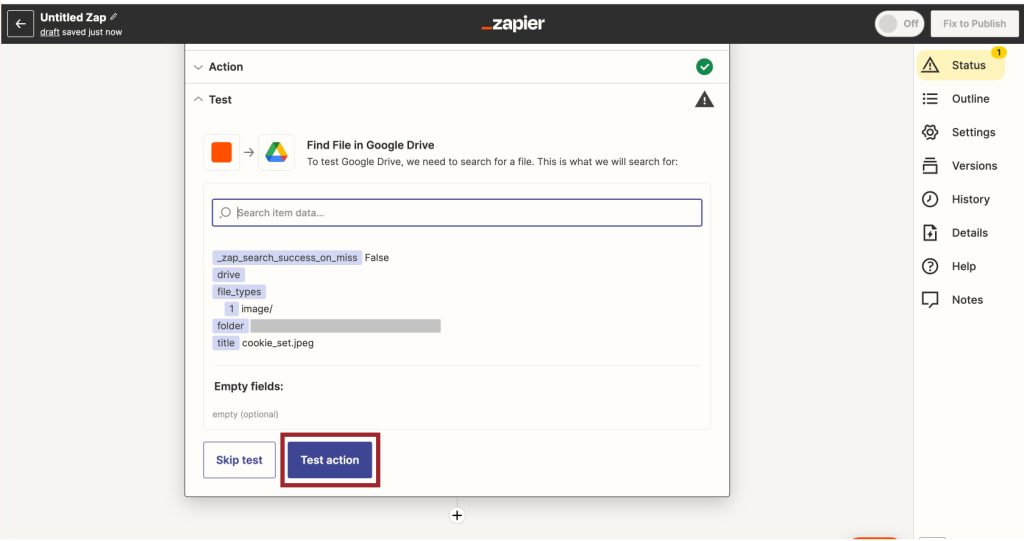
5. When the configuration is complete, click "Test action" to check the operation.
Setting Cloud BOT(Upload File)
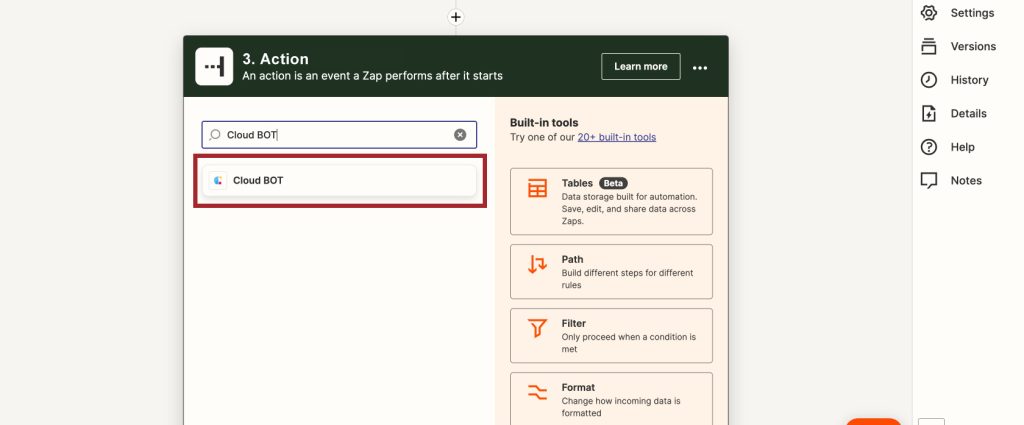
1. Search for 'Cloud BOT' in the search field of Action and click on the icon.
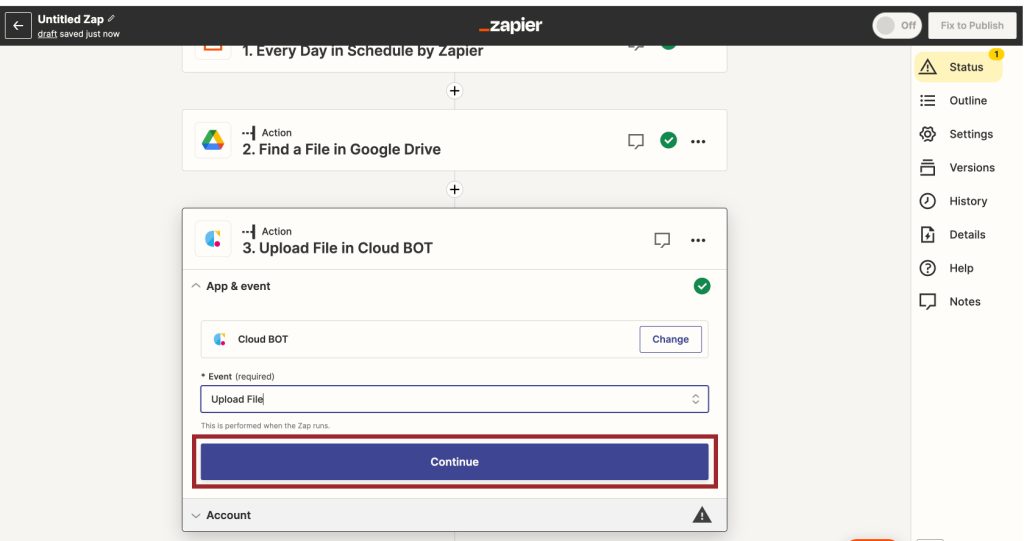
2. Select "Upload File", and click "Continue".
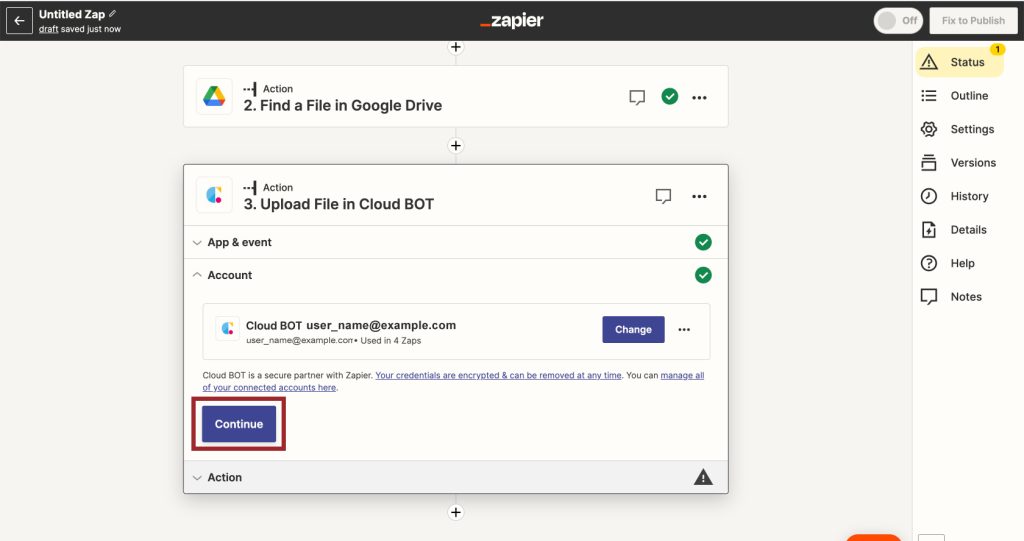
3. Set the Action account and click "Continue".
*Create a Connect if it does not exist. Learn more about creating a Connect here.
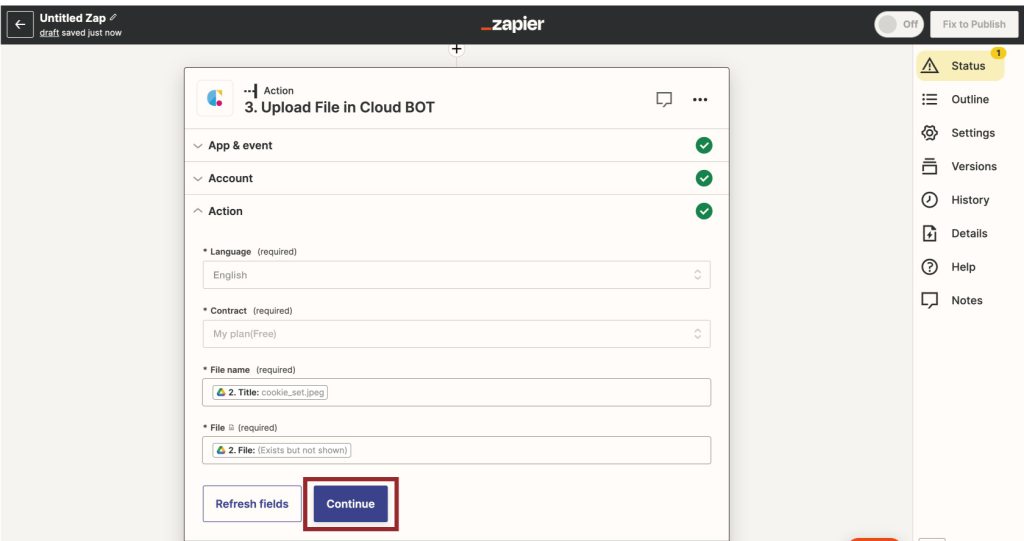
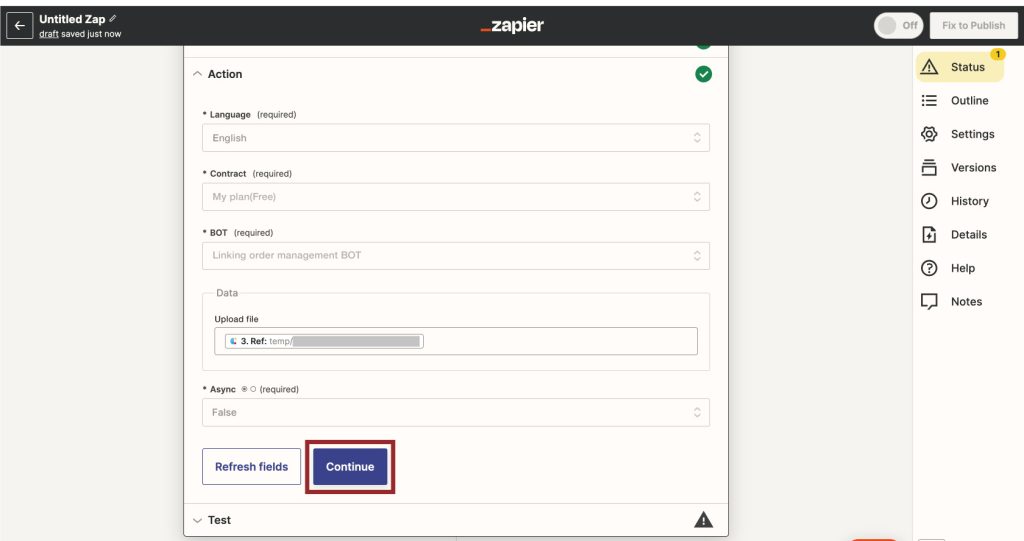
4. Set the Action and click "Continue". Refer to here about setting values.
In the image example, the specified file obtained from Google Drive's "Find a File" is used.
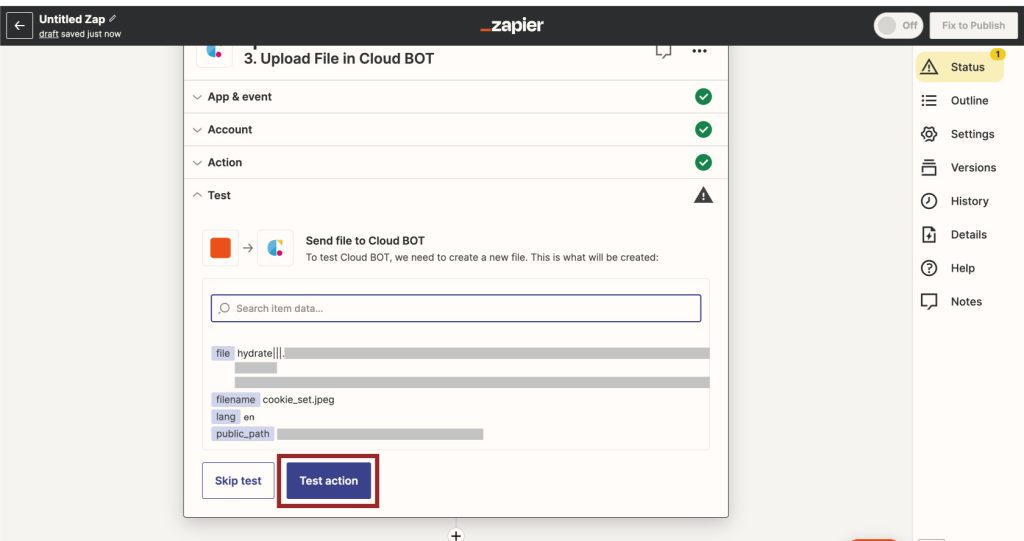
5. When the configuration is complete, click "Test action" to check the operation.
Setting Cloud BOT(Execute BOT)
1. Search for 'Cloud BOT' in the search field of Action and click on the icon.

2. Select "Execute BOT", and click "Continue".

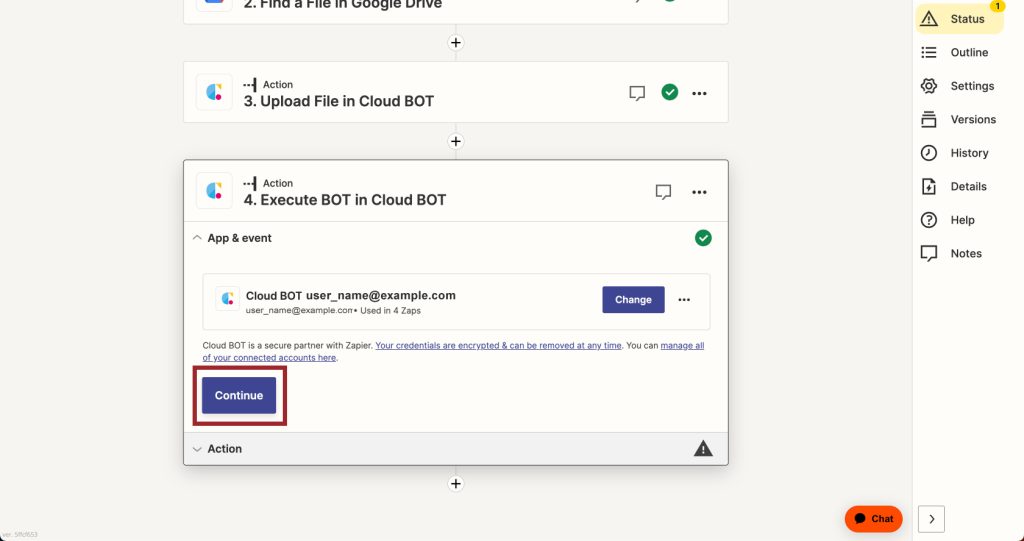
3. Set the Action account and click "Continue".
*Create a Connect if it does not exist. Learn more about creating a Connect here.
4. Set the Action and click "Continue". Refer to here about setting values.
You can see the results of the run, then click "Publish". This completes the creation of the Zap.