Notifying by Gmail when BOT execution ends

Home > Connect > Yoom > Notifying by Gmail when BOT execution ends
Japanese may be displayed on some pages.
フローボット作成
クラウドBOTのBOT実行をトリガーとして、BOT実行終了時にGmailで実行ステータスを通知するフローボットを作成します。
クラウドBOT(ボットの実行が完了したら)
BOT実行が完了した際にBOT実行結果を取得します。
Gmail(メールを送る)
BOTの実行ステータスをメール送信します。
クラウドBOT(ボットの実行が完了したら)を設定する
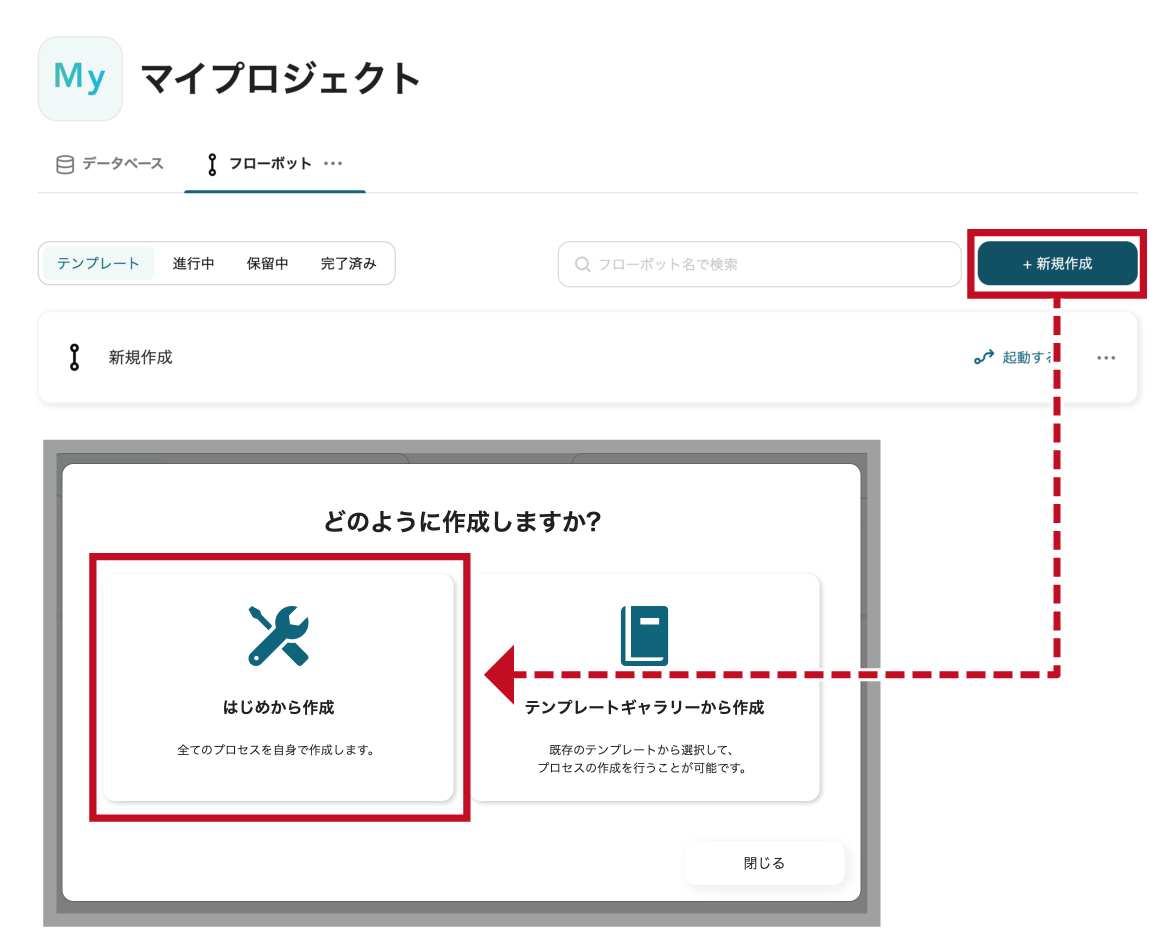
1. "新規作成"をクリックし、"はじめから作成"をクリックします。
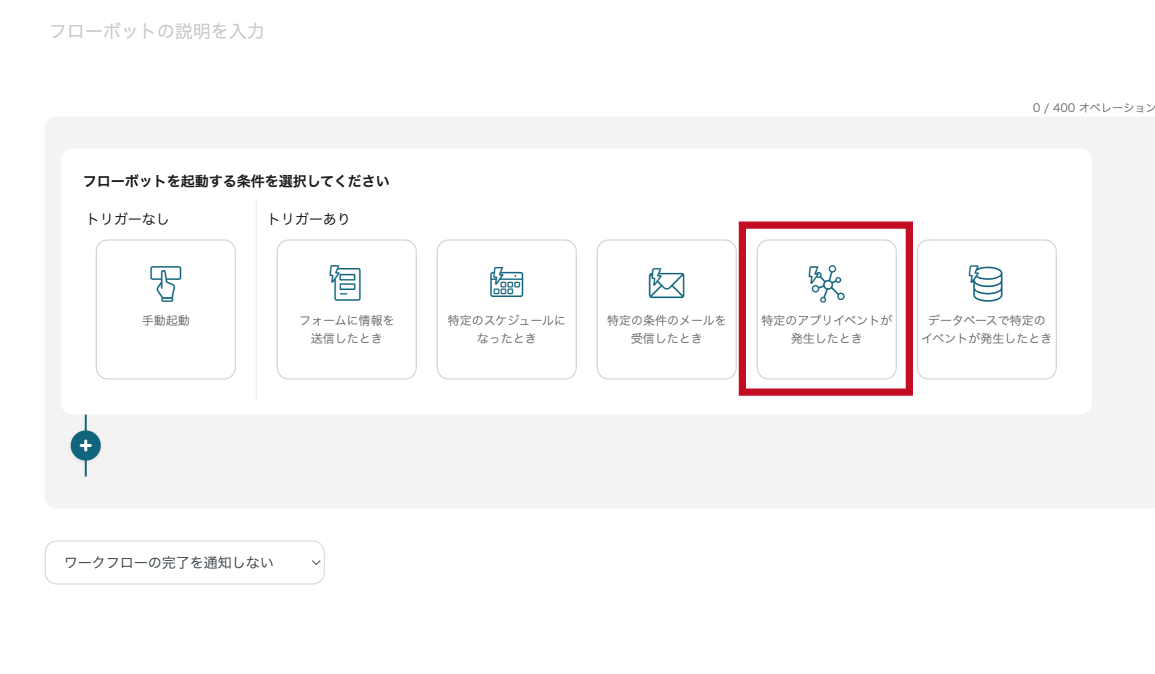
2. フローボットを起動する条件として"特定のアプリイベントが発生したとき"をクリックしま す。
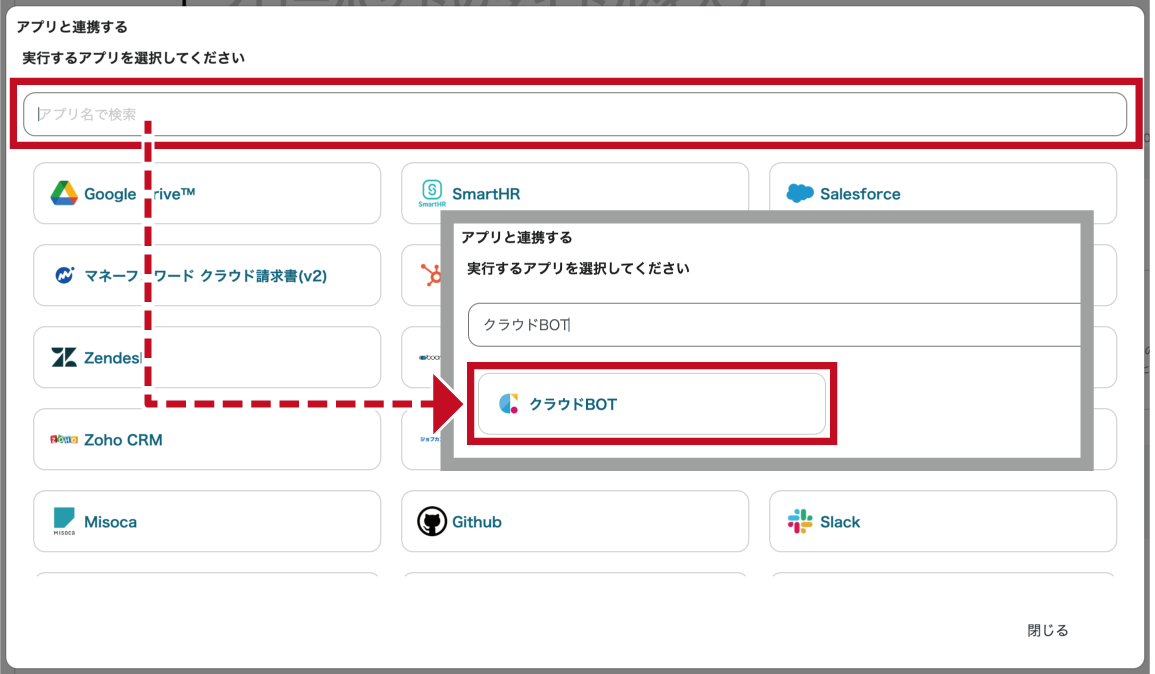
3. "アプリを連携する"の検索欄で"クラウドBOT"と検索し、アイコンをクリックします。
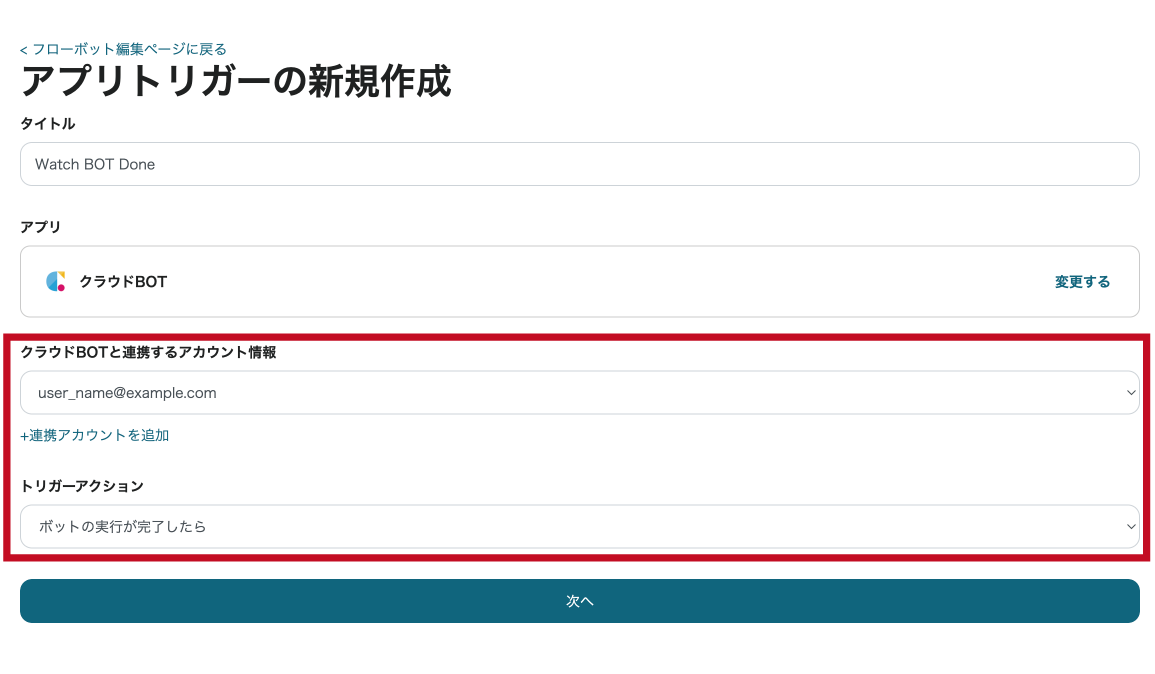
4. クラウドBOTと連携するアカウント情報、トリガーアクションを設定し、"次へ"をクリックします。
画像の例では、トリガーアクションとして"ボットの実行が完了したら"を選択しています。
*接続がない場合は接続を作成します。接続の作成についてはこちら。
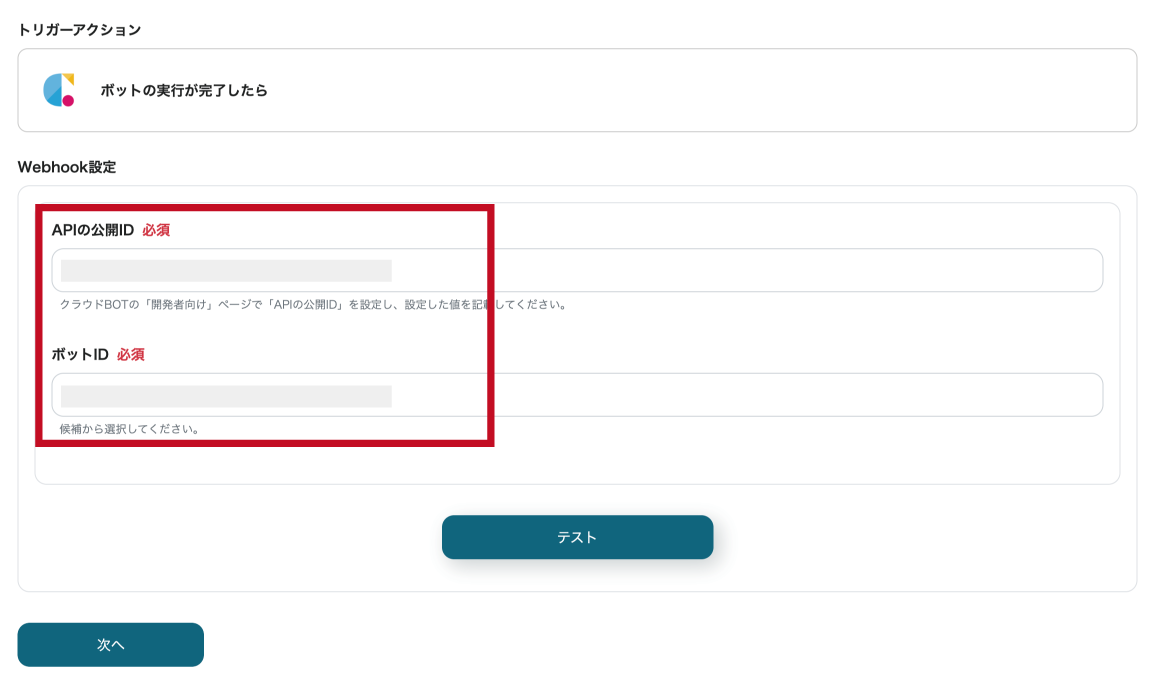
5. Webhookを設定します。設定値についてはこちら。
"テスト"を実施し、"次へ"をクリックします。
6. 設定したBOTをクラウドBOT上で実行します。
Webhookイベントの"テスト"をクリックし、実行結果をプレビュー表示します。
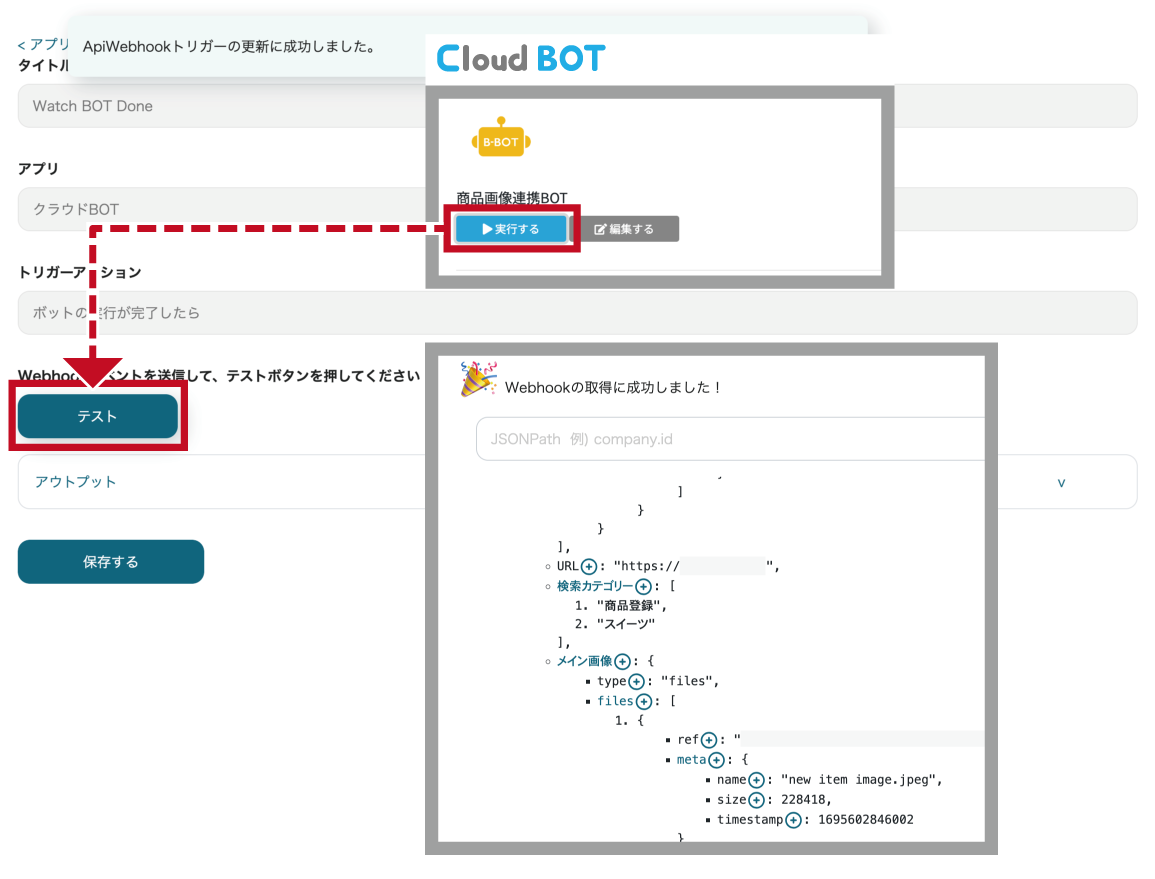
結果が表示されたら"保存する"をクリックします。
Gmail(メールを送る)を設定する
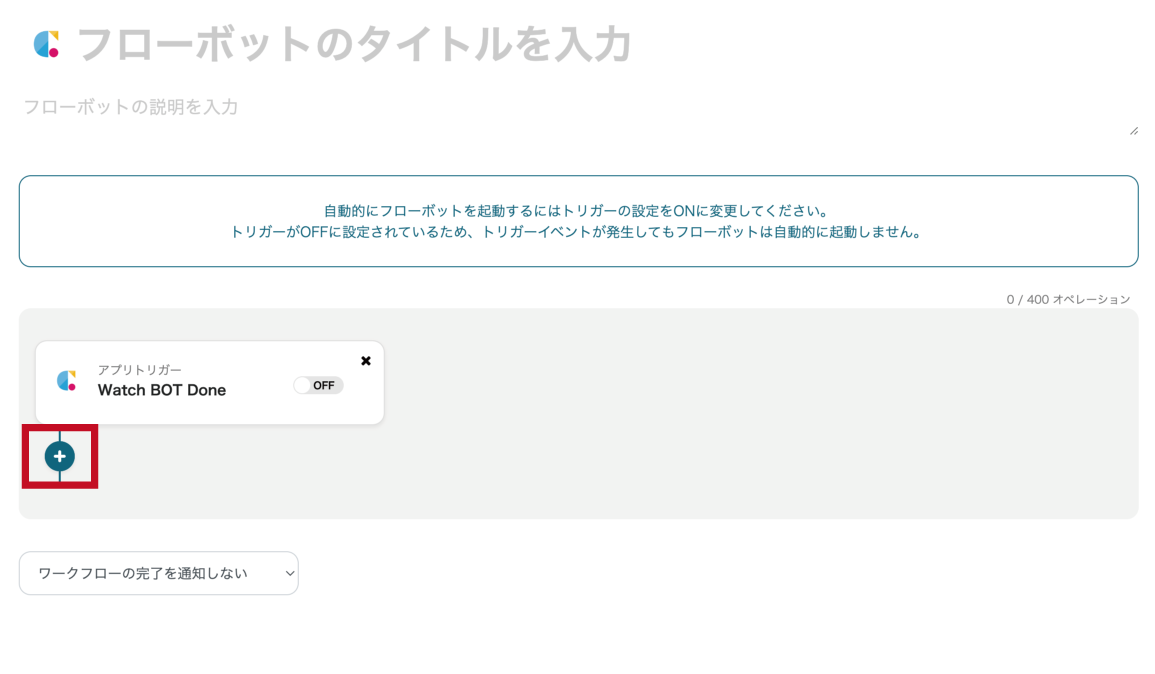
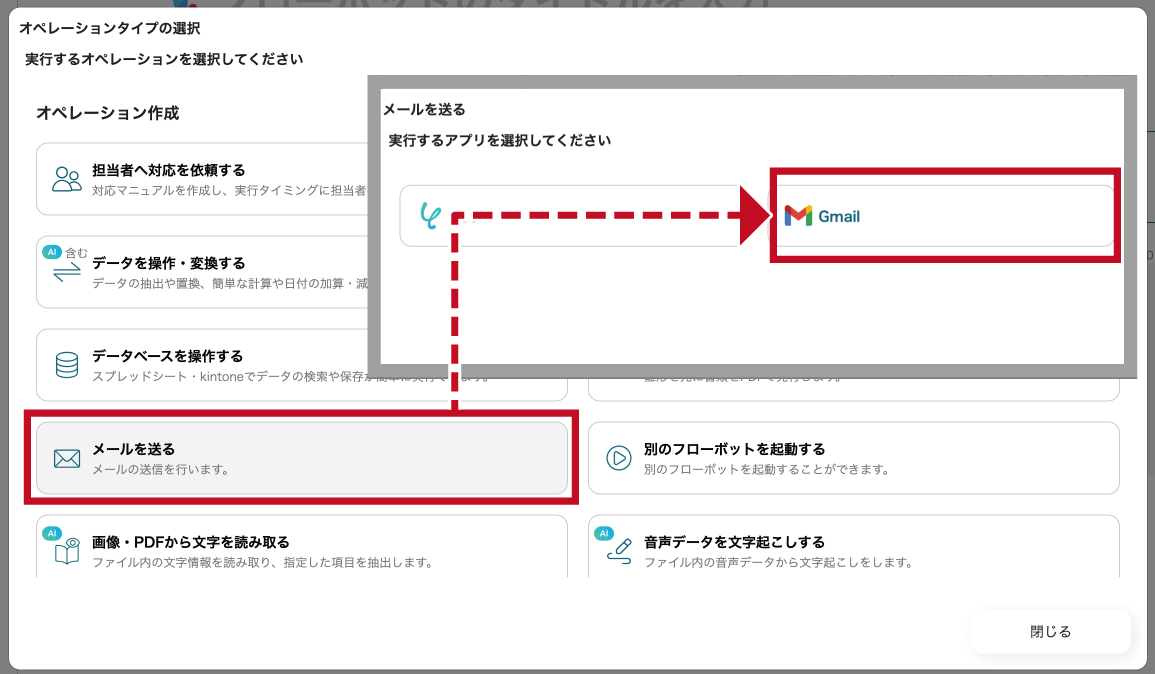
1. "プラス"ボタンをクリックし、オペレーションを追加します。
2. "メールを送る"をクリックし、"Gmail"をクリックします。
3. Gmailと連携するアカウント情報、アクションを設定し、 "次へ"をクリックします。
画像の例では、メール内容のTo,件名,本文を設定しています。
*接続がない場合は接続を作成します。

4. メールの送信内容がプレビュー表示されます。 "テスト送信"をクリックし、動作を確認します。
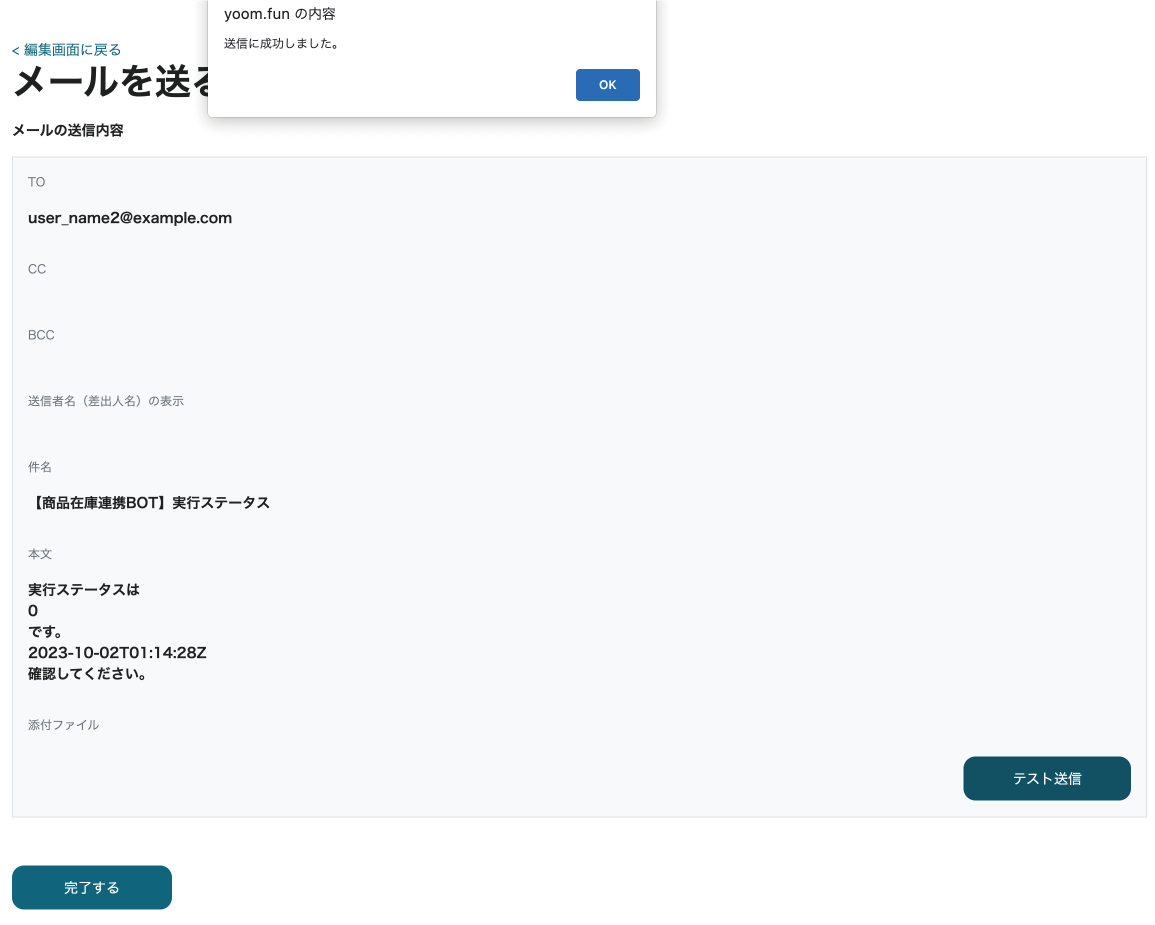
メールが確認できたら"完了する"をクリックします。これでフローボットの作成は完了です。