Executing a BOT when a new row is added to a spreadsheet

Home > Connect > Workato > Executing a BOT when a new row is added to a spreadsheet
Creating a recipe
Creates a recipe that executes a particular BOT when a new row is added to a spreadsheet.

Google Sheets(New row in sheet in My Drive)
Triggered when adding a new row to a spreadsheet.
Cloud BOT(Execute BOT)
Executes any BOT.
Setting Google Sheets
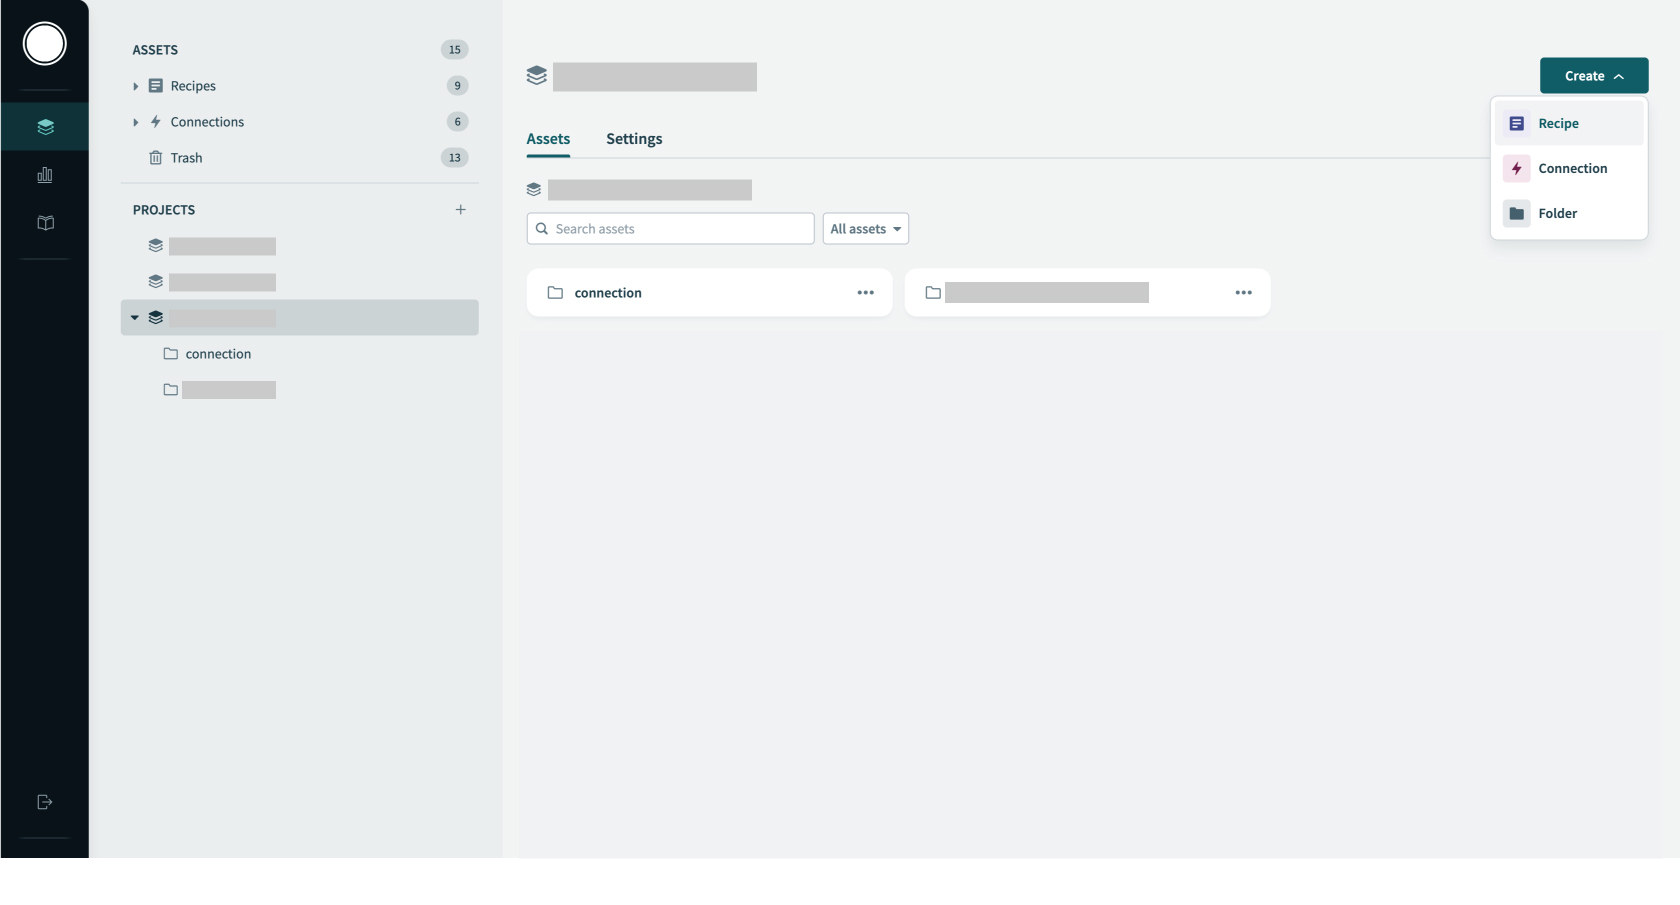
1. Click "Create" to create a Recipe.
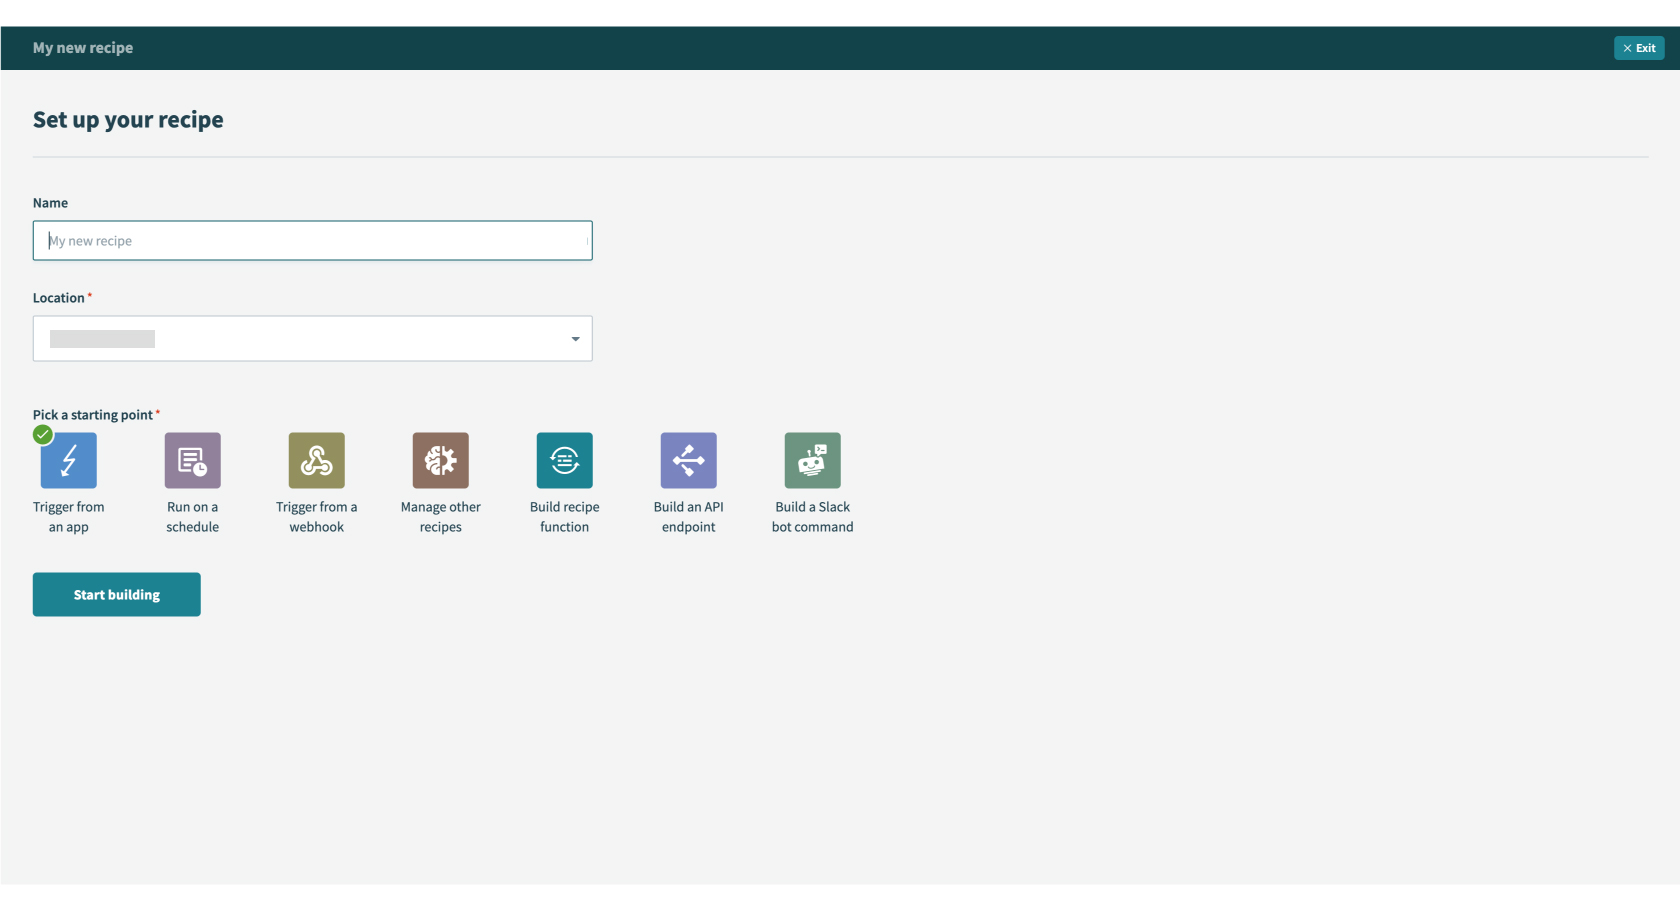
2. Optionally type a recipe name in "Name" and specify "Location", then click "Start building".
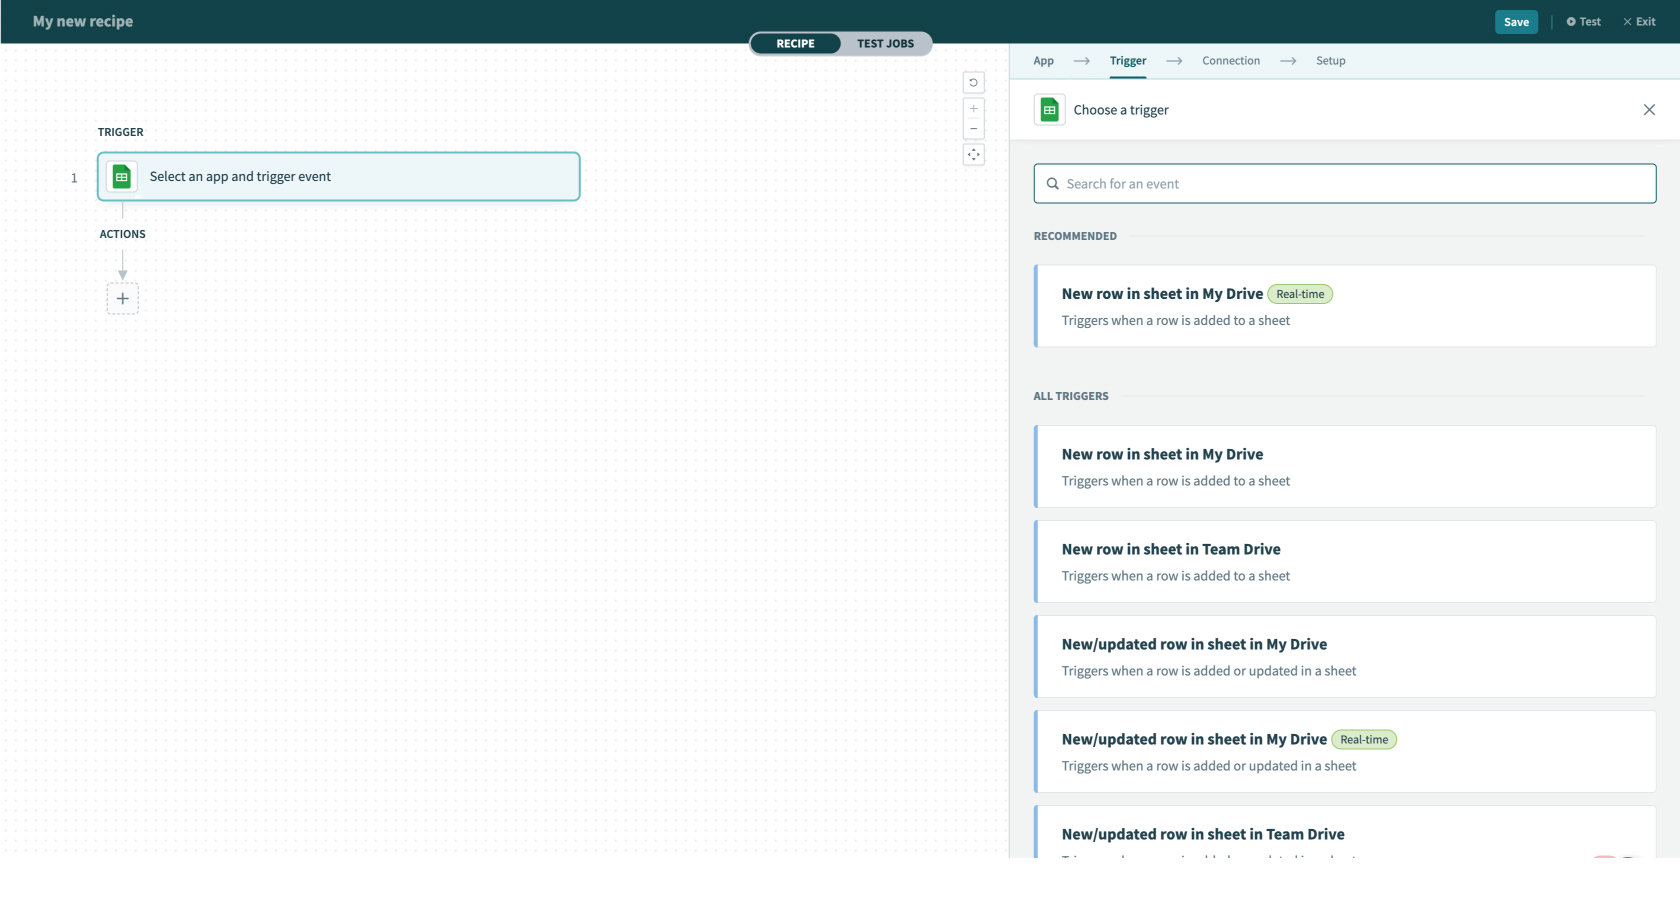
3. Search "Google Sheets" in the search box and select the Google Sheets app.

4. Select a trigger type. In this example, select "New row in sheet in My Drive".
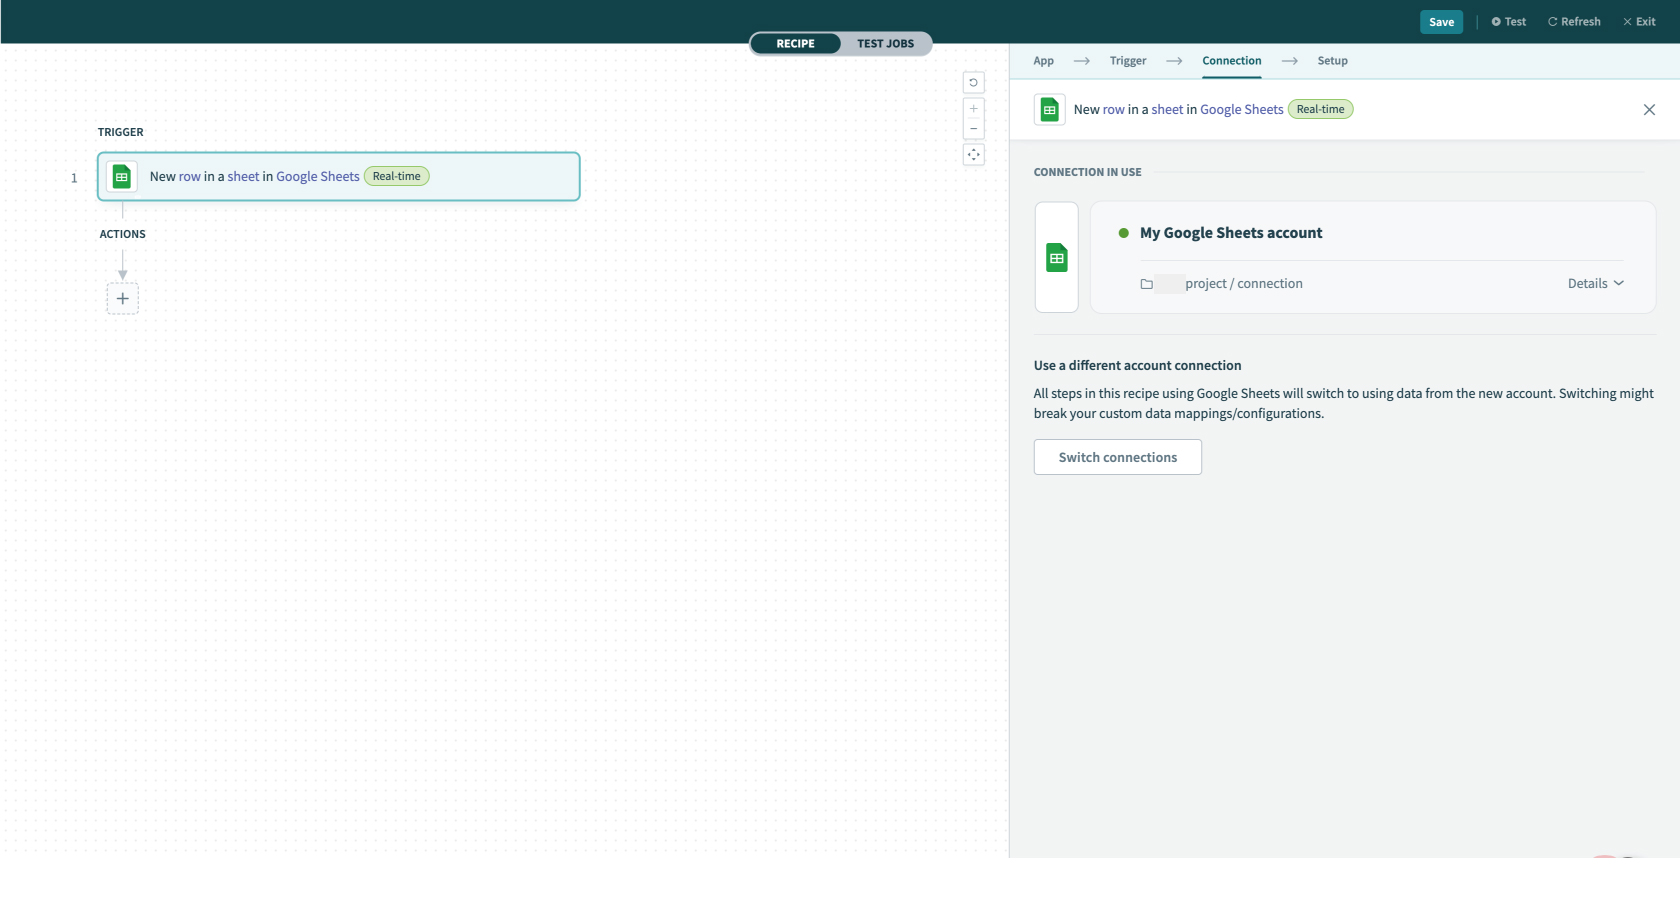
5. Configure the "Connection" settings.
When the Connection is already created, the created connections list is displayed. Refer to this page about creation.
6.Configure the "Setup" settings. Specify "Spreadsheet" and "Sheet".
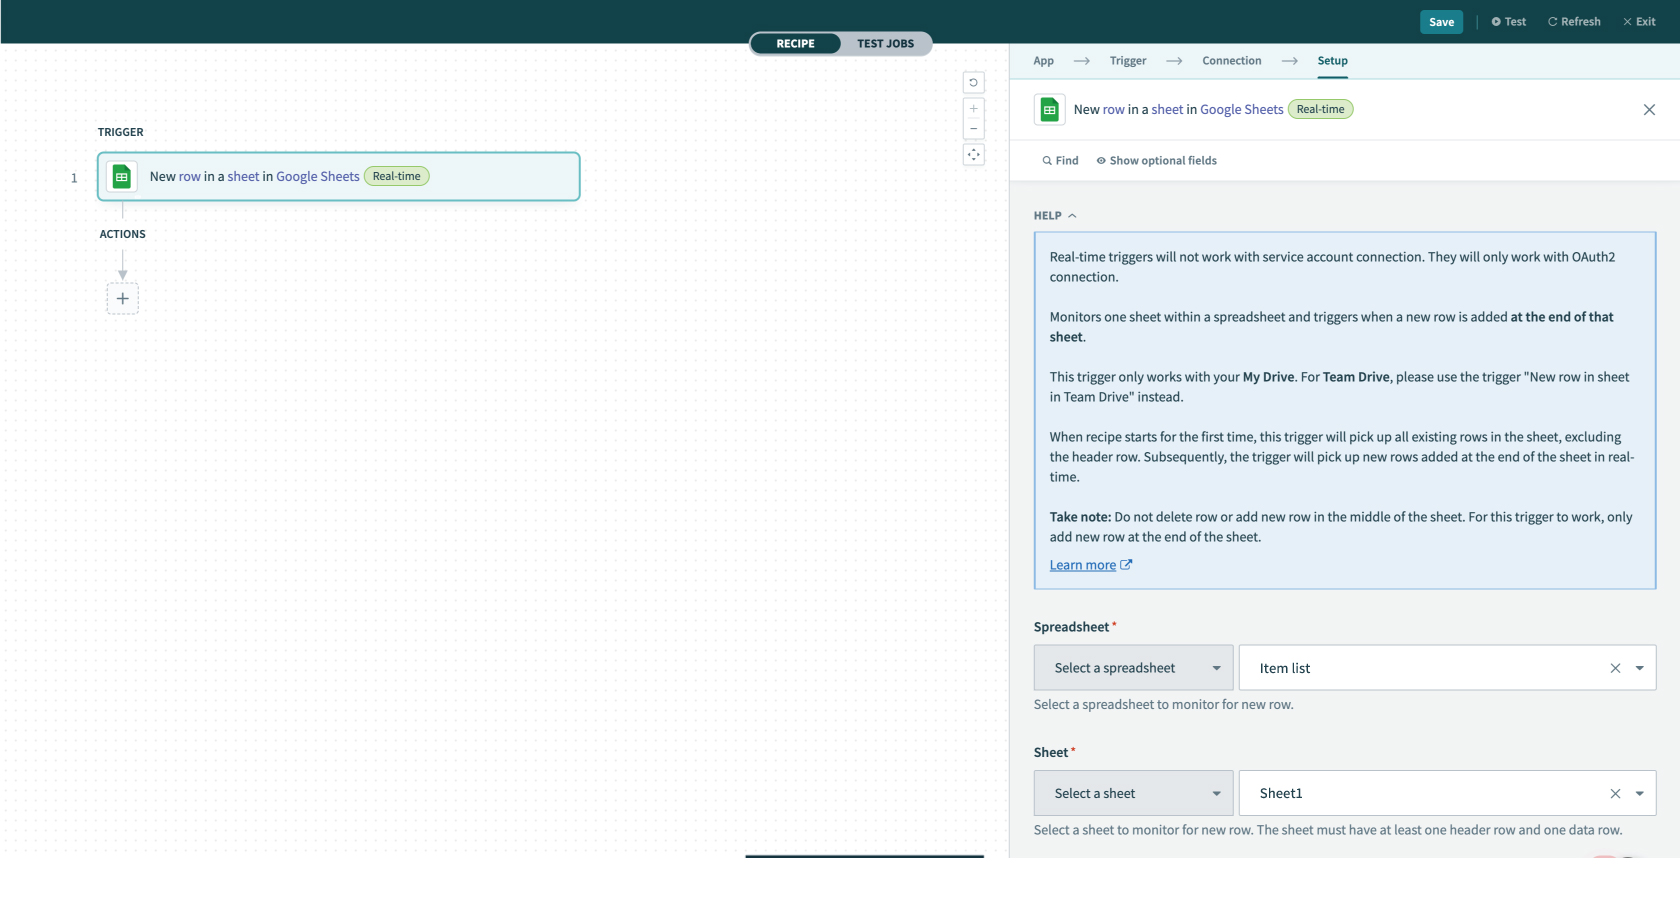
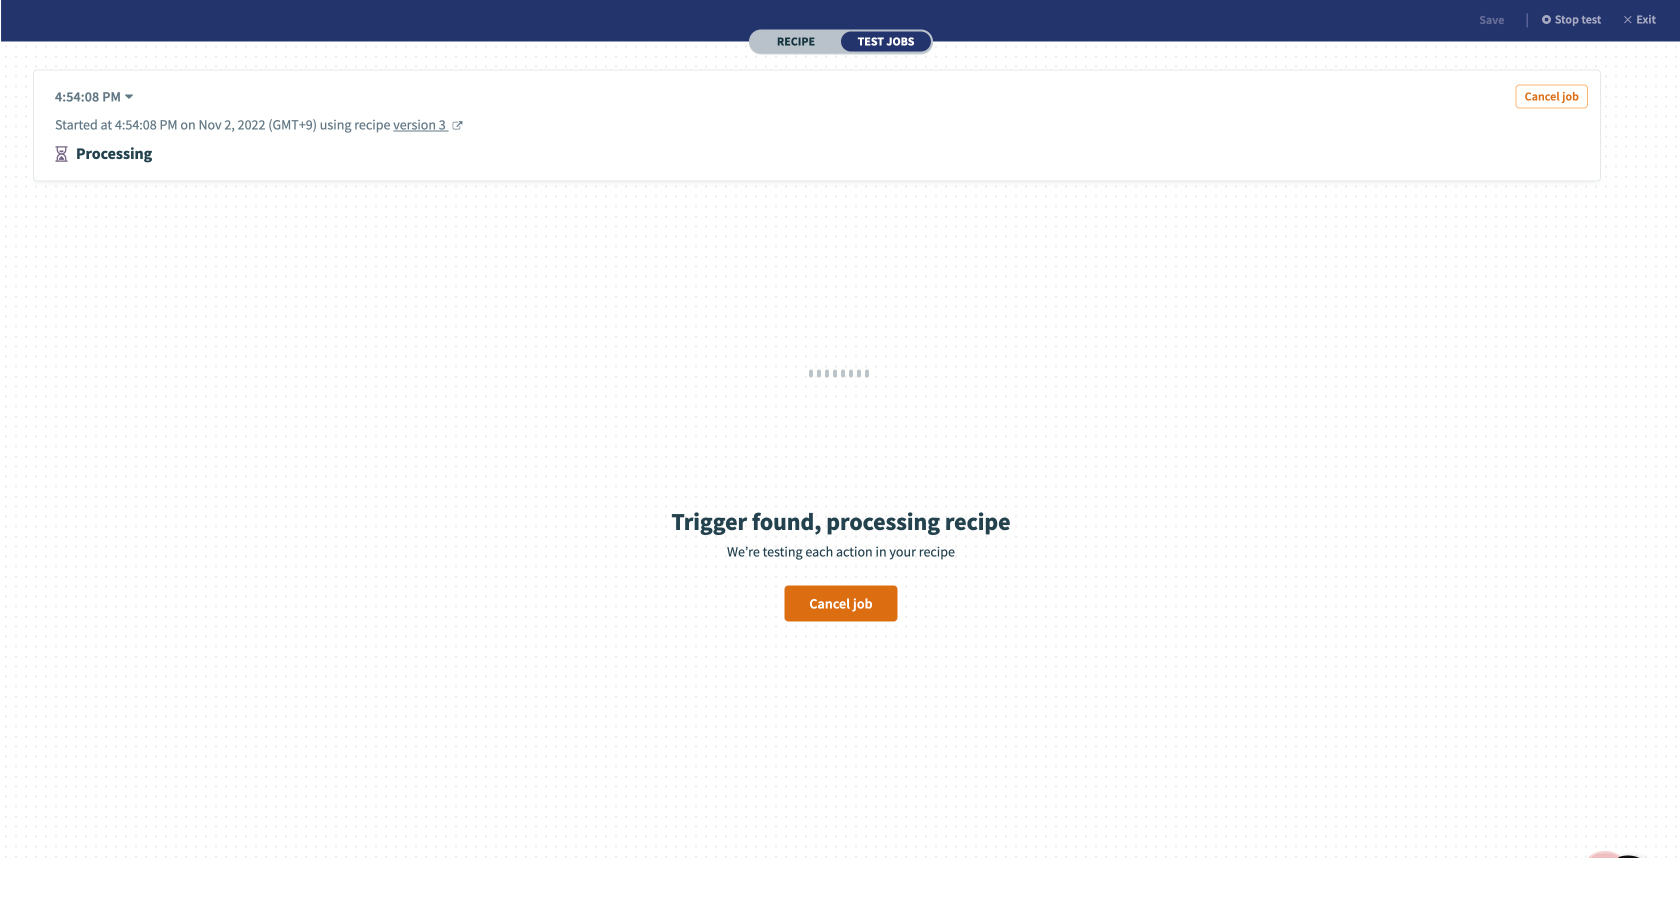
7. Click "Test" on the top menu (top right corner) to check if it works correctly. If you can confirm the execution result, the trigger setting is complete.
Raises a trigger when adding a new row to the end of the specified sheet.
Setting Cloud BOT
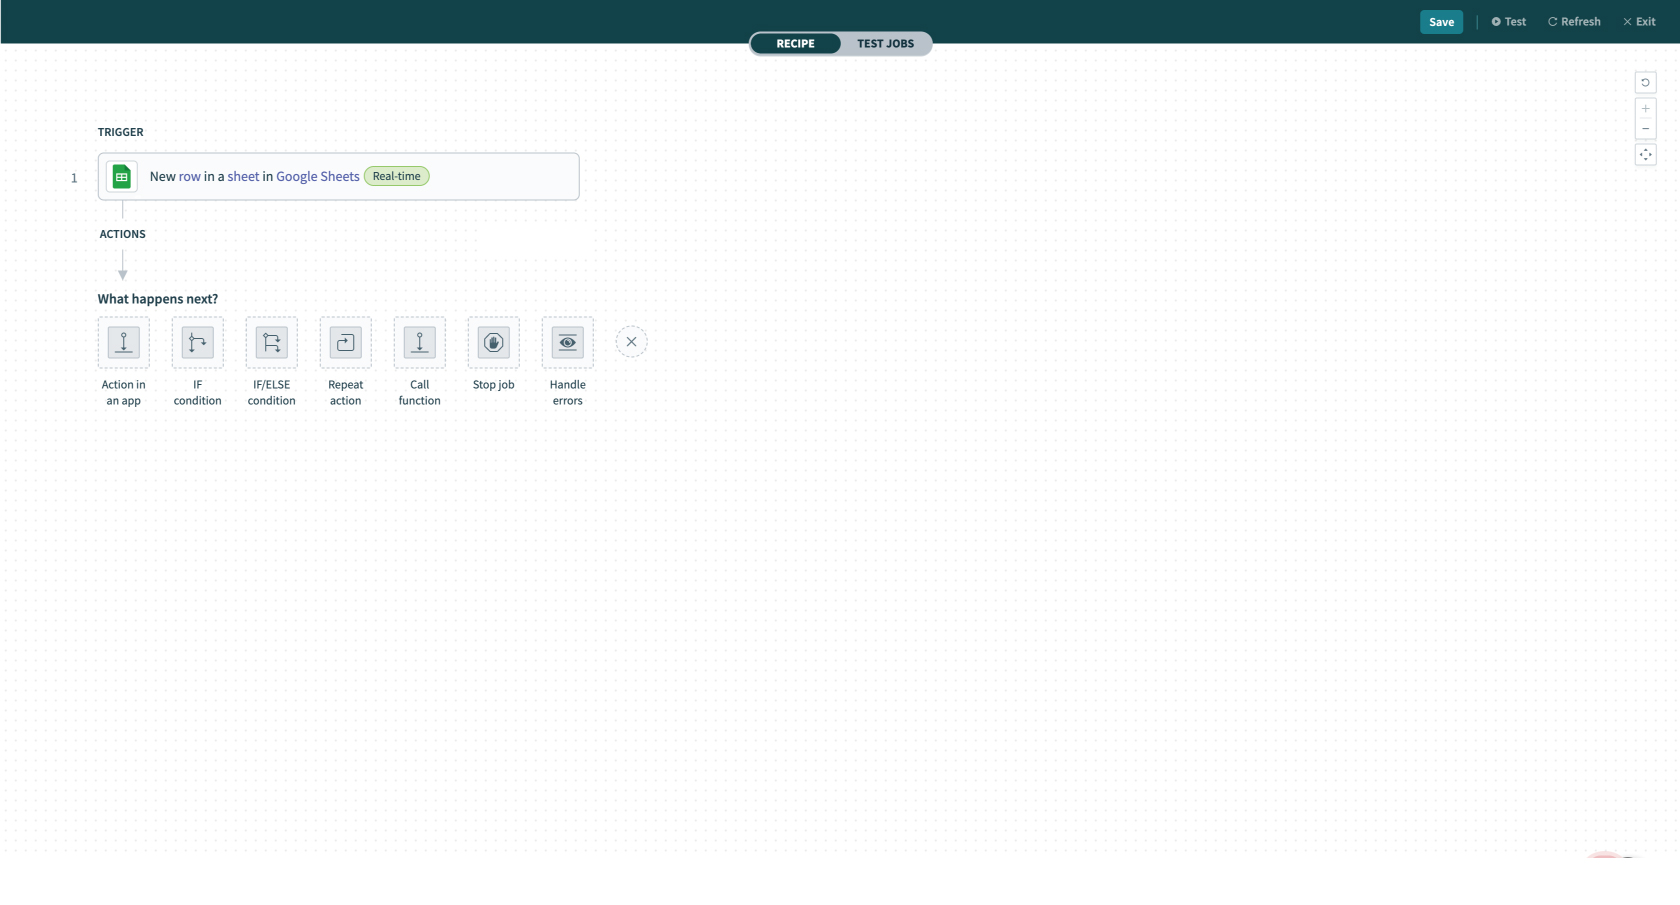
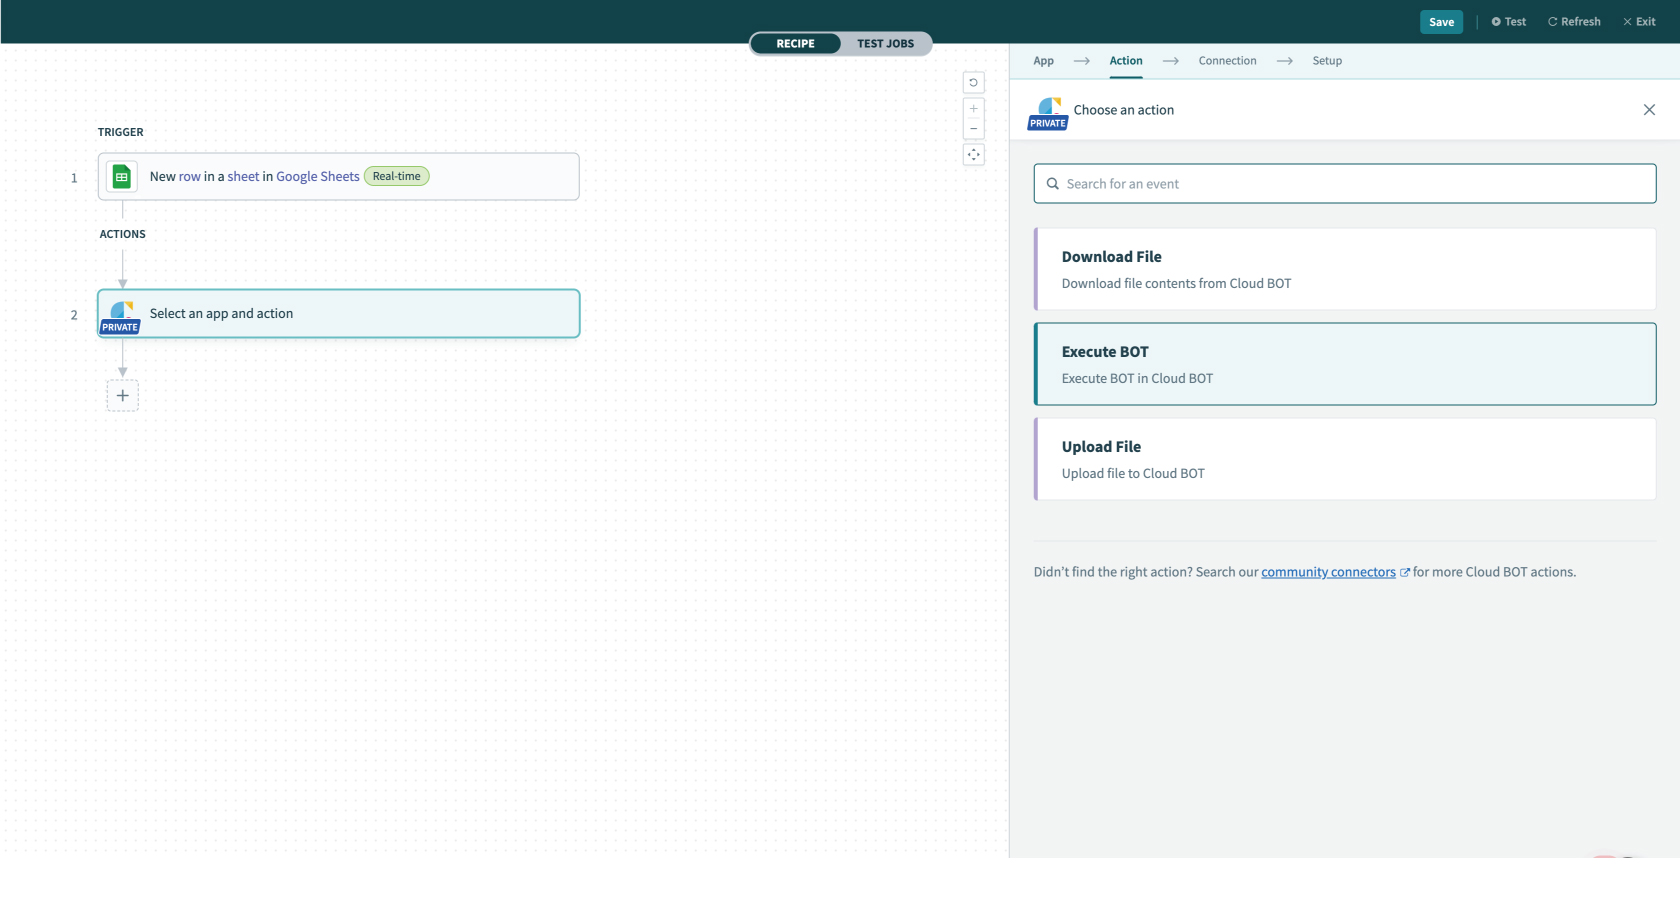
1. Configure the "ACTIONS" settings. Click "+" then select "Action in an app".
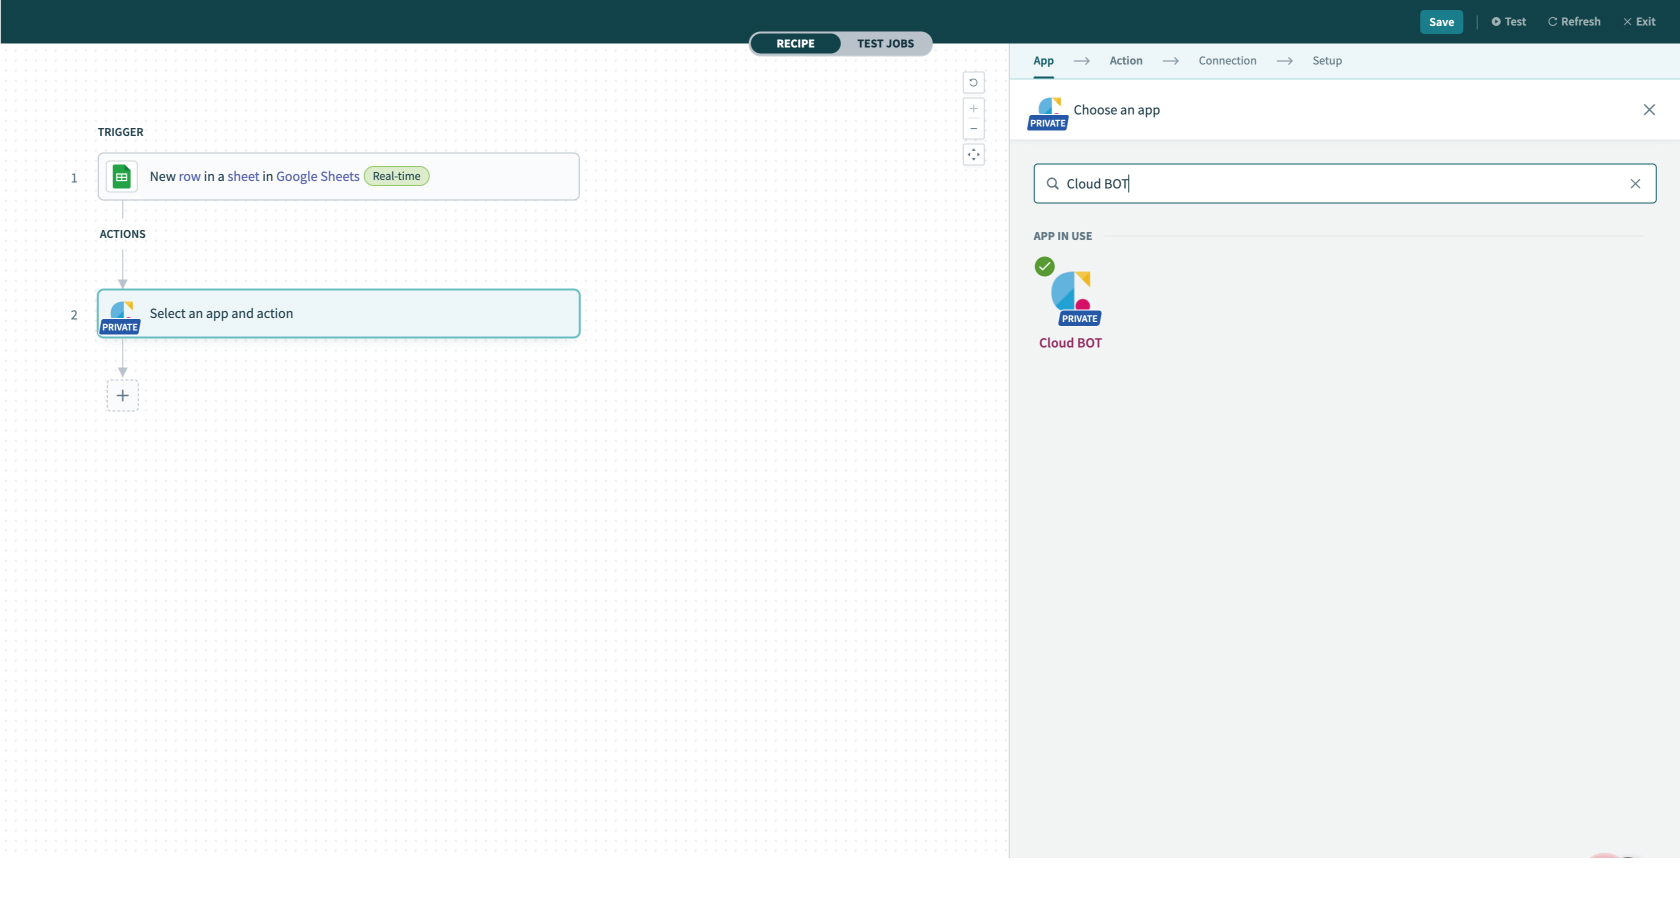
2. Type "Cloud BOT" in the search box and select the app.
3. Select an action type. Here, select "Execute BOT".
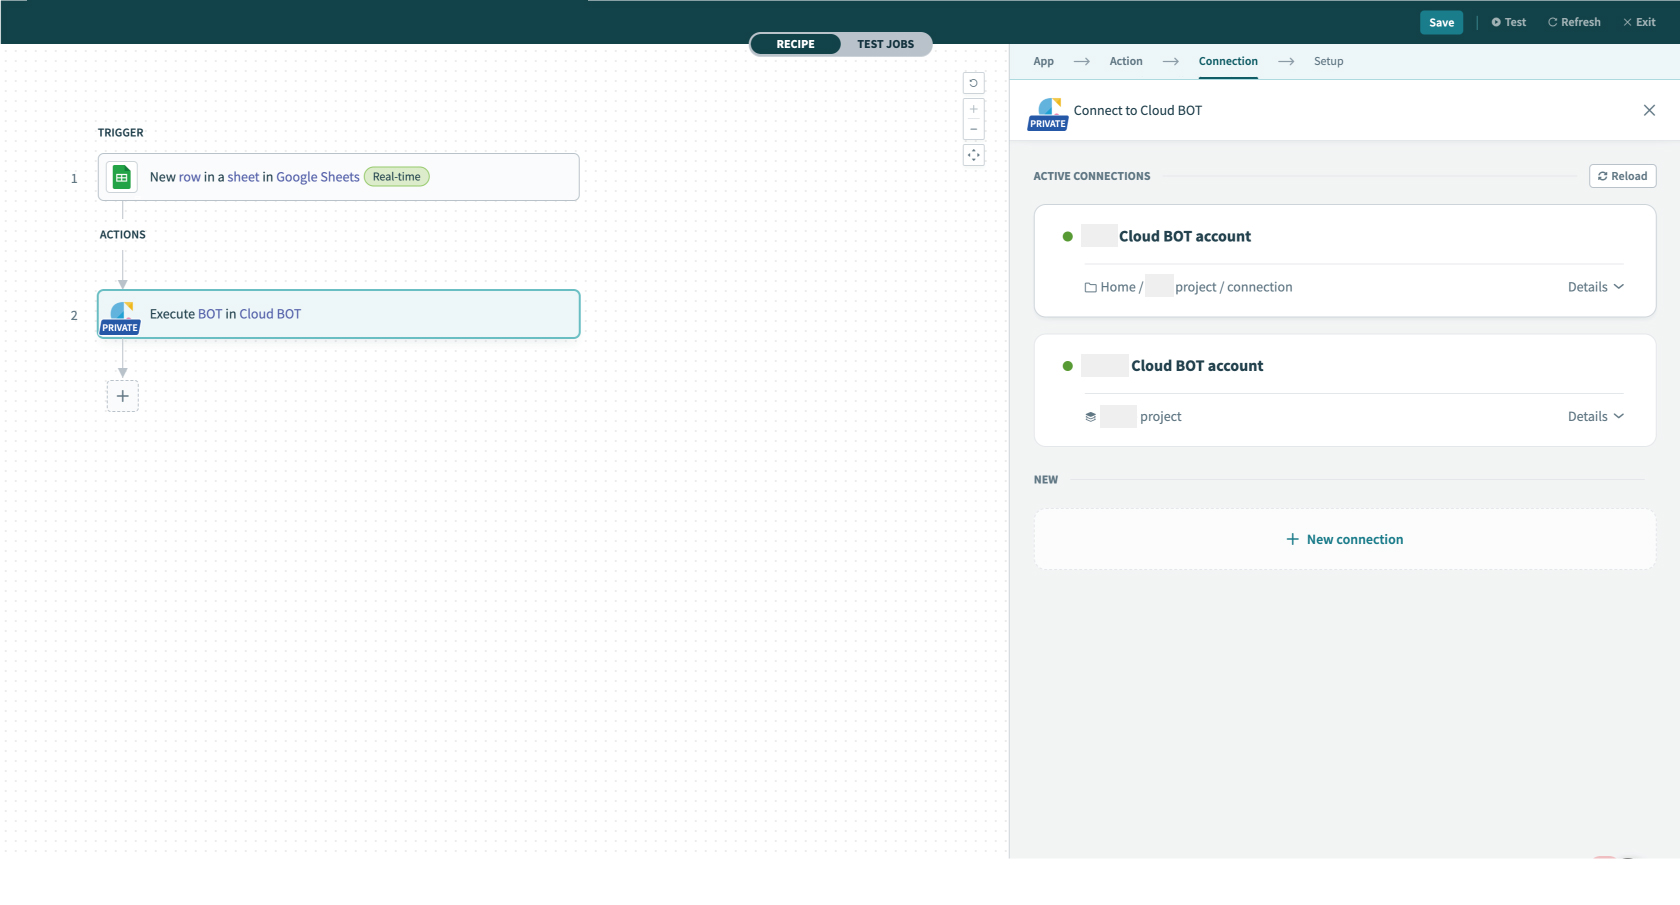
4. Configure the [Connection] settings.
When the Connection is already created, the created connections list is displayed. Refer to this page about creation.
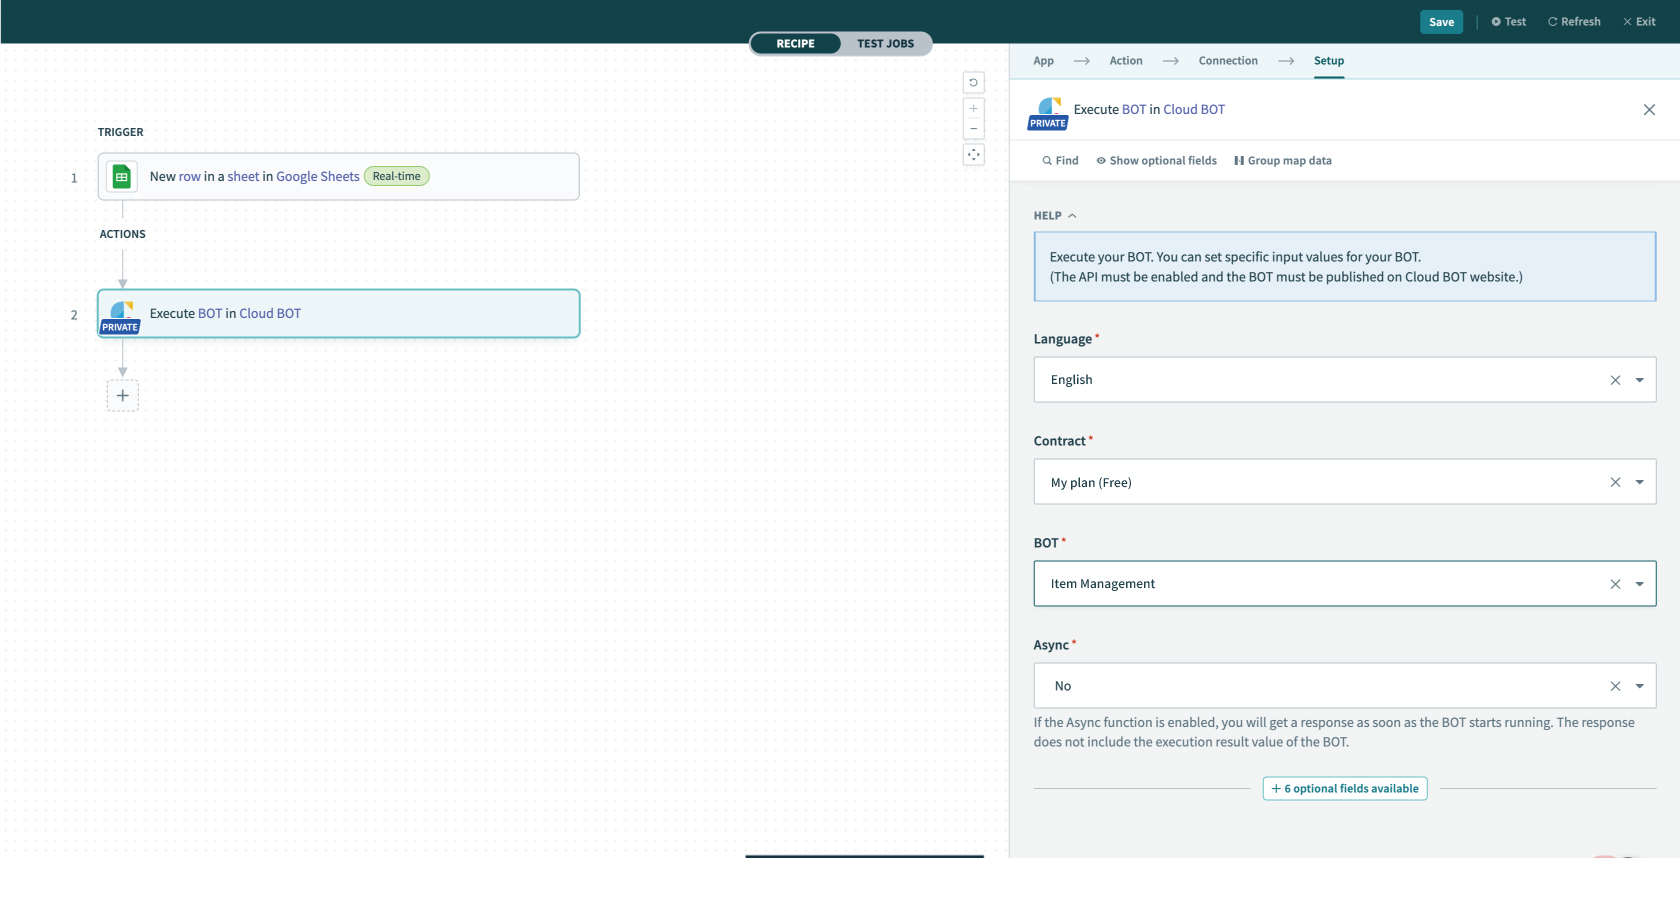
5. Configure the [Setup] settings. Refer to this page about setting values.
6. Now the recipe is created. Click [Test] on the top menu (top right corner) to check if it works correctly. If you can confirm the execution result, the setting is complete.