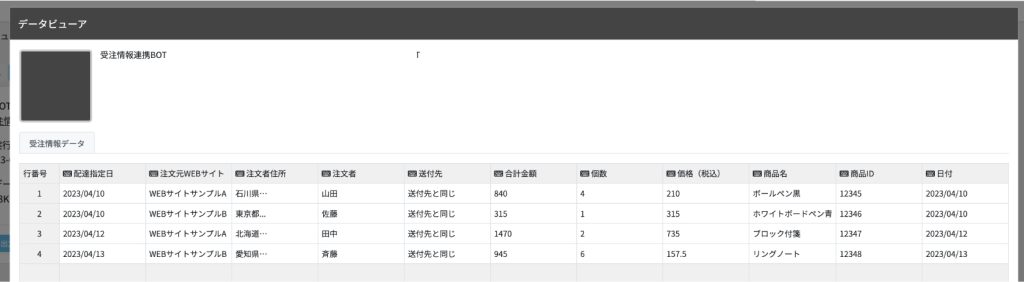
スプレッドシートから取得した一覧データをBOTの入力値(グループデータ)として実行

ホーム > 外部サービス連携 > Zapier > スプレッドシートから取得した一覧データをBOTの入力値(グループデータ)として実行
Zap作成
スプレッドシートから取得した一覧データをBOTの入力値(グループデータ)として実行するZapを作成します。
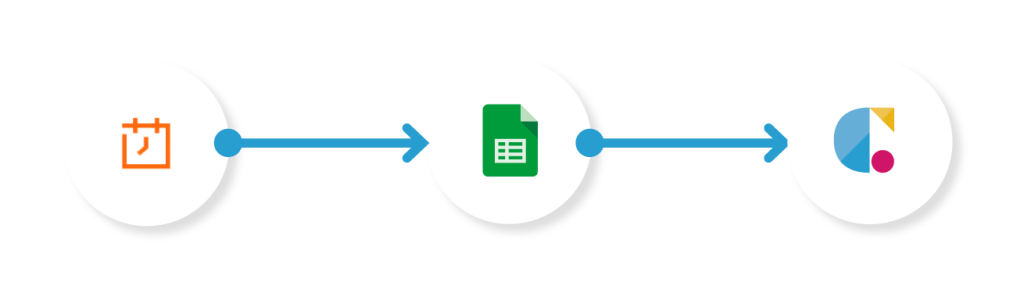
Schedule
スケジュール指定でトリガーを発生させます。
Spread Sheets(Get Many Spreadsheet Rows)
スプレッドシートの詳細、行項目を指定行数を取得します。
Cloud BOT(Execute BOT)
任意のBOTを実行します。
Scheduleを設定する
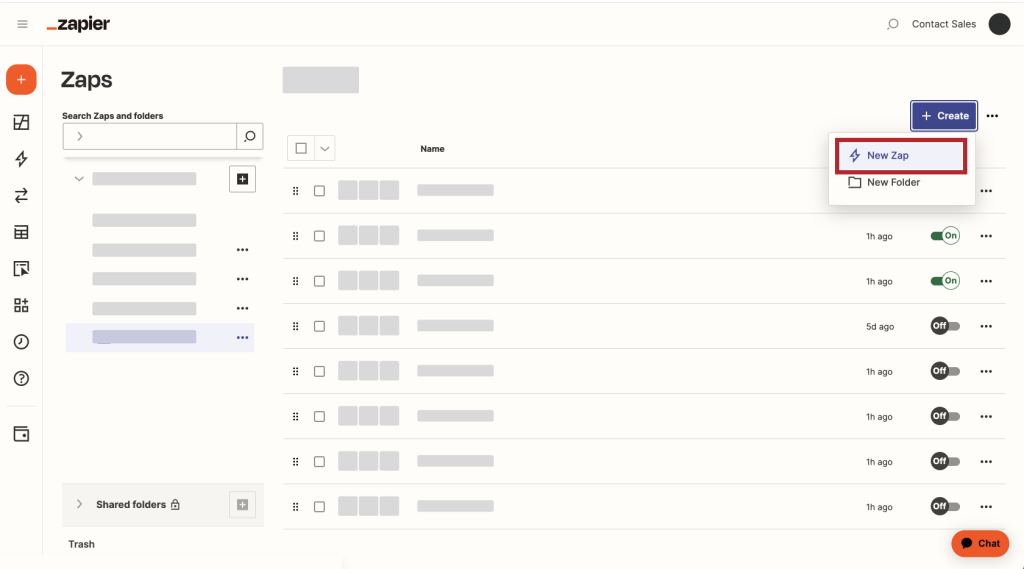
1. "Create"をクリックし、Zapを作成します。
2.Scheduleのアイコンをクリックします。
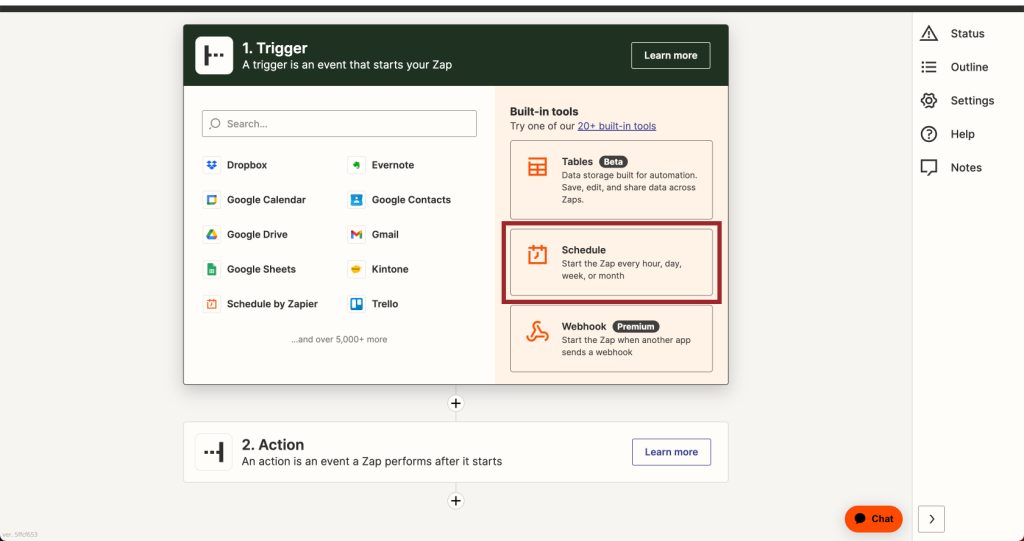
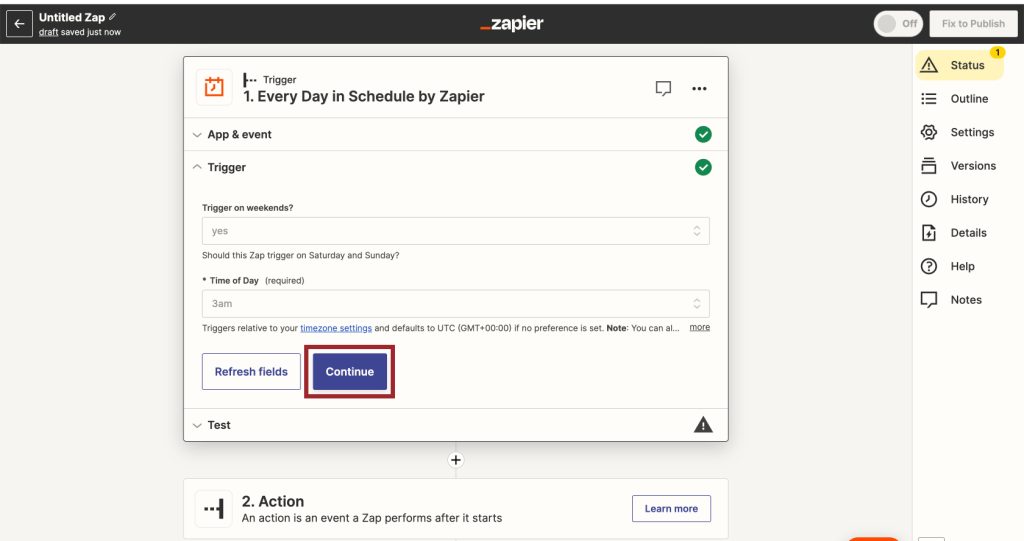
3.Triggerの設定し、"Continue"をクリックします。
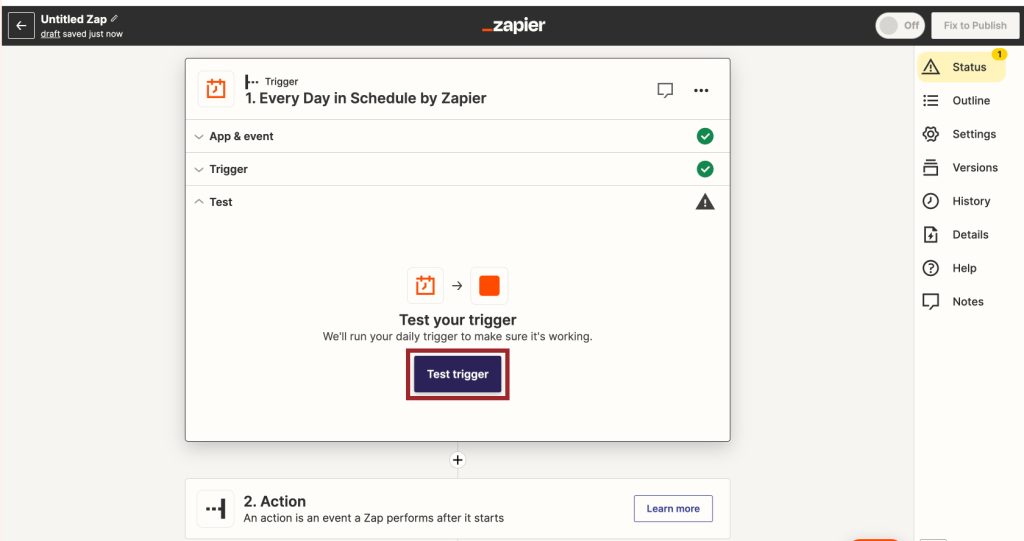
4.設定が完了したら"Test trigger"をクリックし、動作確認を行います。
Google sheetsを設定する
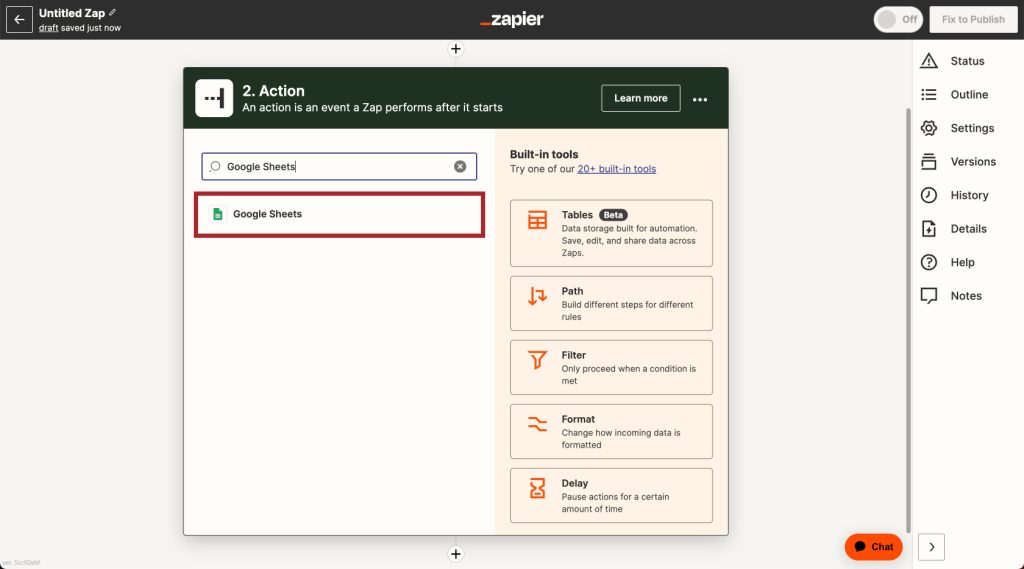
1. Actionのsearch欄で「Google Sheets」と検索し、アイコンをクリックします。
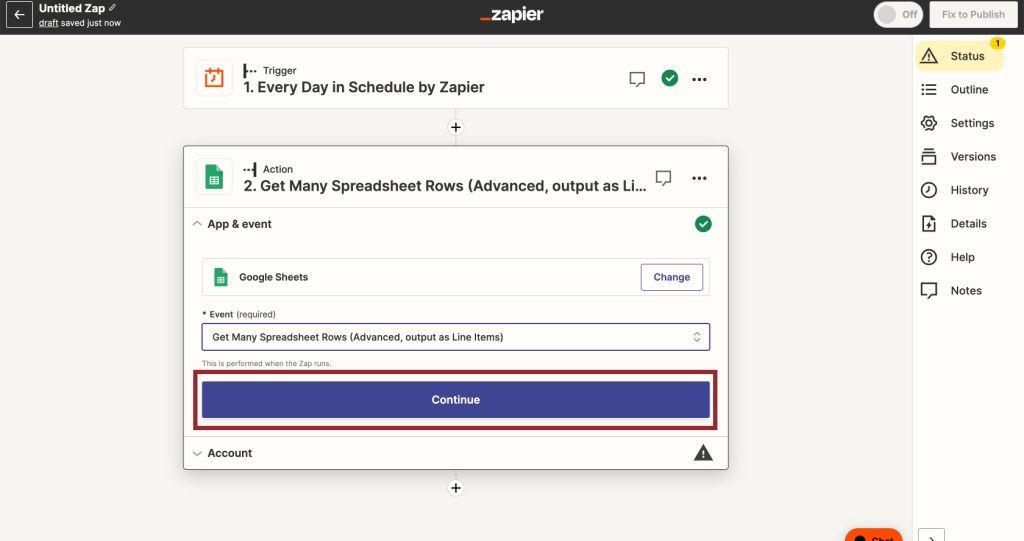
2."Get Many Spreadsheet Rows"を選択し、"Continue"をクリックします。
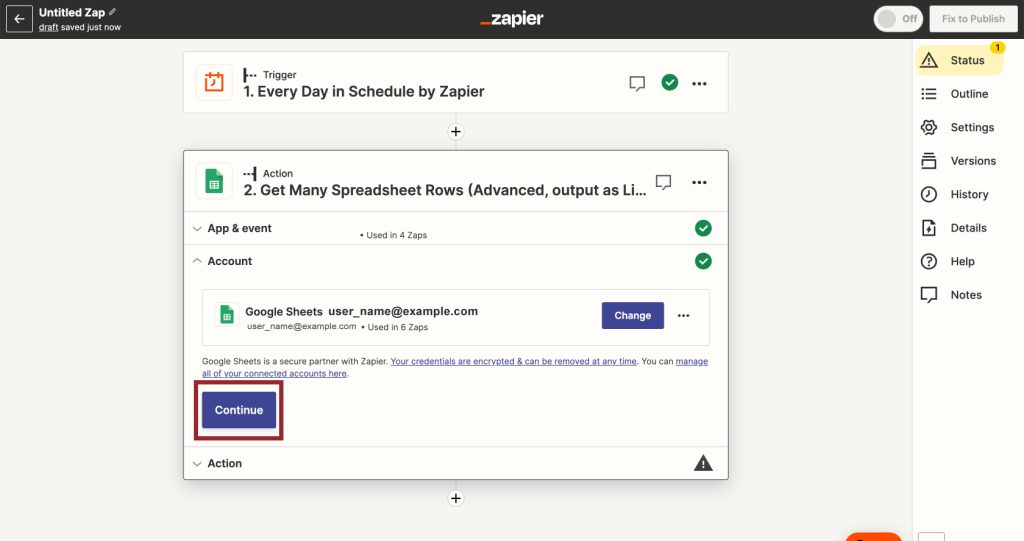
3.ActionのAccountを設定し、"Continue"をクリックします。
*Connectionがない場合はConnectionを作成します。
4. Actionを設定し、"Continue"をクリックします。
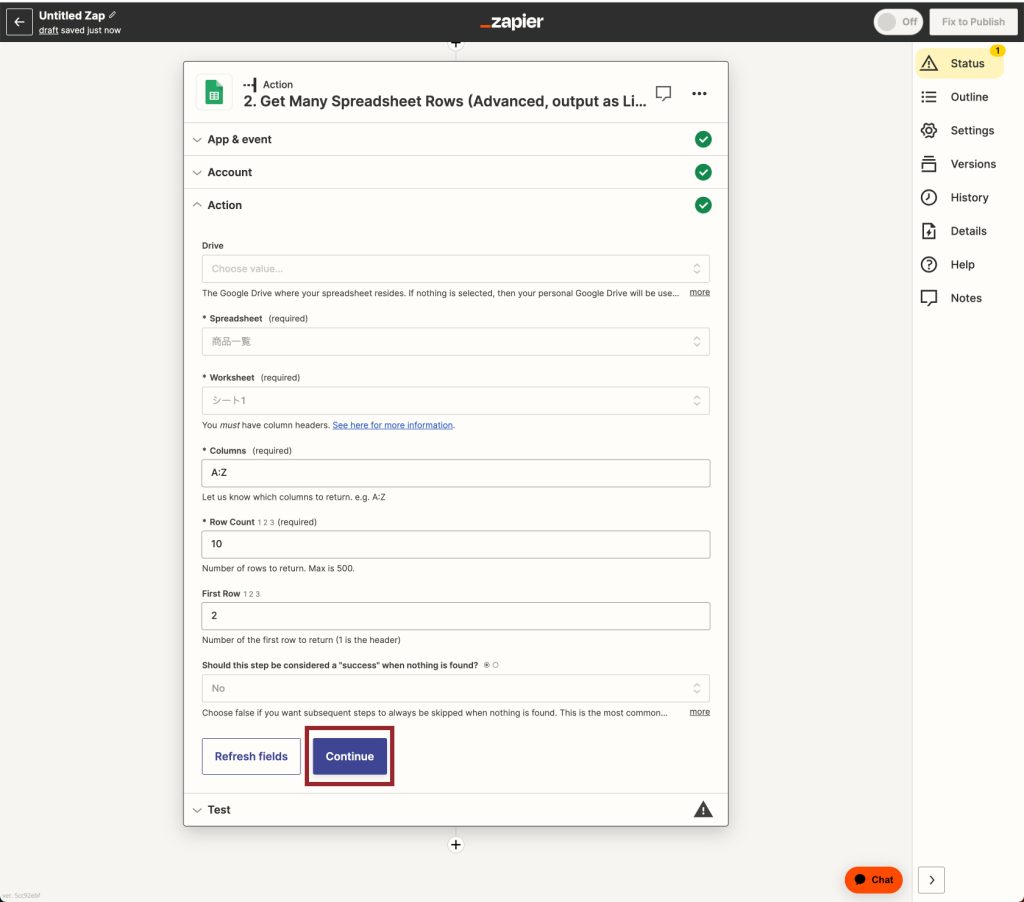
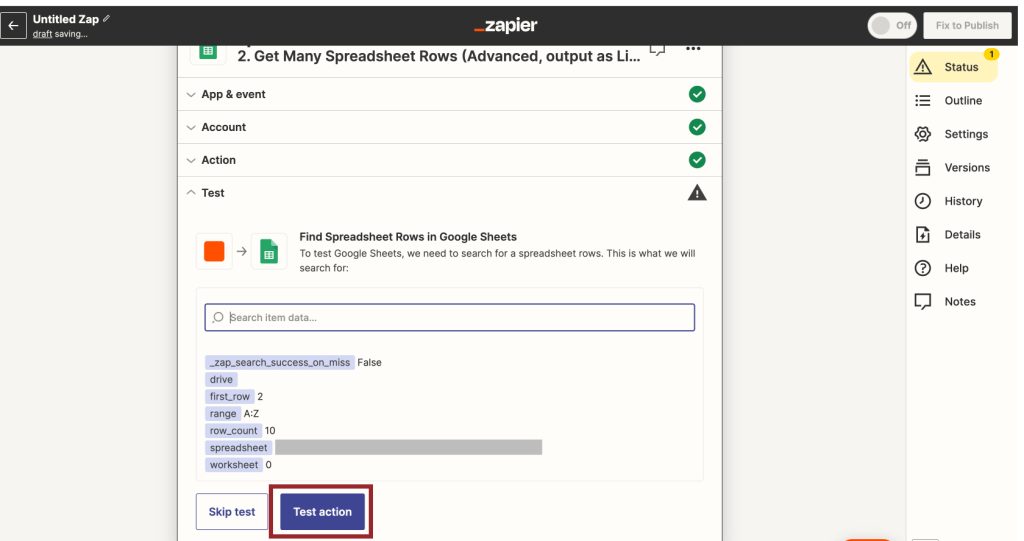
5.設定が完了したら"Test action"をクリックし、動作確認を行います。
Cloud BOTを設定する
1. Actionのsearch欄で「Cloud BOT」と検索し、アイコンをクリックします。
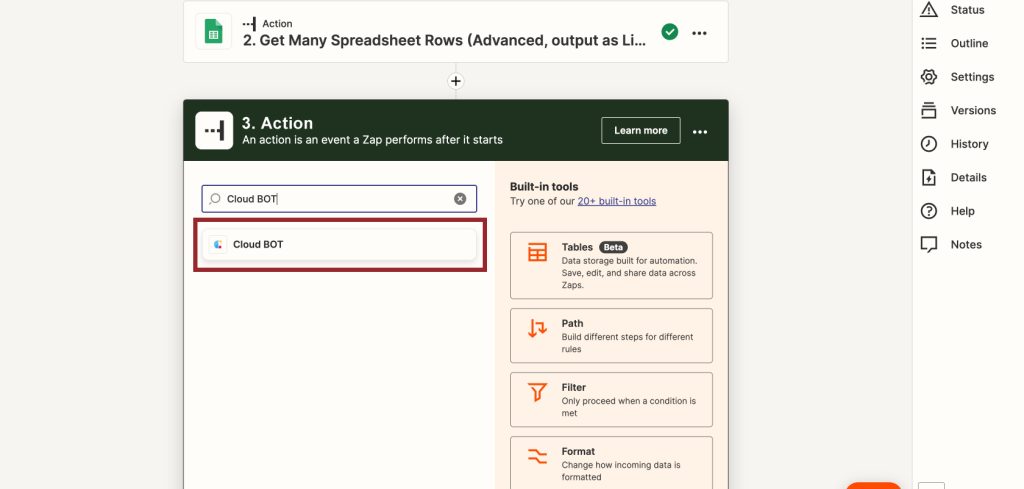
2."Execute BOT"を選択し、"Continue"をクリックします。
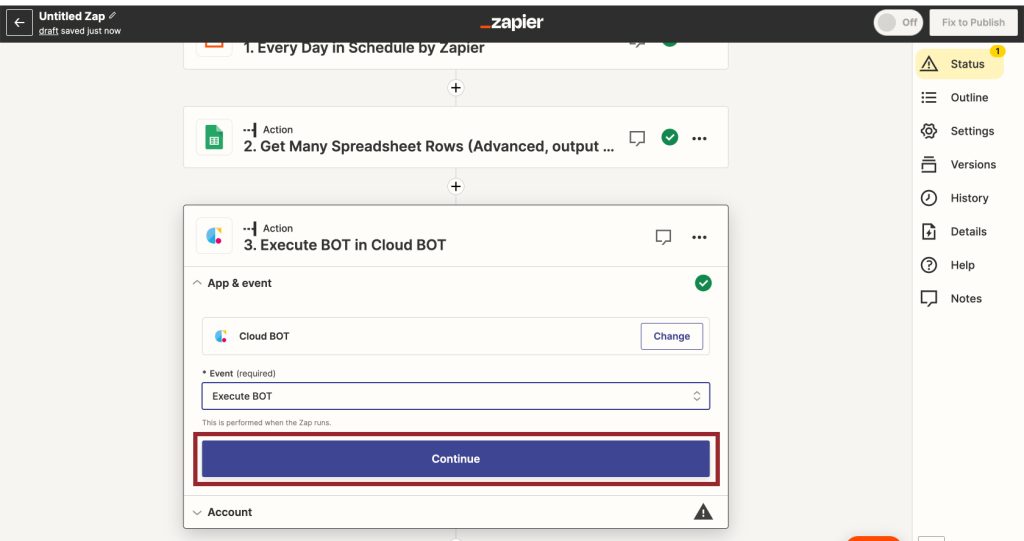
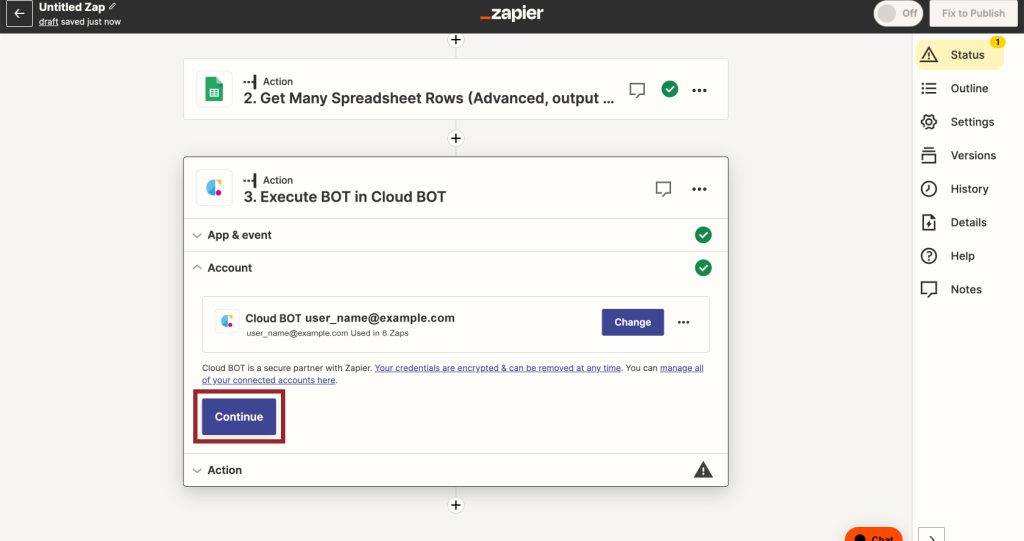
3. ActionのAccountを設定し、 "Continue"をクリックします。
*Connectionがない場合はConnectionを作成します。Connectionの作成についてはこちら。
4.Actionを設定し、"Continue"をクリックします。設定値についてはこちら。
画像の例ではGoogle SheetsのGet Many Spreadsheet Rowsで得た行項目を指定しています。
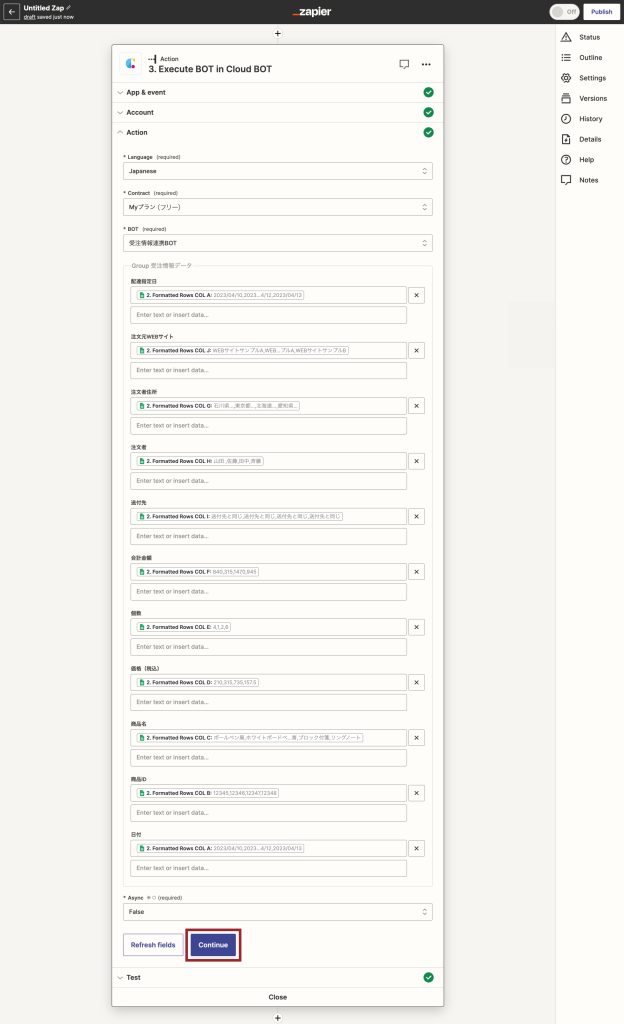
5.設定が完了したら"Test action"をクリックし、動作確認を行います。実行結果が確認できればトリガーの設定は完了です。

実行結果をクラウドBOTの実行ログで確認できます。