スプレッドシートに新しい行が追加されたらBOTを実行

ホーム > 外部サービス連携 > Zapier > スプレッドシートに新しい行が追加されたらBOTを実行
Zap作成
スプレッドシートに新しい行が追加された際に、特定のBOTを実行するZapを作成します。

Google sheets( New Spreadsheets Row )
指定したスプレッドシートに新しい行が追加された際に行の文字列を取得します。
Cloud BOT( Execute BOT)
任意のBOTを実行します。
Google sheetsを設定する
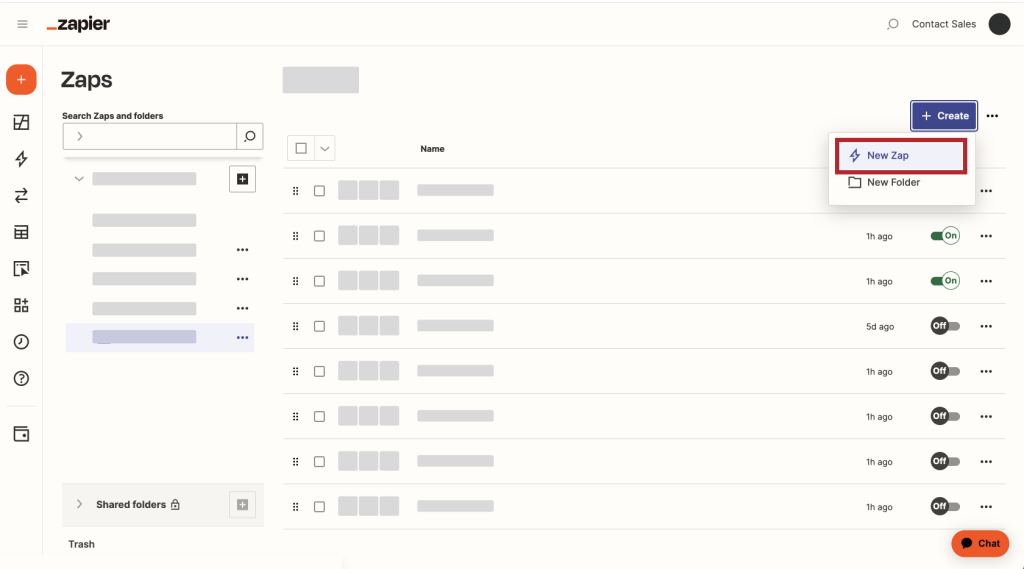
1. "Create"をクリックし、Zapを作成します。
2. Triggerのsearch欄で「Google Sheets」と検索し、アイコンをクリックします。
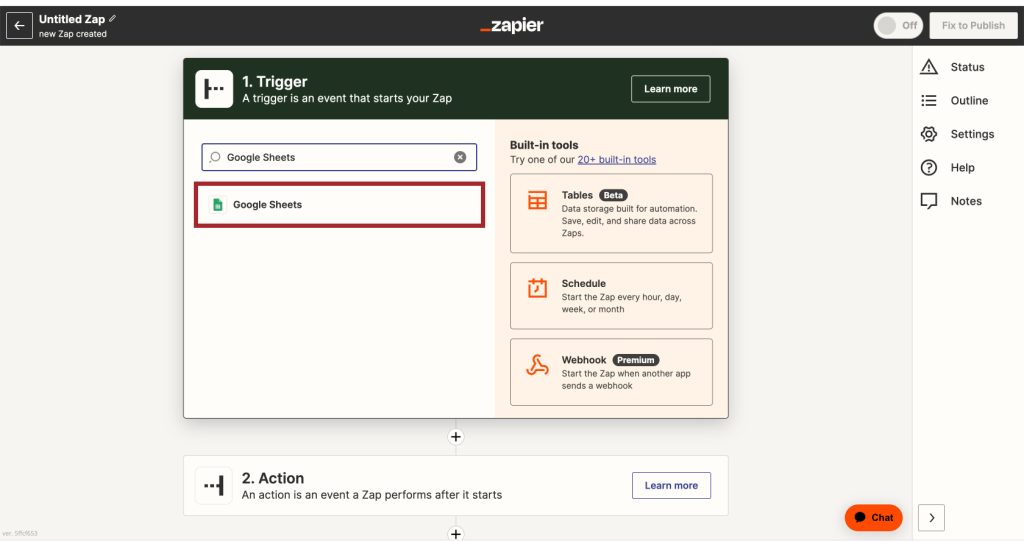
3. "New Spreadsheets Row"を選択し、"Continue"をクリックします。

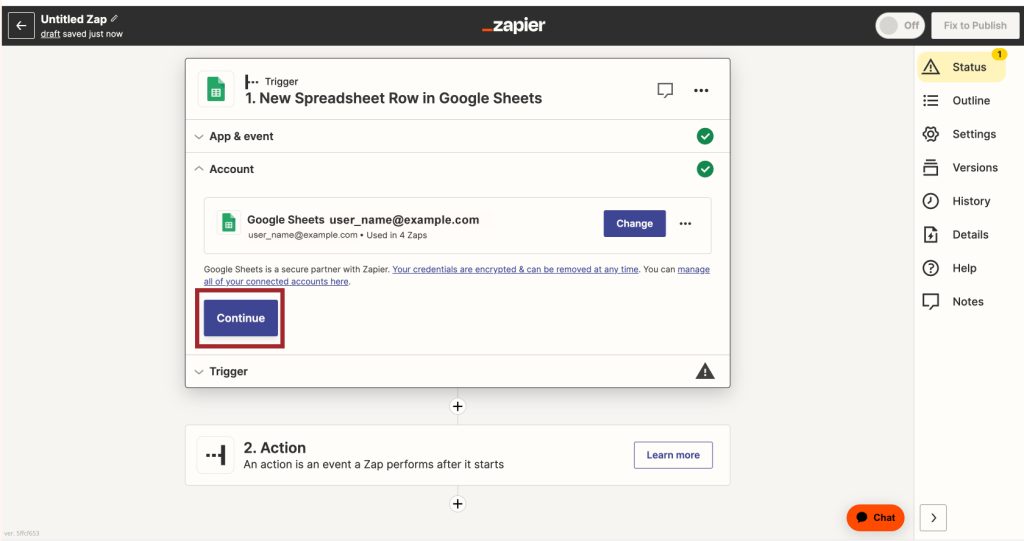
4. TriggerのAccountを設定し、"Continue"をクリックします。
*Connectionがない場合はConnectionを作成します。
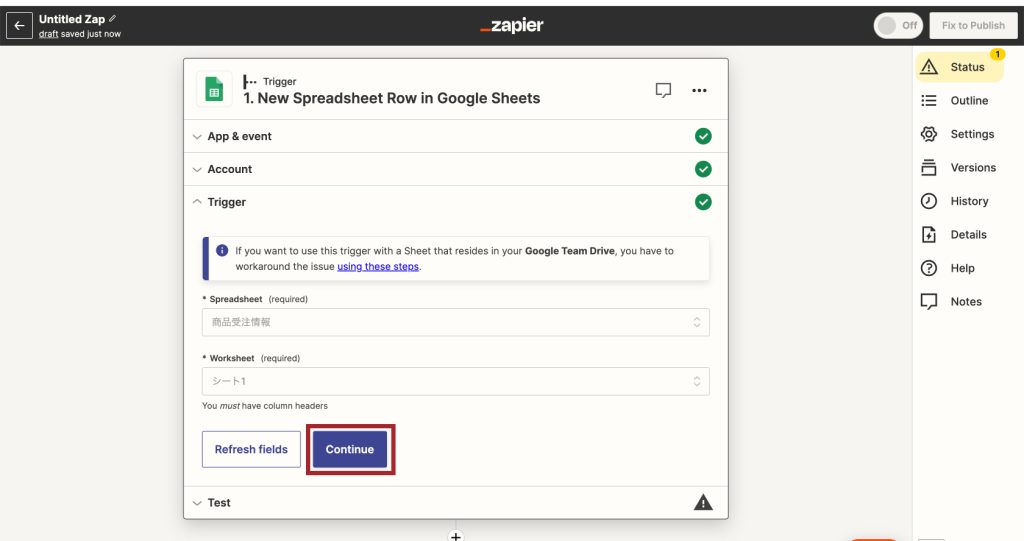
5. Triggerの設定をし、"Continue"をクリックします。
Spreadsheets、Worksheetを設定します。
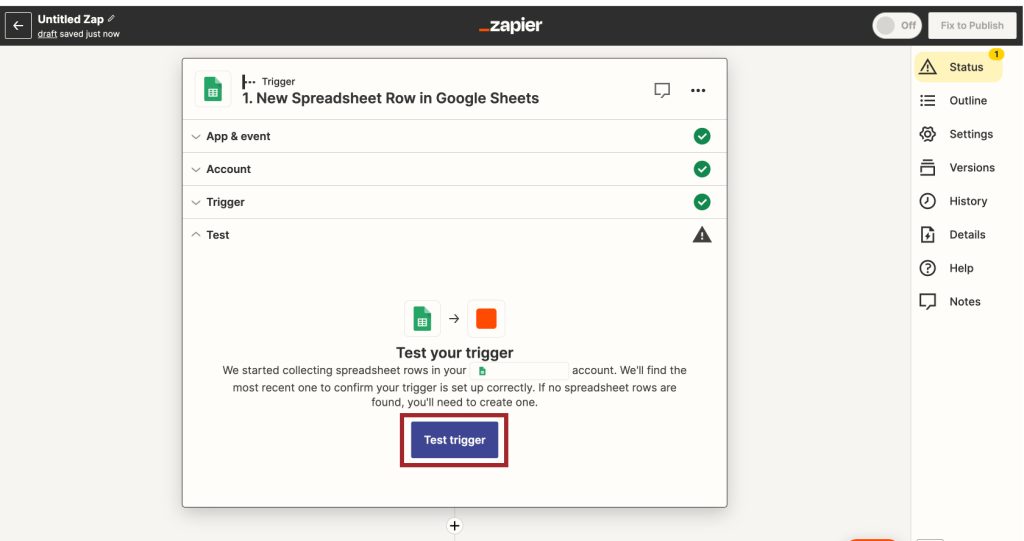
6. 設定が完了したら"Test trigger"をクリックし、動作確認を行います。
Cloud BOTを設定する
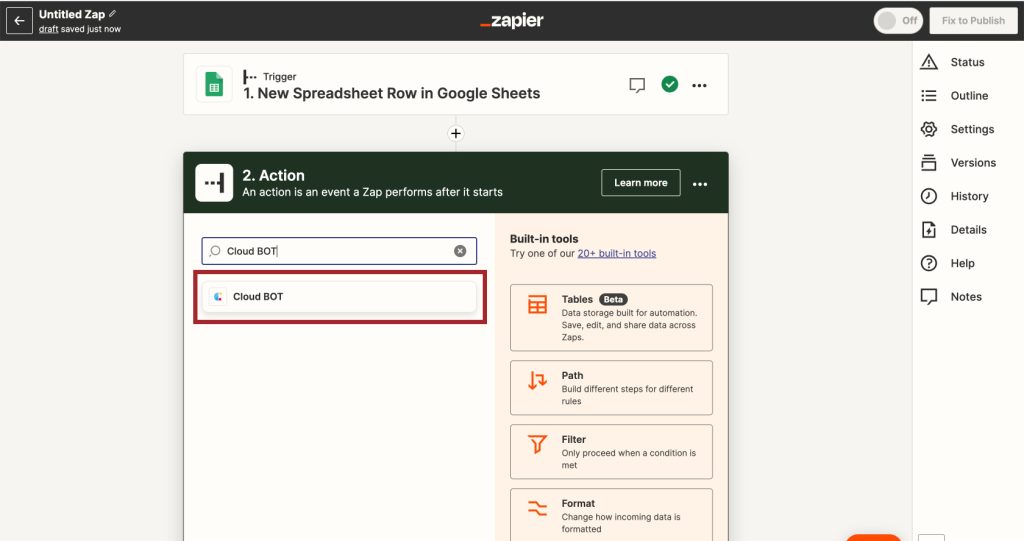
1. Actionのsearch欄で「Cloud BOT」と検索し、アイコンをクリックします。
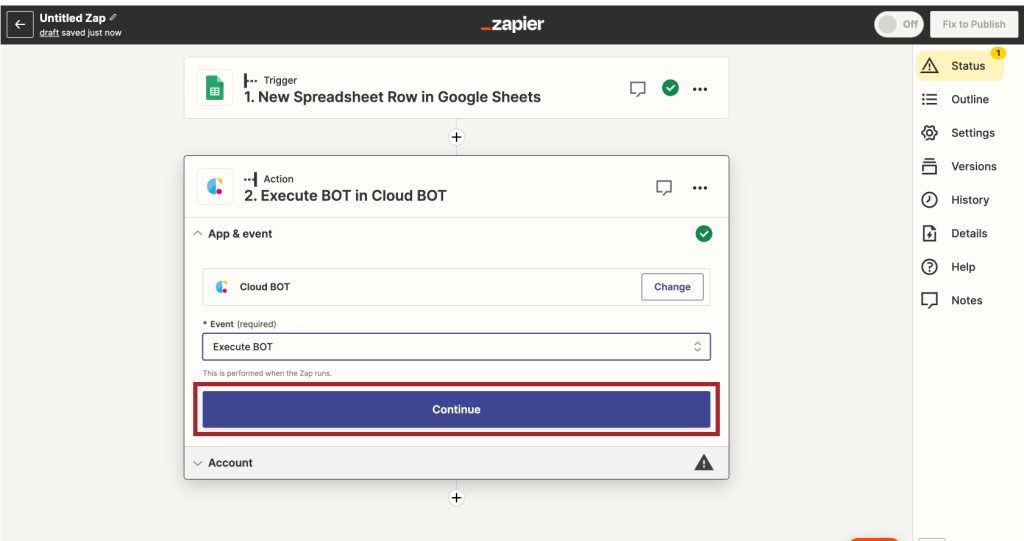
2."Execute BOT"を選択し、"Continue"をクリックします。
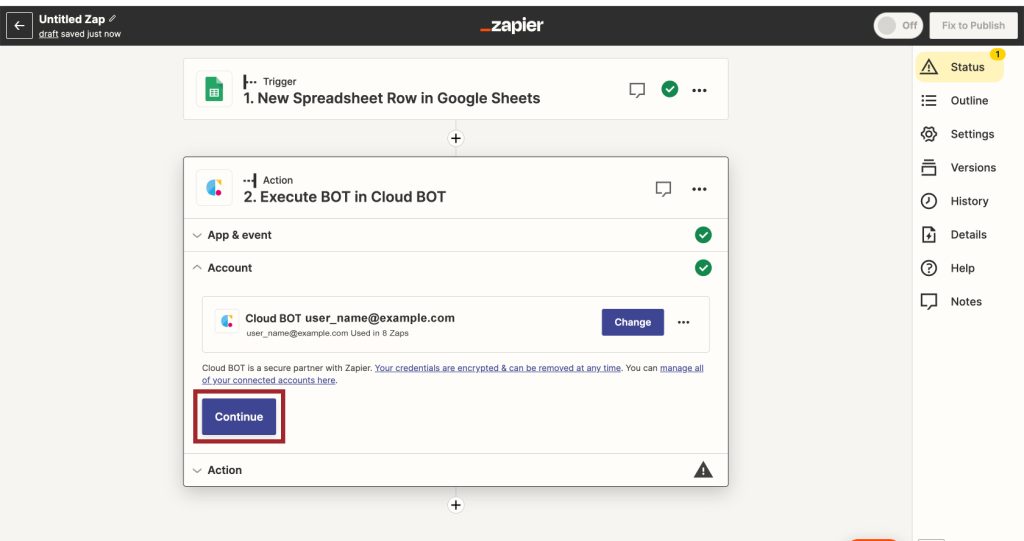
3. ActionのAccountを設定し、 "Continue"をクリックします。
*Connectionがない場合はConnectionを作成します。Connectionの作成についてはこちら。
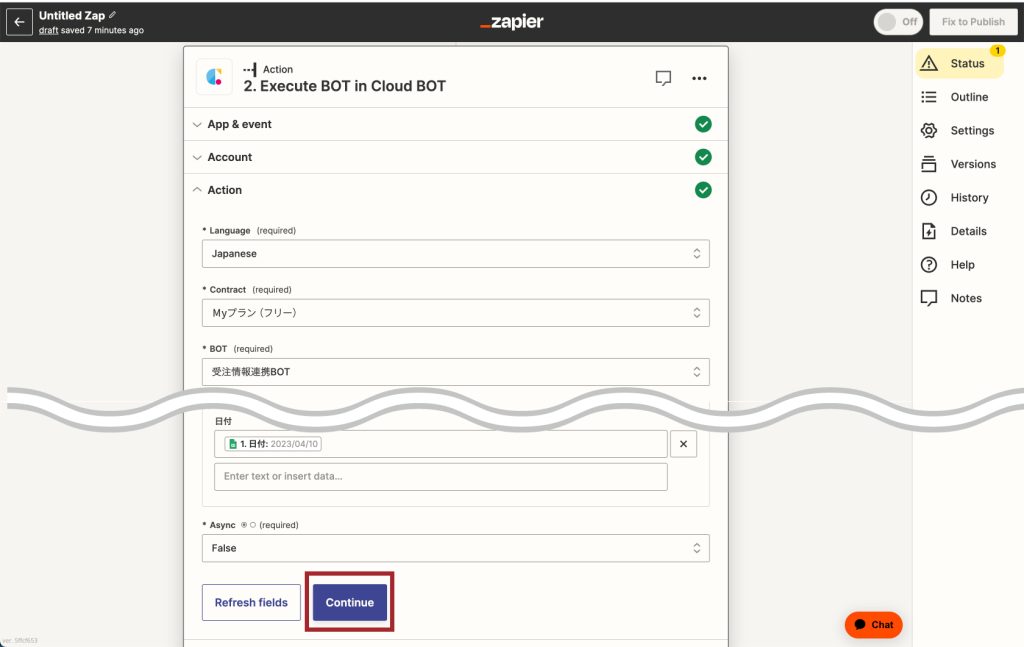
4. Actionを設定し、"Continue"をクリックします。設定値についてはこちら。
5. 設定が完了したら"Test action"をクリックし、動作確認を行います。
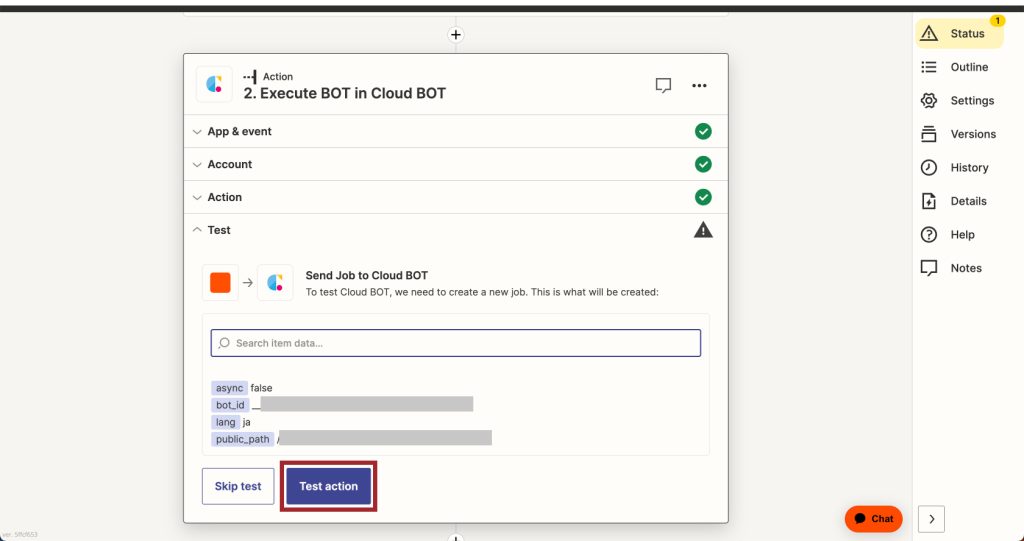
実行結果が確認できたら"Publish"をクリックします。これでZapの作成は完了です。