Google DriveからダウンロードしたファイルをBOTでアップロード

ホーム > 外部サービス連携 > Power Automate > Google DriveからダウンロードしたファイルをBOTでアップロード
フロー作成
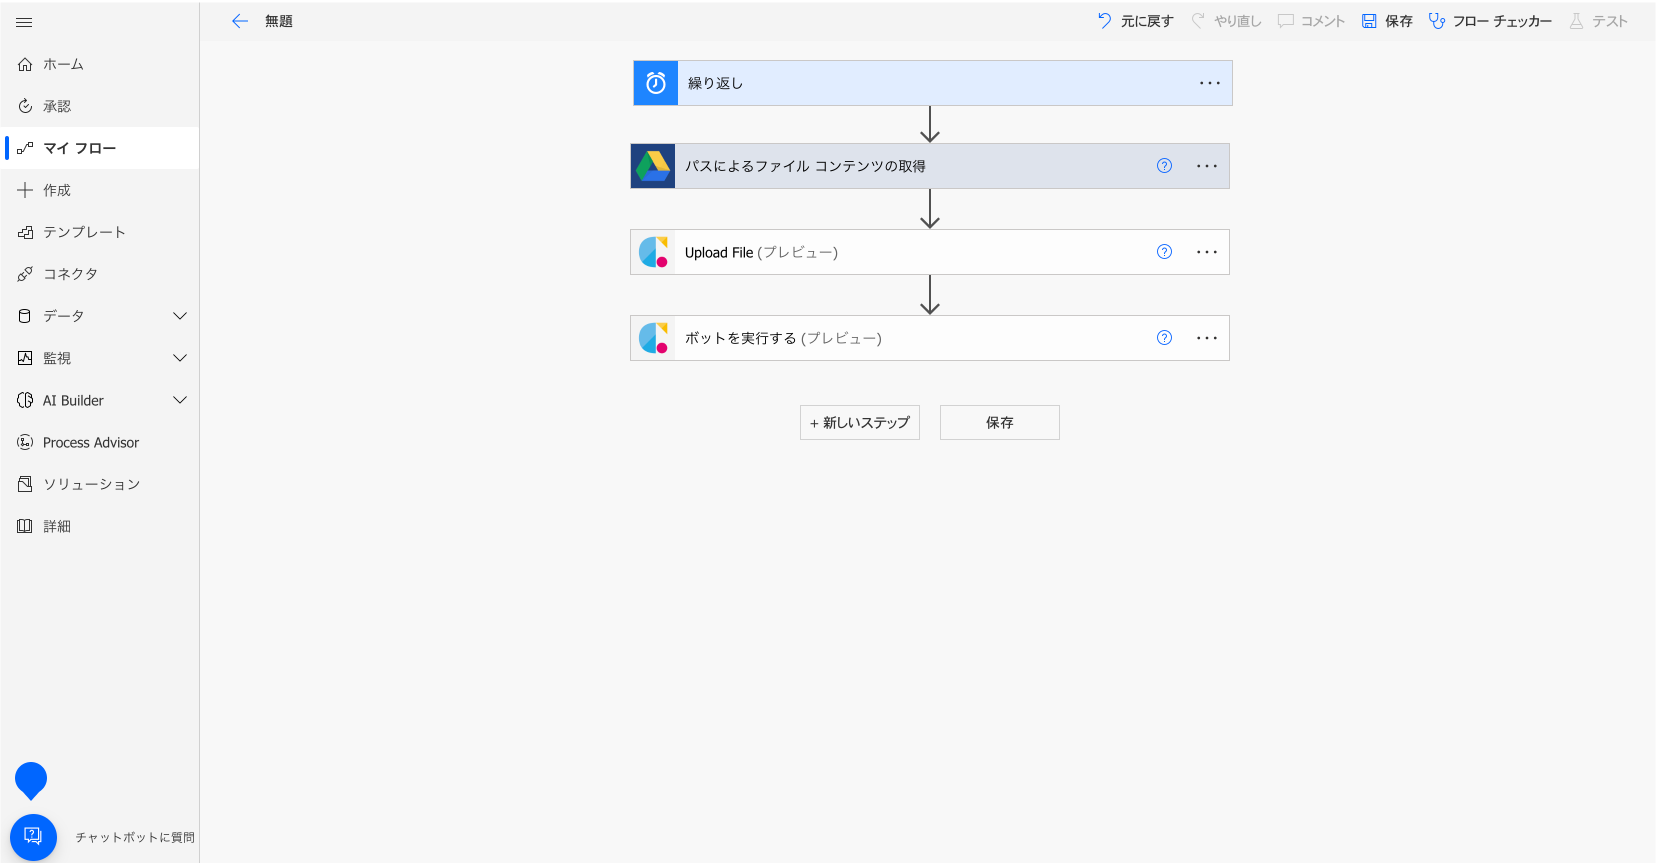
Google DriveのファイルをBOT実行でアップロードするフローを作成します。
スケジュール(繰り返し)
時間指定でトリガーを発生させます。
Google Drive(パスによるファイルコンテンツの取得)
Google Driveからファイルコンテンツを取得します。
Cloud BOT(ファイルのアップロード / Upload File)
ファイルデータをクラウドBOTへアップロードします。
Cloud BOT(BOTを実行する)
任意のBOTを実行します。
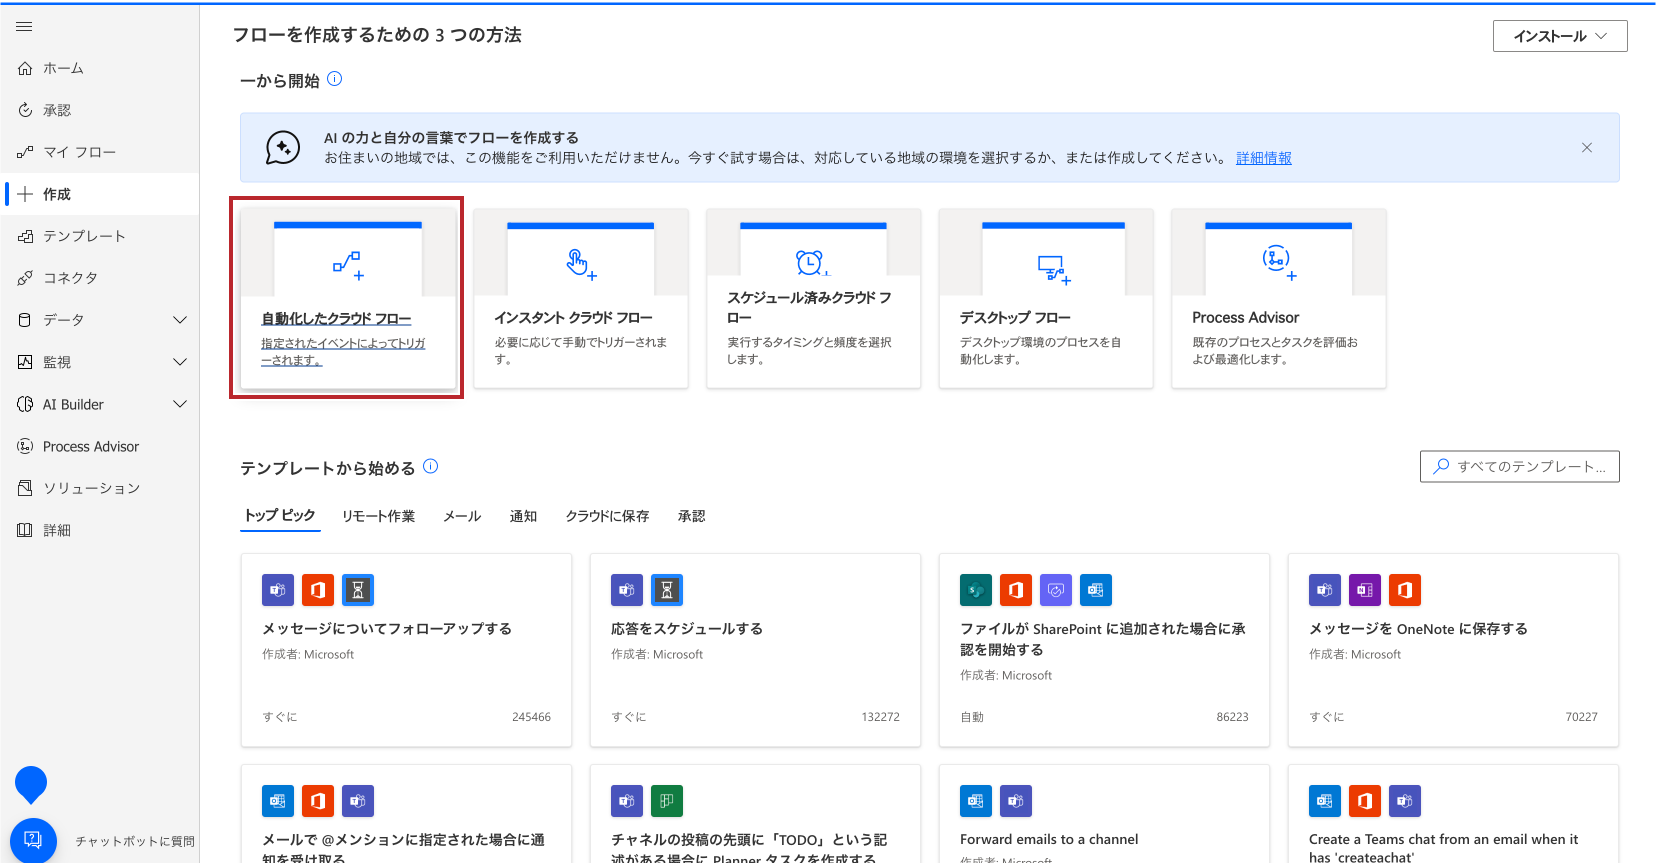
スケジュールを設定する
1.画面左部ナビゲーションメニューから“作成”をクリックし、"自動化したクラウドフロー"を選択します。
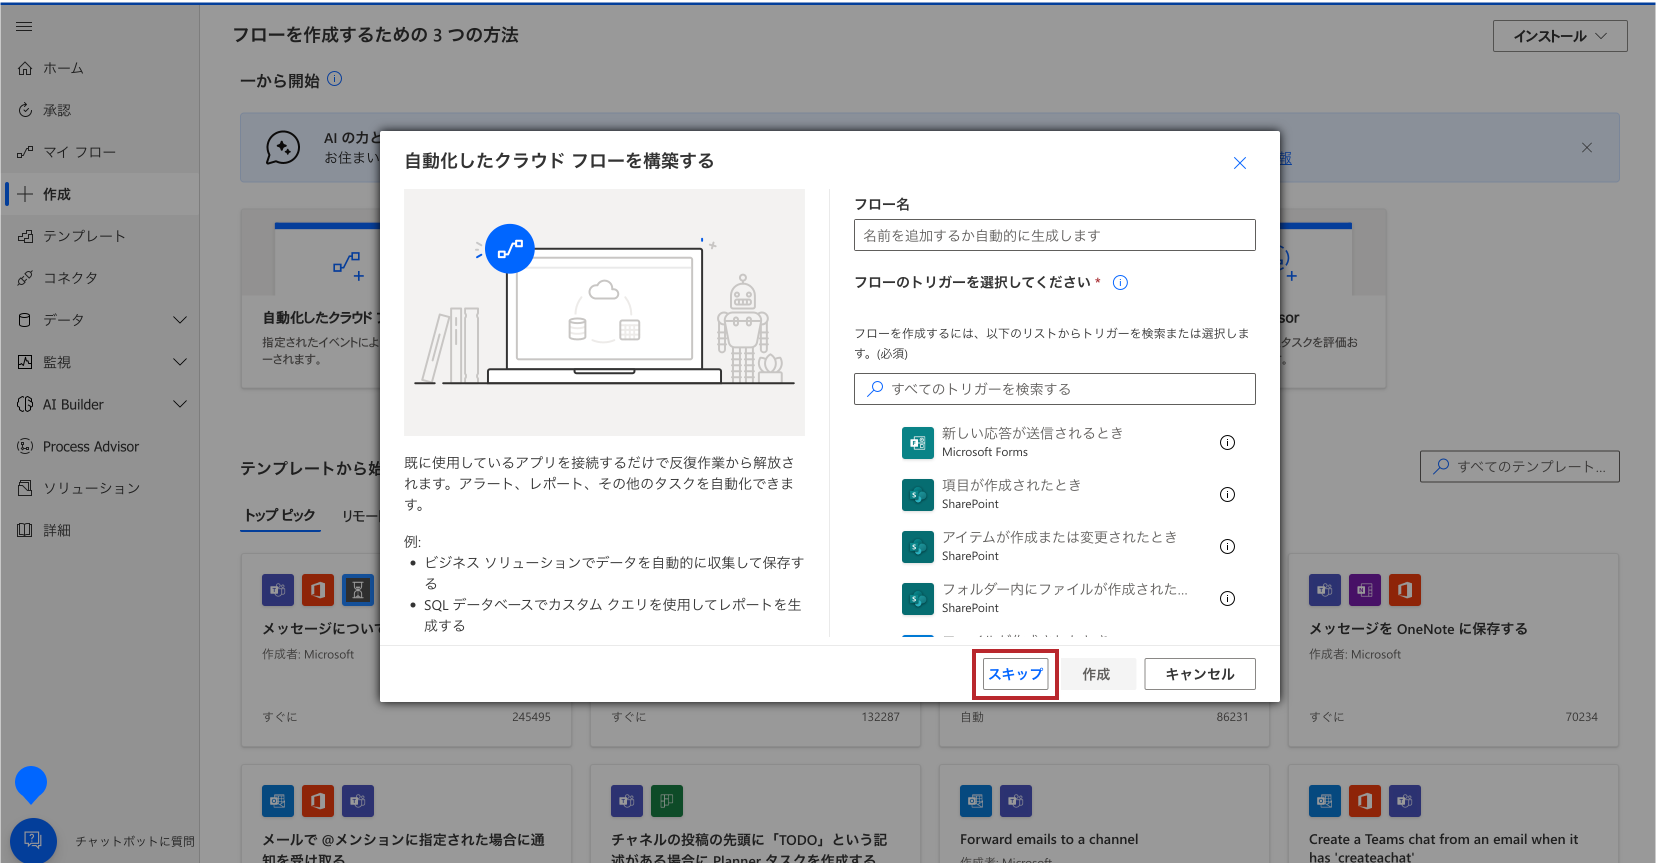
2. "自動化したクラウド フローを構築する"のモーダルウインドウが表示されますが、"スキップ"ボタンを押します。
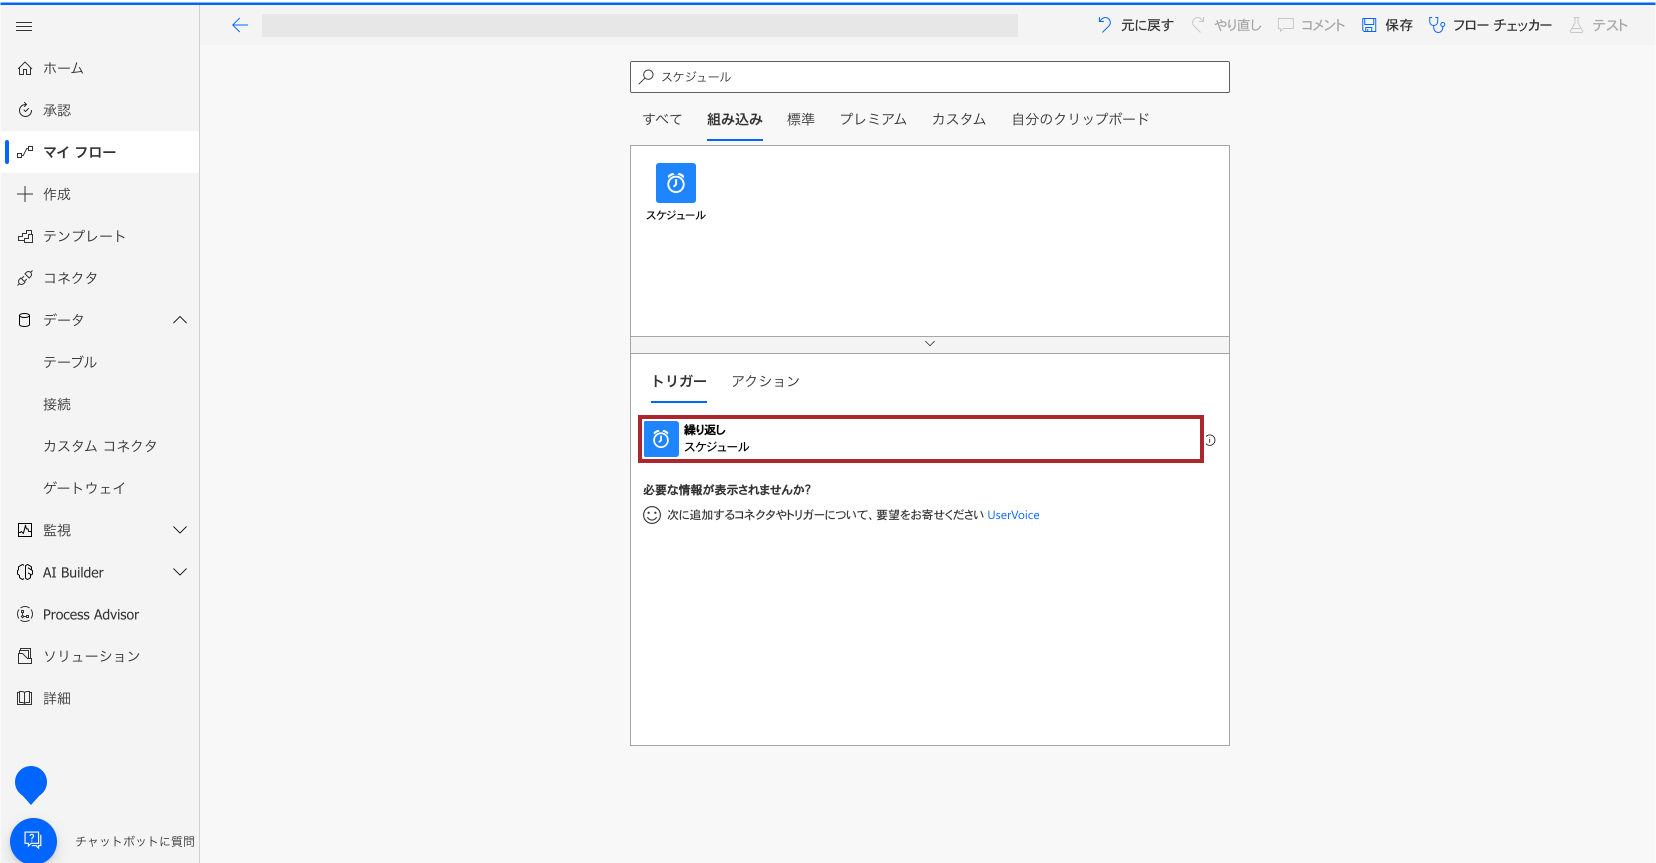
3.組み込みタブで"スケジュール"を検索し、"繰り返し"を選択します。
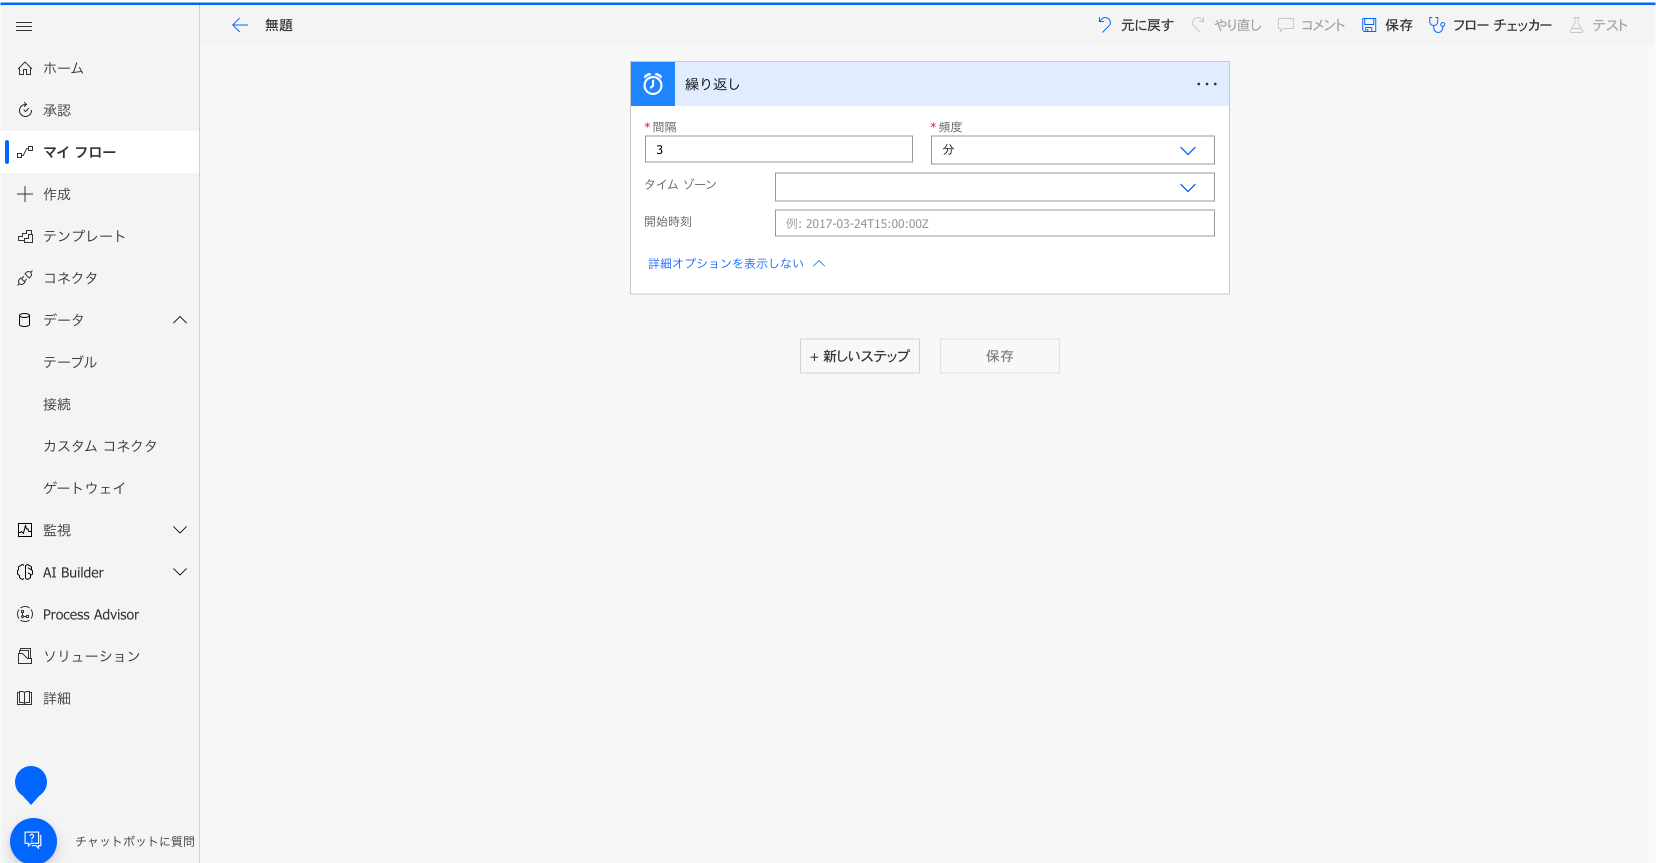
4."間隔"、"頻度"を指定します。
Google Driveを設定する
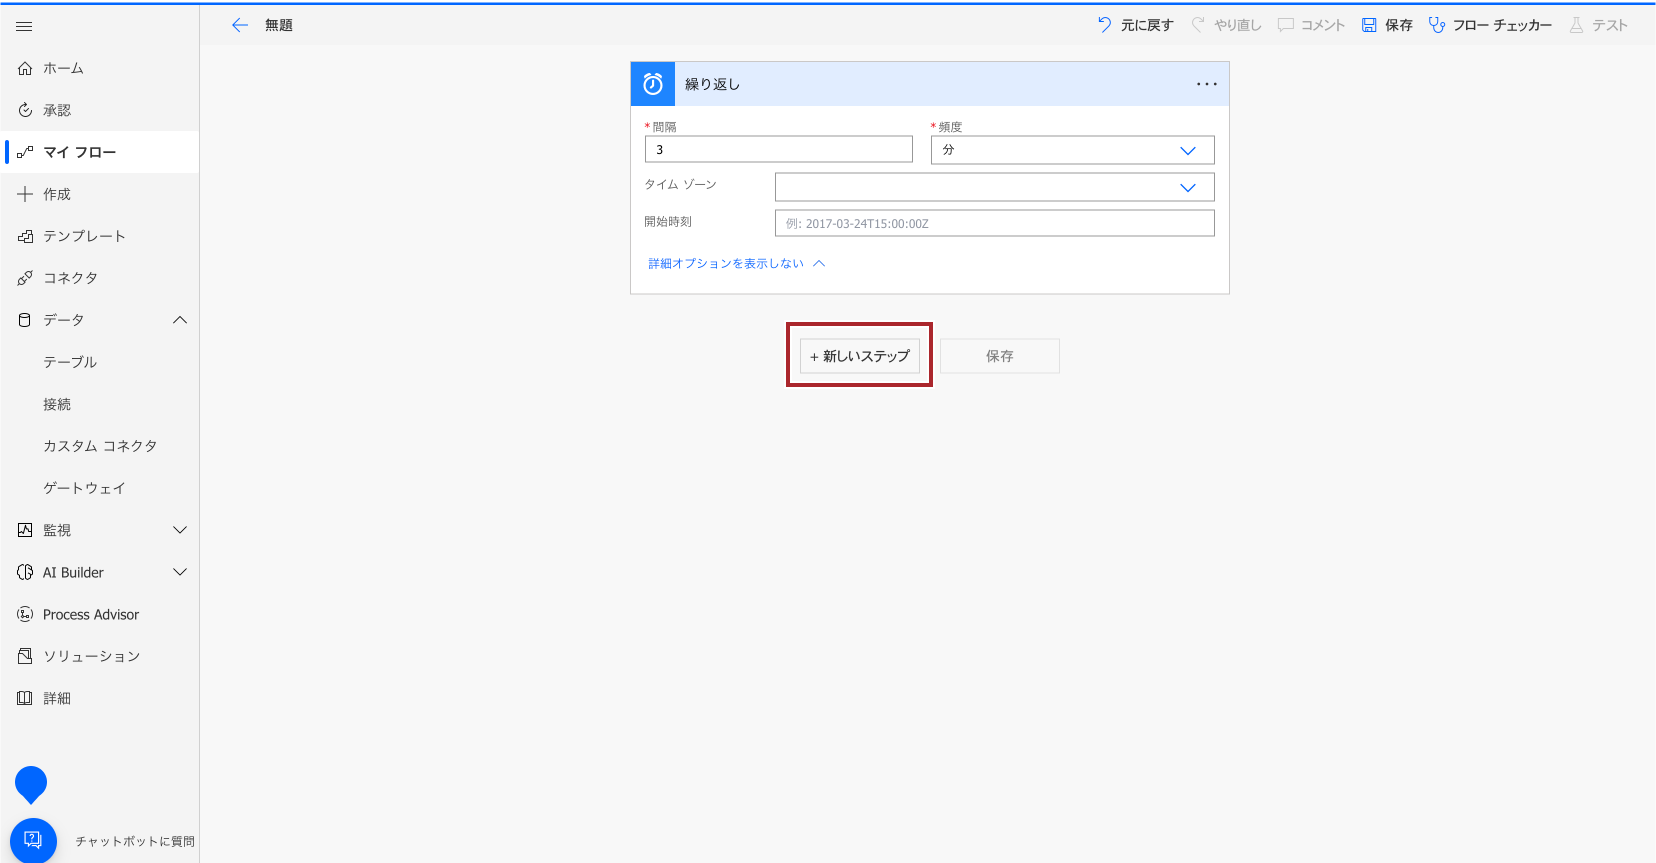
1."新しいステップ"を選択します。
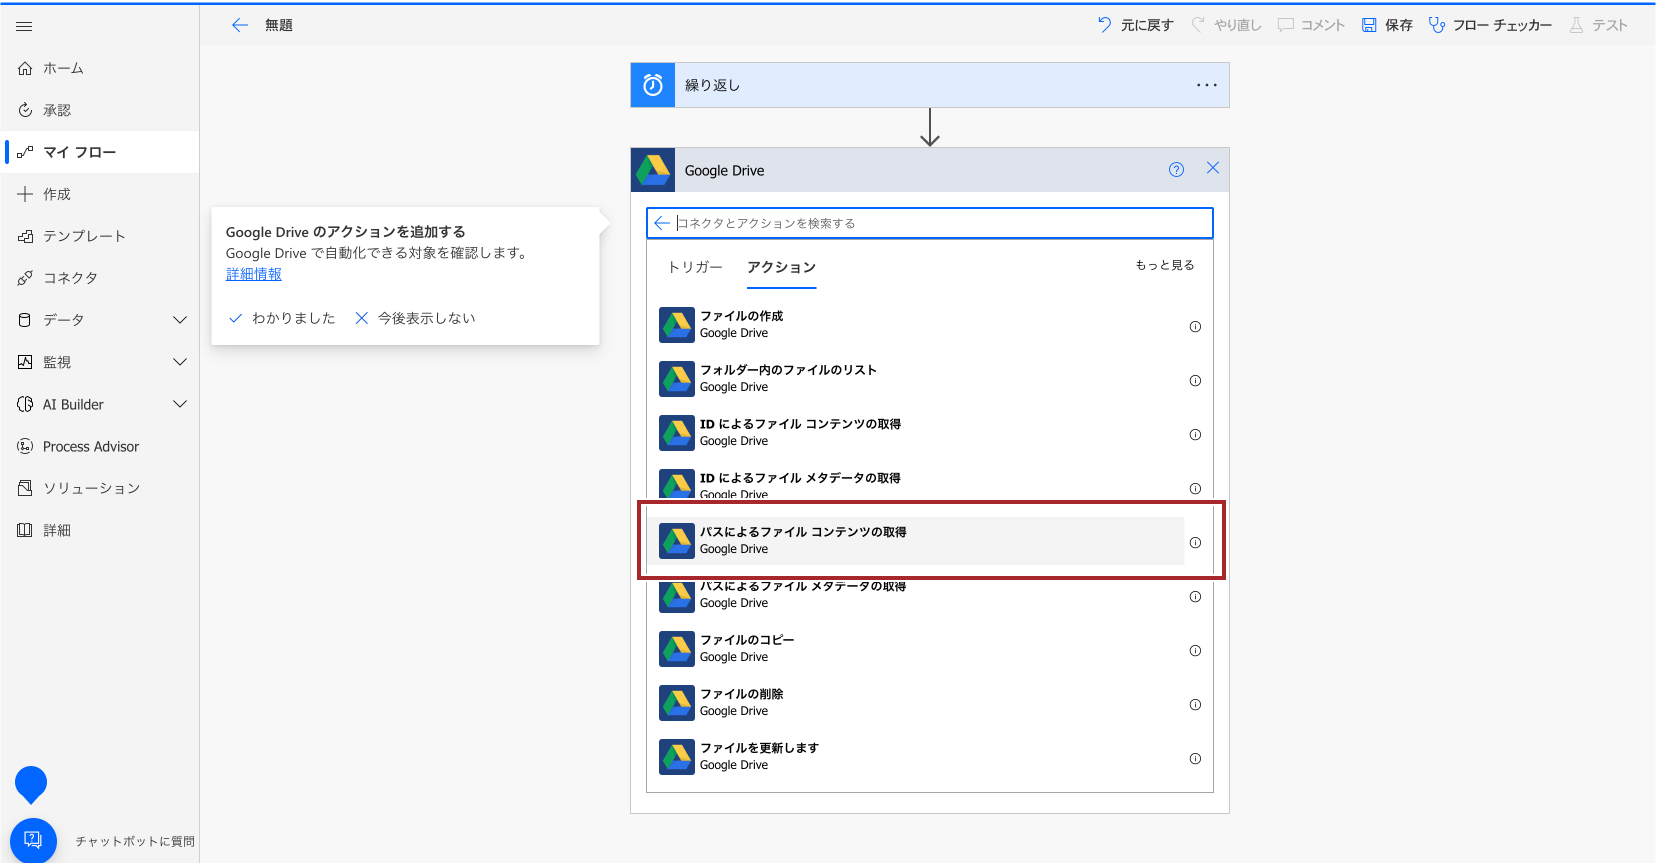
2."Google Drive"と検索し、アイコンをクリックします。

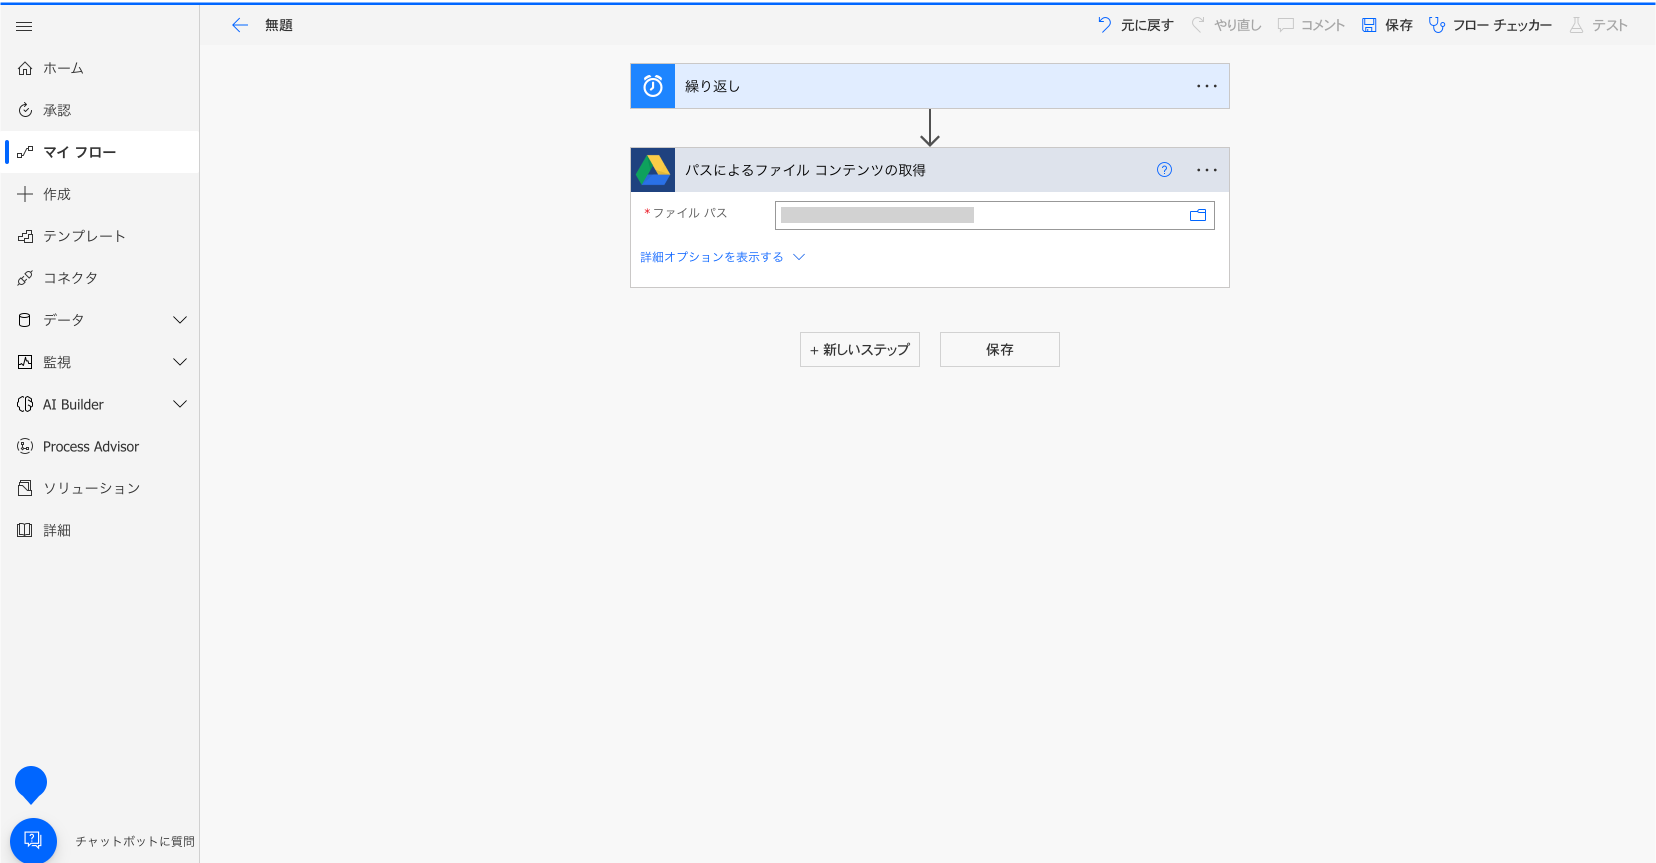
3.アクションから"パスによるファイルコンテンツの取得"を選択します。
4.アクションの設定をします。"ファイルパス"を指定します。
*接続がない場合は接続を作成します。
Cloud BOT(ファイルのアップロード / Upload File)を設定する
1."新しいステップ"を選択します。

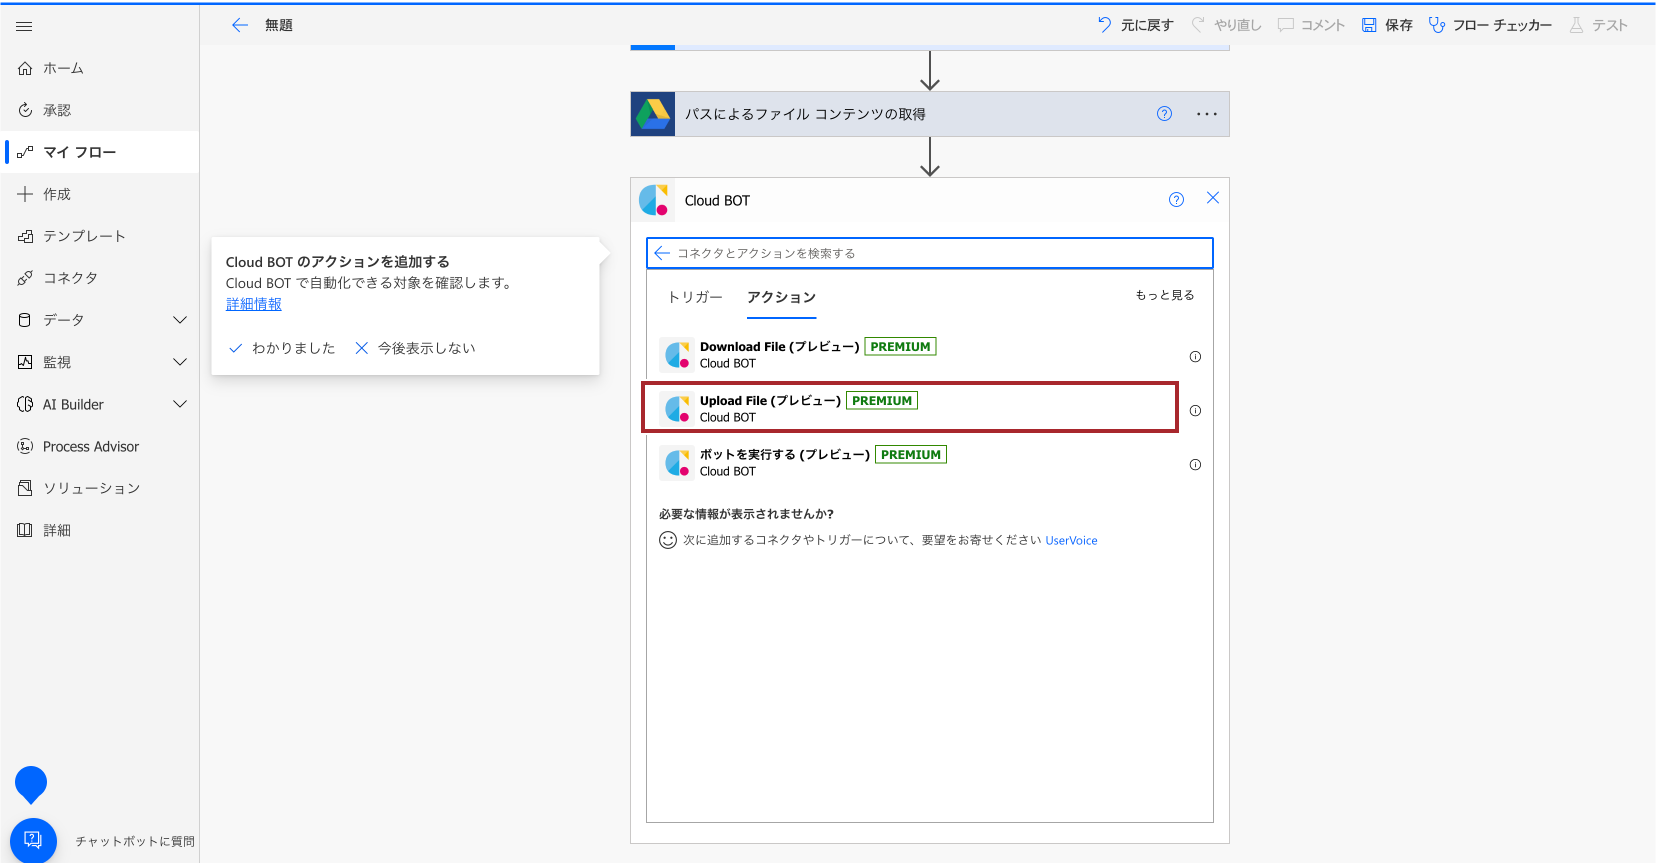
2."Cloud BOT"と検索し、アイコンをクリックします。
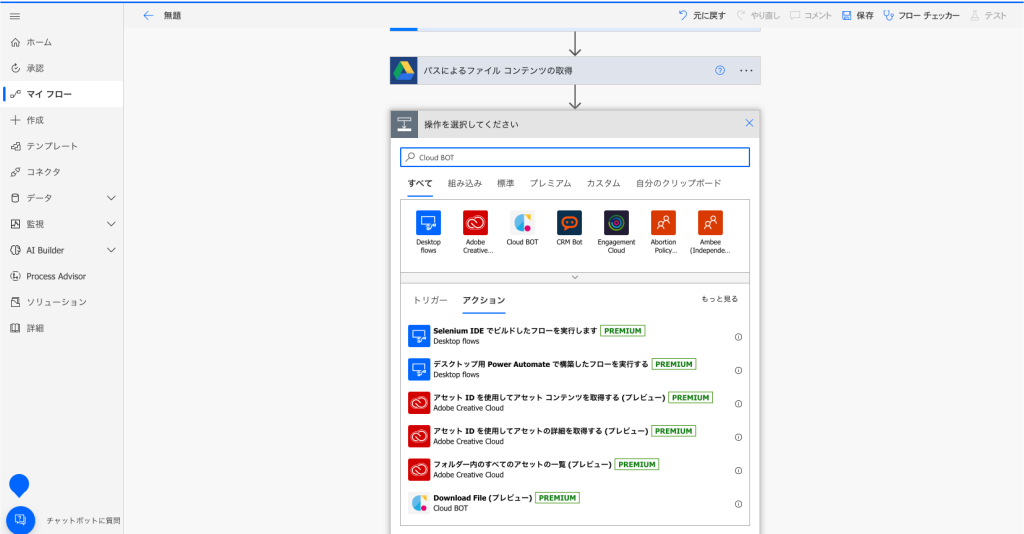
3.アクションから"ファイルのアップロード / Upload File"を選択します。
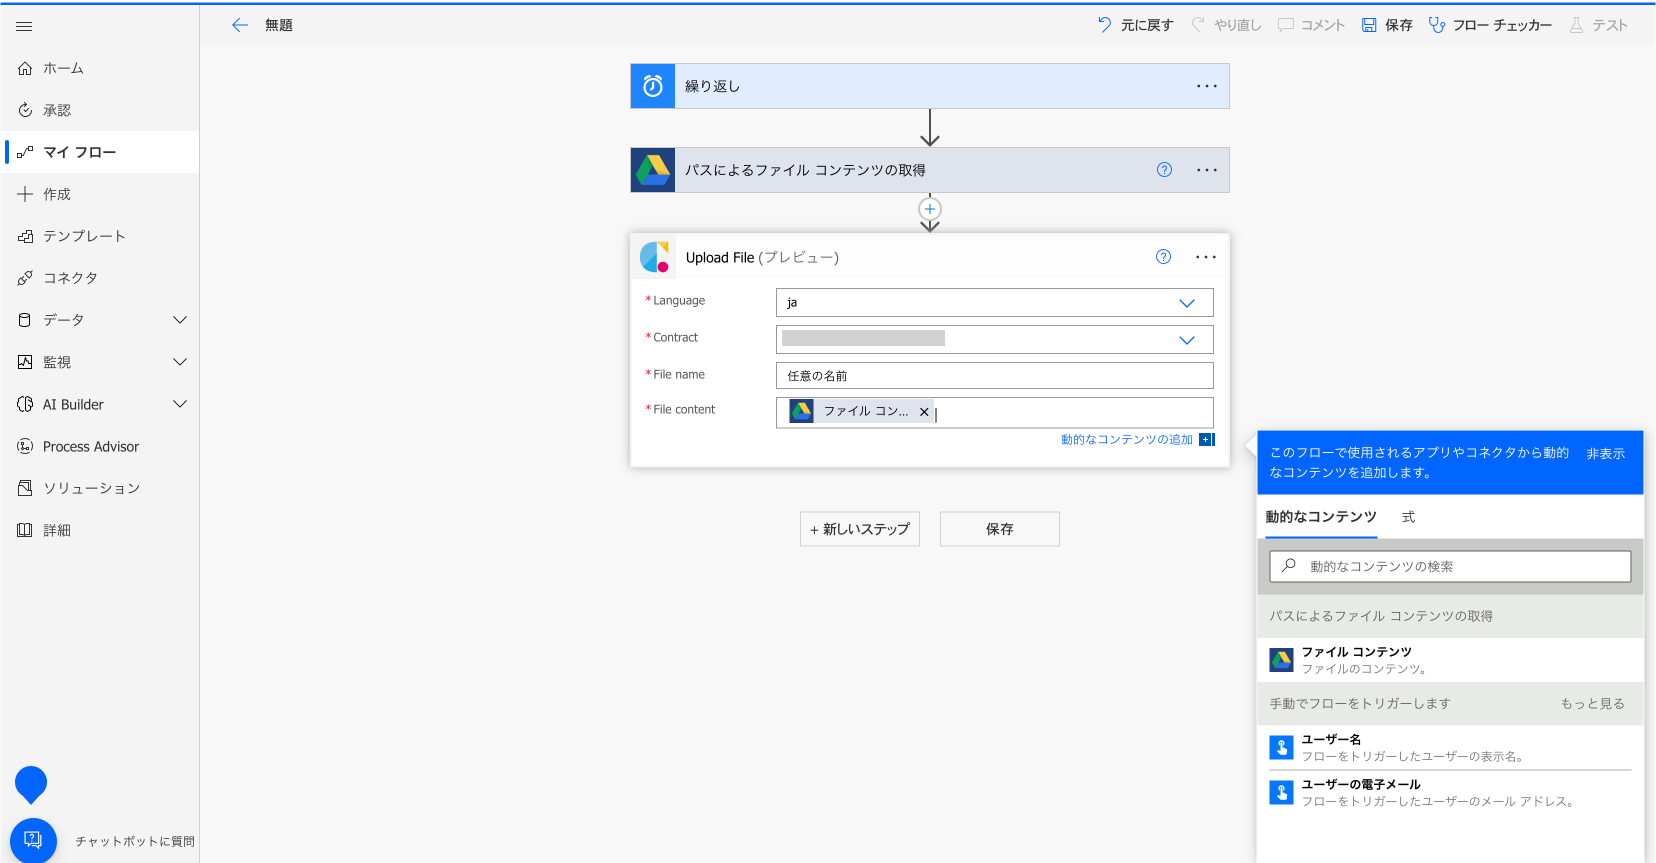
4.アクションの設定をします。設定値についてはこちら。
画像の例では、"動的なコンテンツ"から"ファイル コンテンツ"を指定しています。
*接続がない場合は接続を作成します。接続の作成についてはこちら。
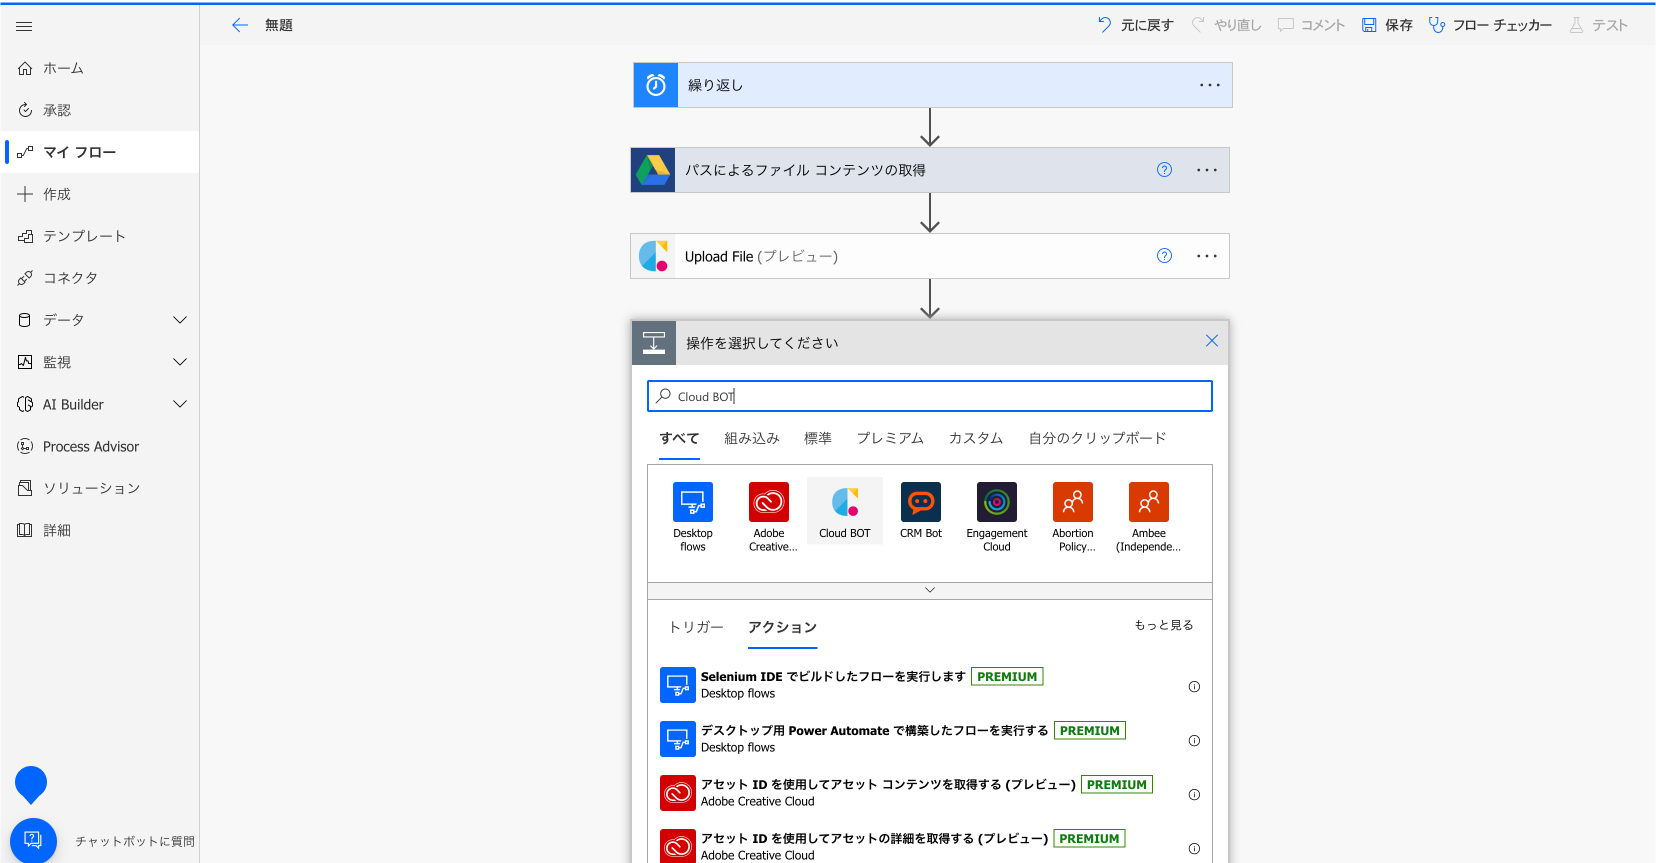
Cloud BOT(BOT を実行する)を設定する
1."新しいステップ"を選択します。"Cloud BOT"と検索、アクションから"BOTを実行する"を選択します。

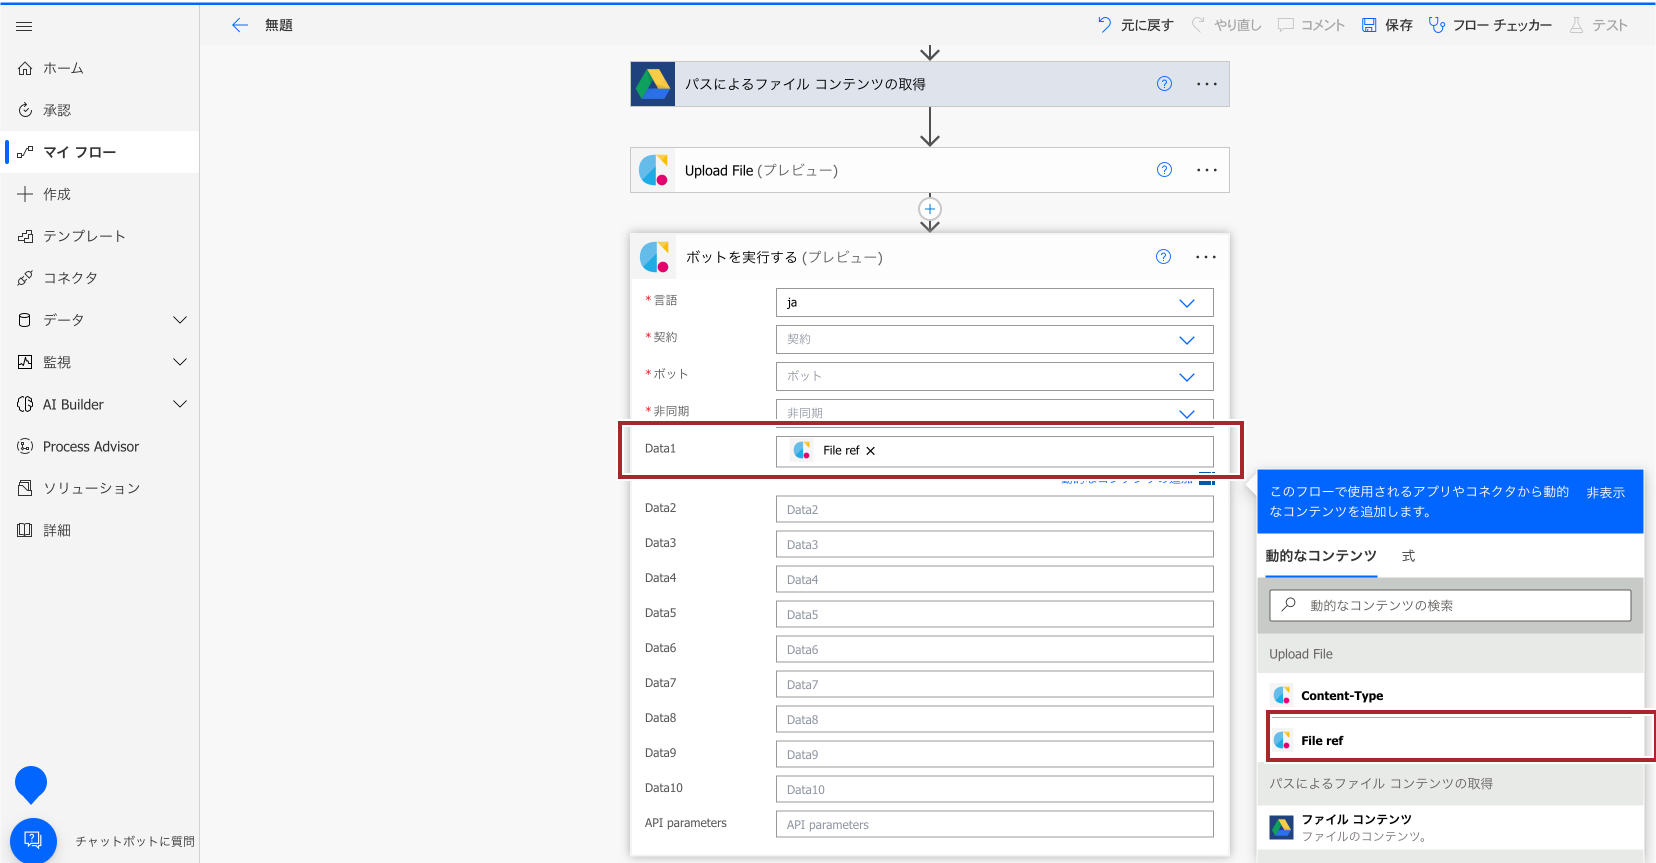
2.アクションの設定をします。設定値についてはこちら。
画像の例では、"動的なコンテンツ"から"ファイル参照 / File ref"を指定しています。
*接続がない場合は接続を作成します。接続の作成についてはこちら。
フローが作成できました。上部メニュー(画面右上)の"テスト"から動作確認を行います。実行結果が確認できれば設定は完了です。