Google DriveからダウンロードしたファイルをBOTでアップロード

ホーム > 外部サービス連携 > IFTTT > Google DriveからダウンロードしたファイルをBOTでアップロード
アプレット作成
Google DriveのファイルをBOT実行でアップロードするアプレットを作成します。

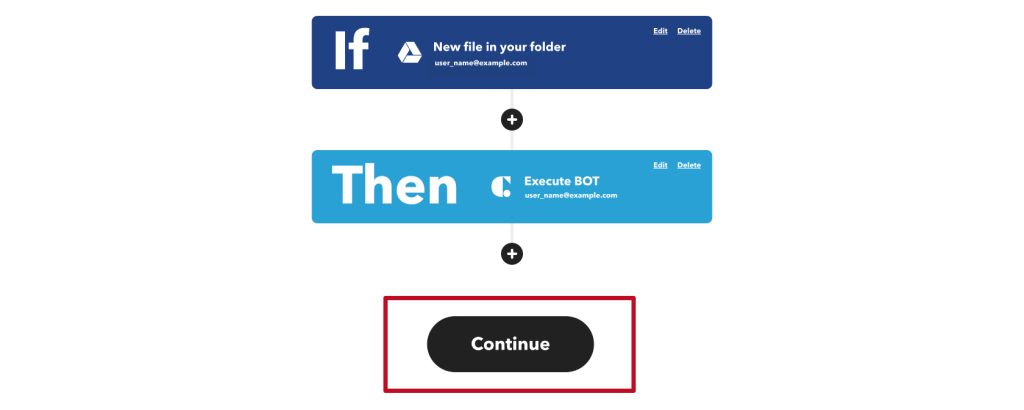
Google Drive(New row added to spreadsheet)
指定したフォルダに新しいファイルが追加された際にファイル情報を取得します。
Cloud BOT( Execute BOT)
取得したファイルのURLを入力値としBOTを実行します。
Google sheetsを設定する
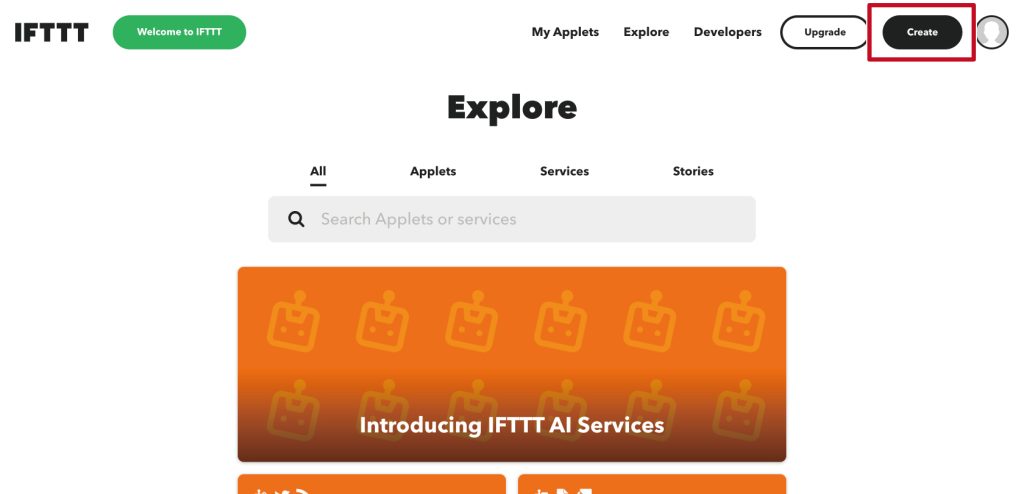
1.画面のメニューから「Create」をクリックします。
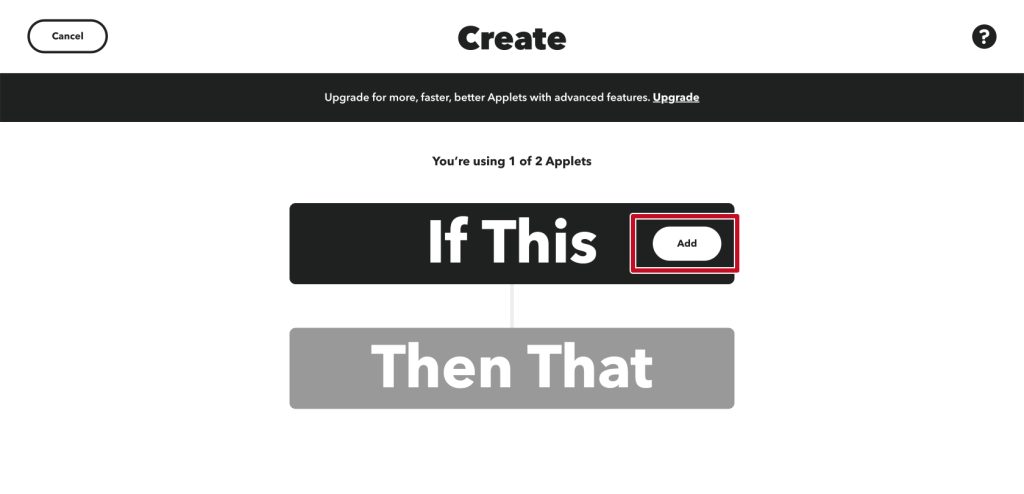
2.アプレット作成画面に遷移後、「If This」の"Add" をクリックします。
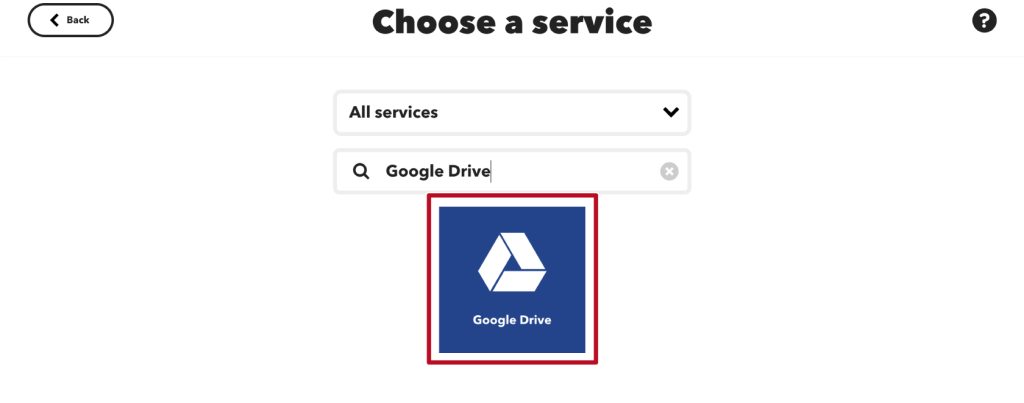
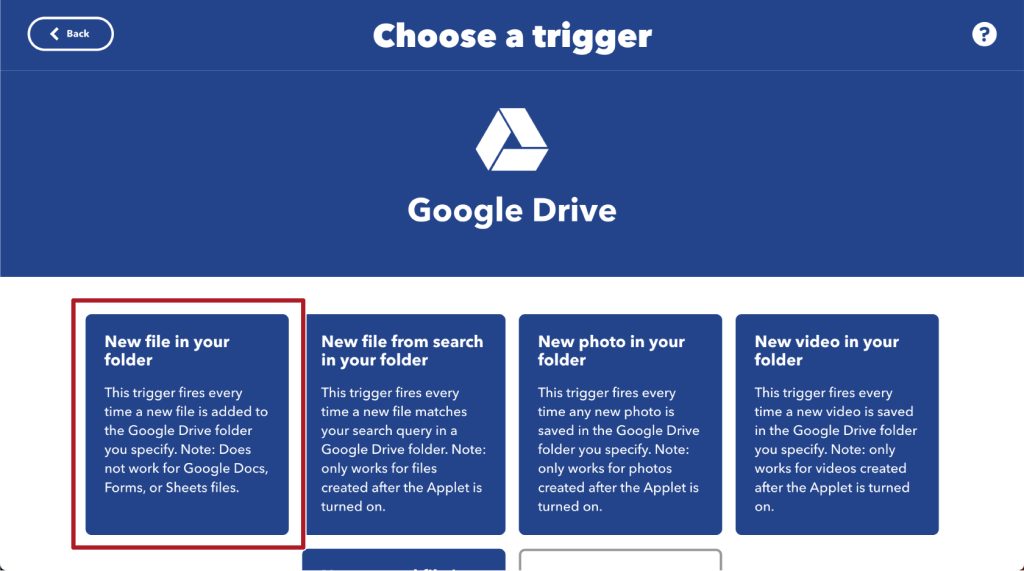
3.「Google Drive」と検索し、アイコンをクリックします。
4."New file in your folder"をクリックします。
5.トリガーの設定をします。Google Driveの任意フォルダを指定します。
*Connectがない場合はConnectを作成します。
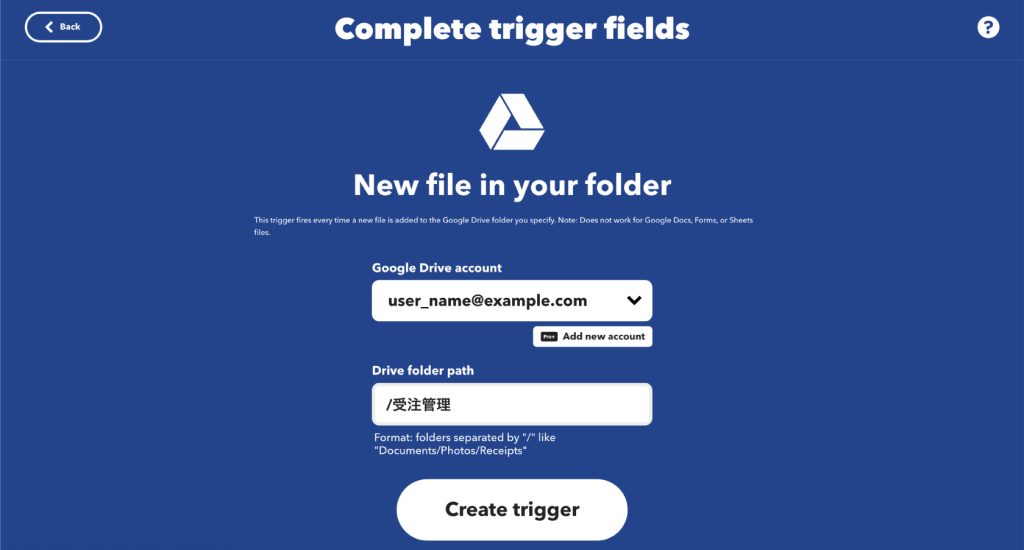
6.設定が完了したら"Create trigger"をクリックします。

Cloud BOTを設定する
1.トリガー設定後の画面で「Then That」の"Add" をクリックします。

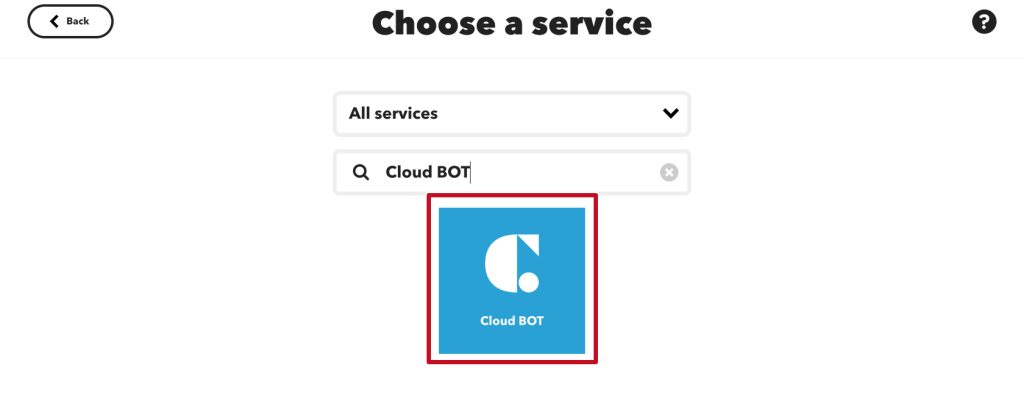
3.「Cloud BOT」と検索し、アイコンをクリックします。
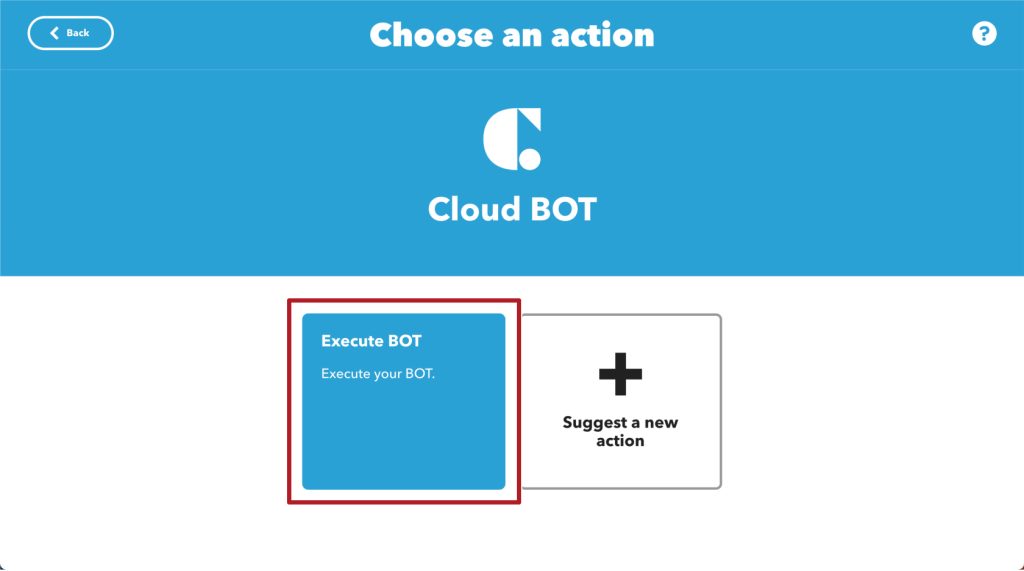
3."Execute BOT"をクリックします。
4.アクションの設定をします。設定値についてはこちら。
*Connectがない場合はConnectを作成します。Connectの作成についてはこちら。
5.設定が完了したら"Create action"をクリックします。

6."Continue"ボタンをクリックします。
7.通知を設定し、"Finish"をクリックします。

アプレットが作成できました。
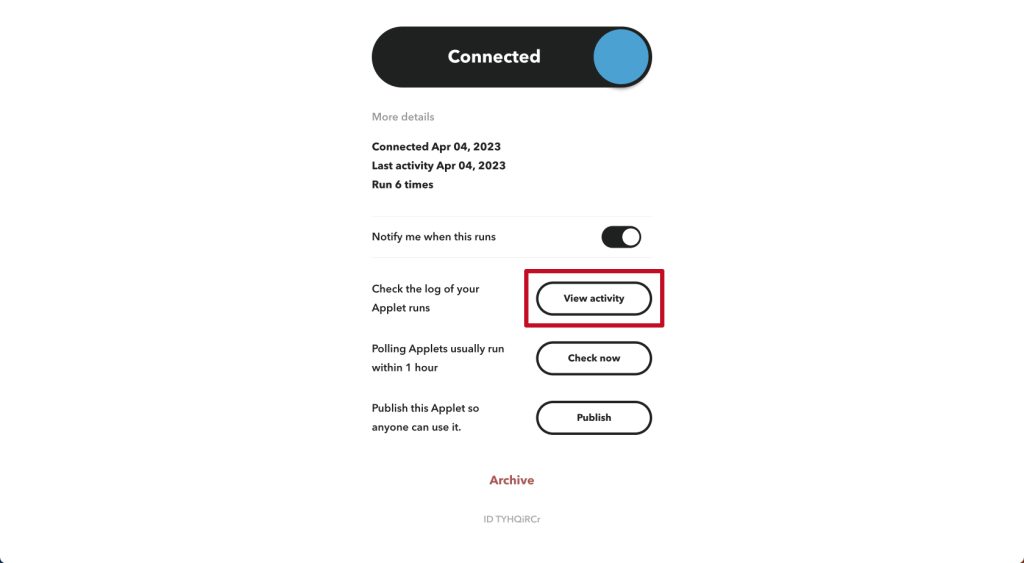
実際に動作を確認します。実行結果は、実行した「Applet」のCheck the log of your Applet runs "view activity"から確認できます。