スプレッドシートに新しい行が追加されたらBOTを実行

ホーム > 外部サービス連携 > IFTTT > スプレッドシートに新しい行が追加されたらBOTを実行
アプレット作成
スプレッドシートに新しい行が追加された際に、特定のBOTを実行するアプレットを作成します。

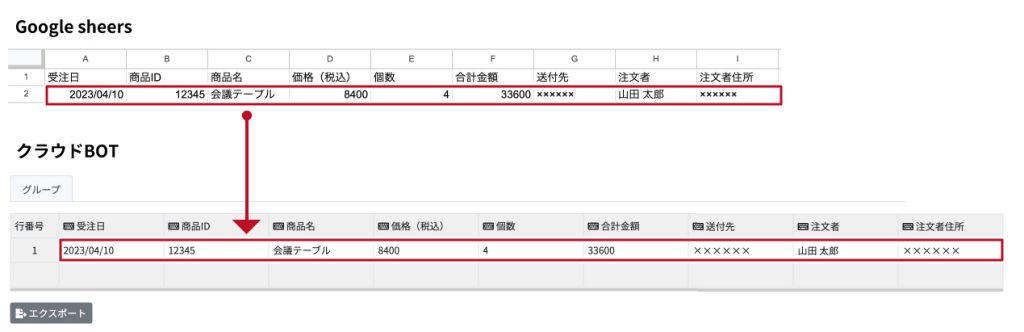
Google sheets(New row added to spreadsheet)
指定したスプレッドシートに新しい行が追加された際に行の文字列を取得します。
Cloud BOT( Execute BOT)
取得した文字列を入力値としBOTを実行します。
Google sheetsを設定する
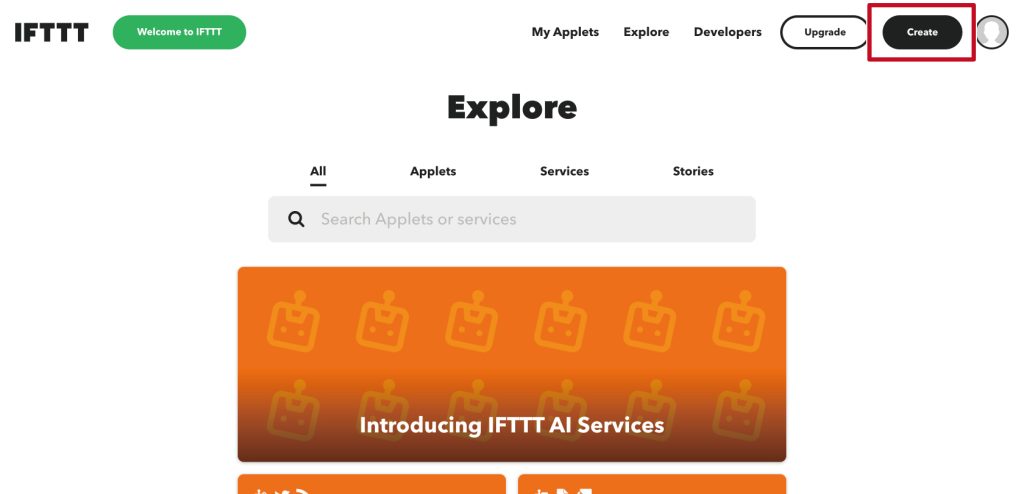
1.画面のメニューから「Create」をクリックします。
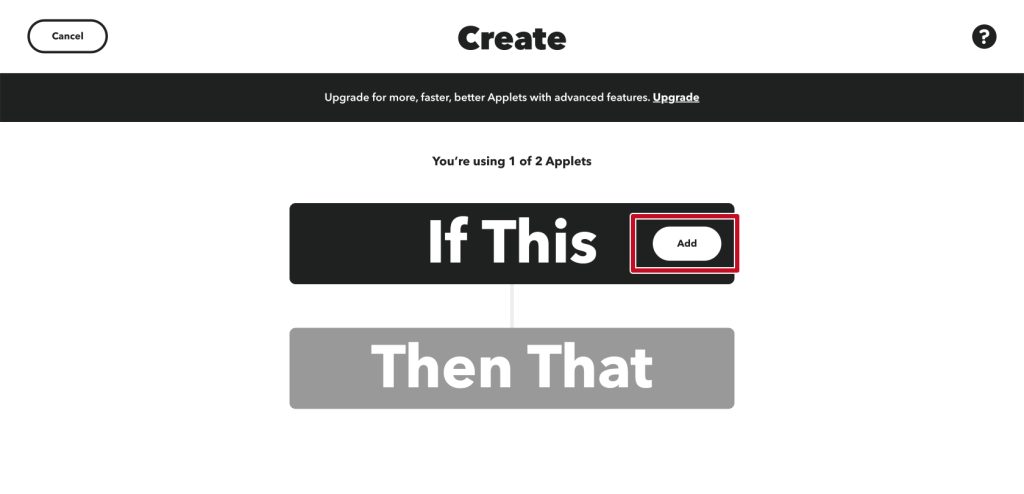
2.アプレット作成画面に遷移後、「If This」の"Add" をクリックします。
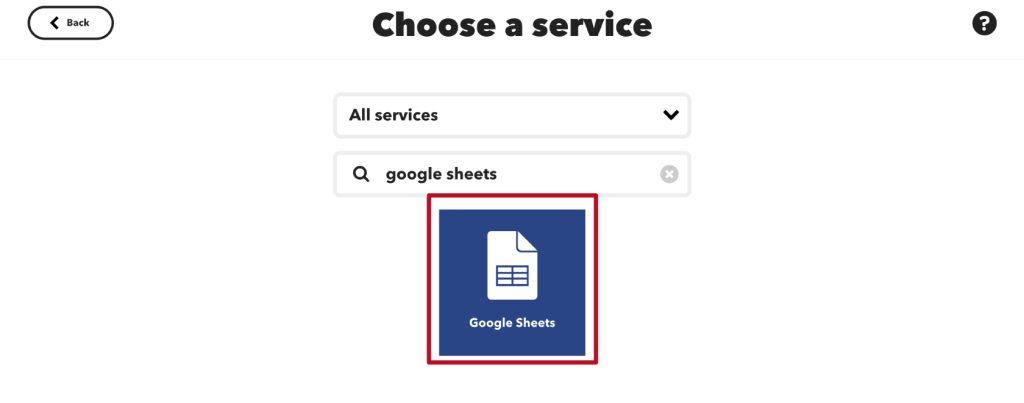
3.「Google sheets」と検索し、アイコンをクリックします。
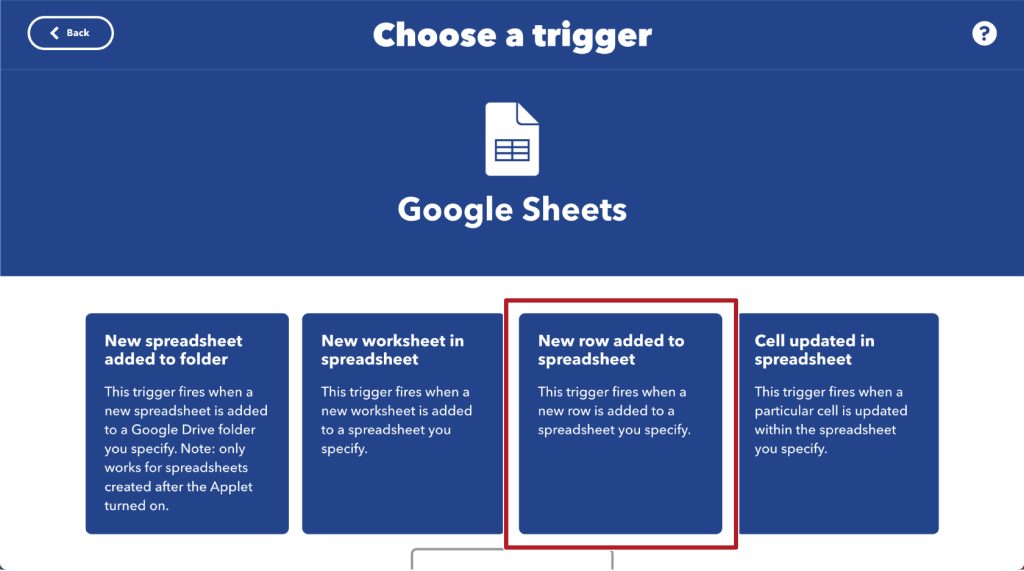
4."New row added to spreadsheet"をクリックします。
5.トリガーの設定をします。任意のsheetを指定します。
*Connectがない場合はConnectを作成します。
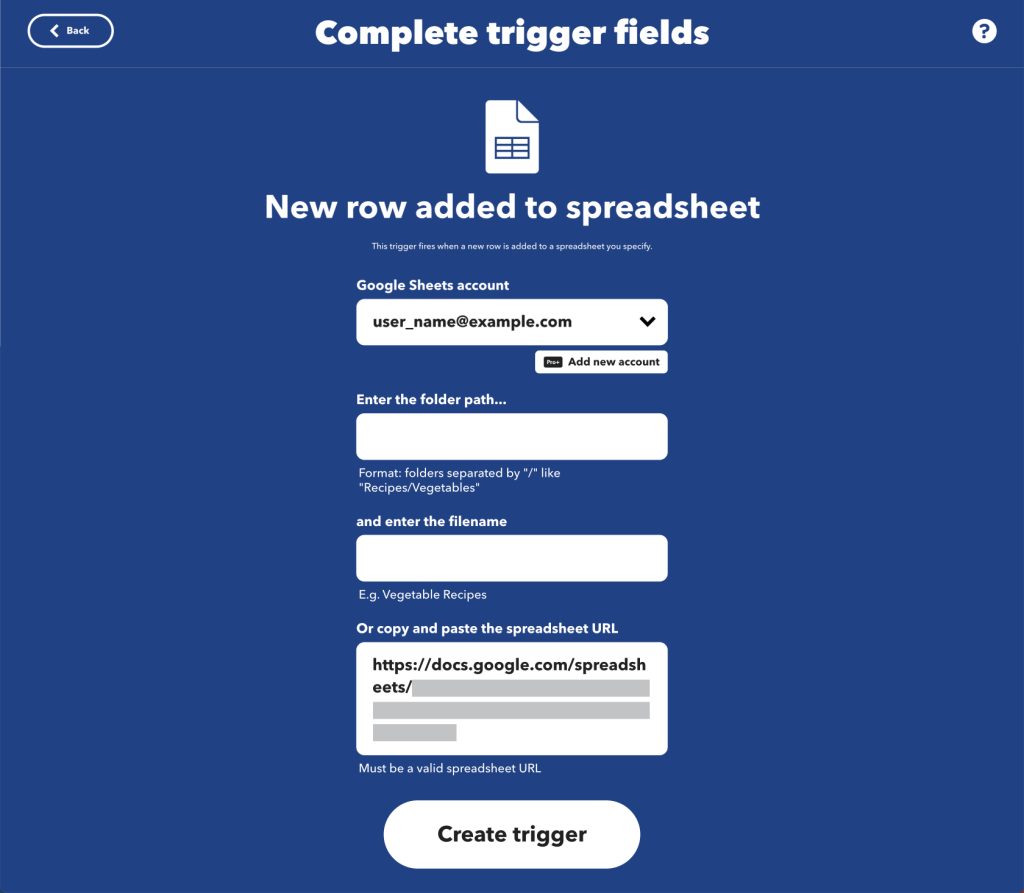
6.設定が完了したら"Create trigger"をクリックします。

Cloud BOTを設定する
1.トリガー設定後の画面で「Then That」の"Add" をクリックします。

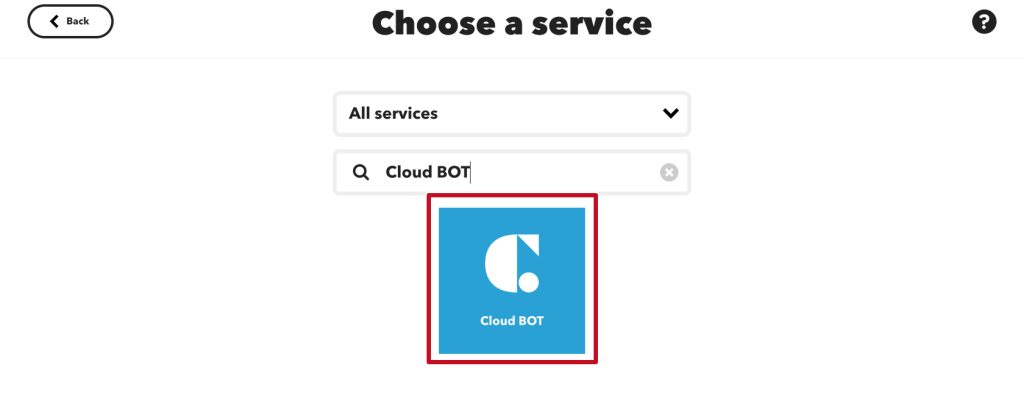
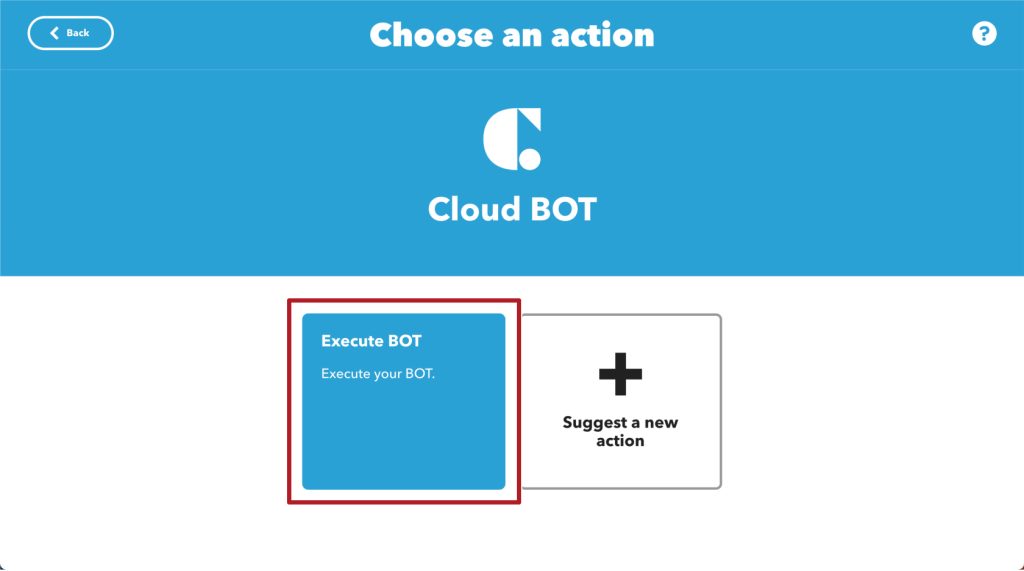
3.「Cloud BOT」と検索し、アイコンをクリックします。
3."Execute BOT"をクリックします。
4.アクションの設定をします。設定値についてはこちら。
*Connectがない場合はConnectを作成します。Connectの作成についてはこちら。
*今回の例では、Columnを下記のように割り当てています。

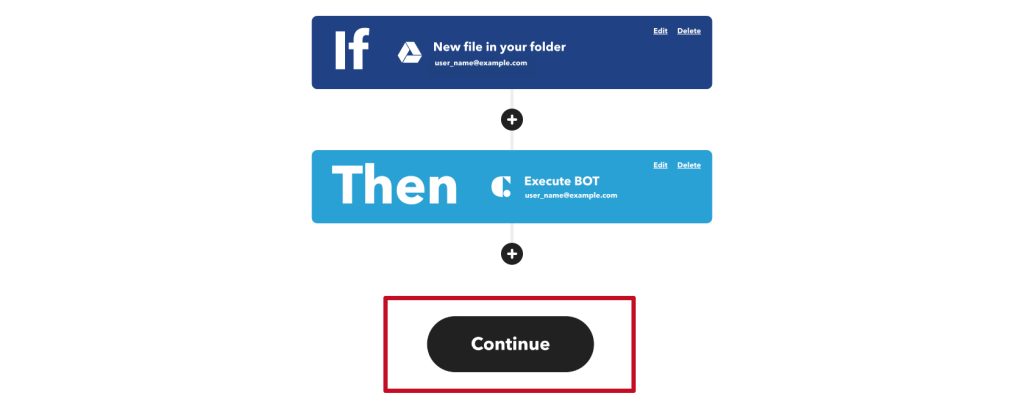
5.設定が完了したら"Create action"をクリックします。

6."Continue"ボタンをクリックします。
7.通知を設定し、"Finish"をクリックします。

アプレットが作成できました。
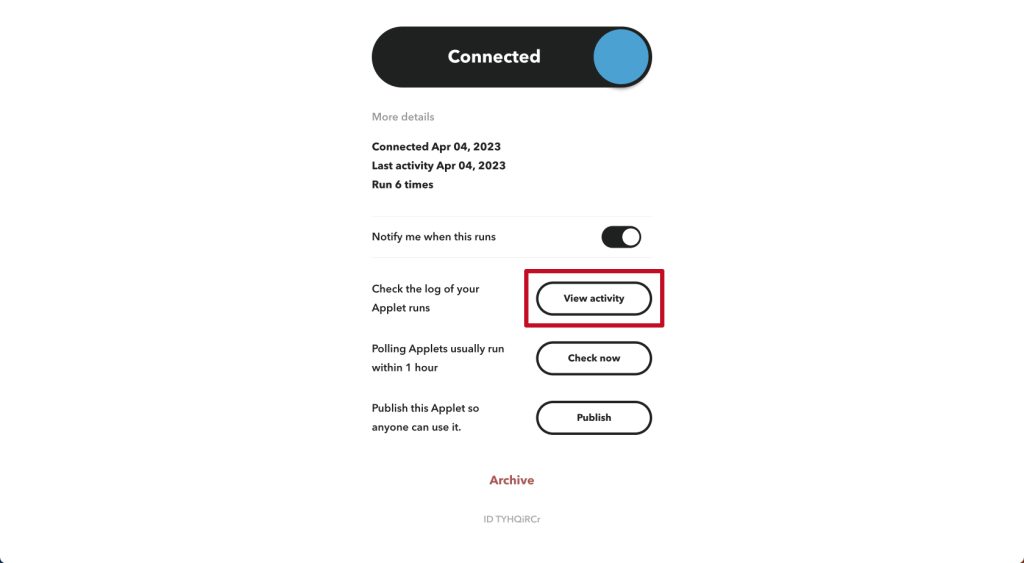
実際に動作を確認します。実行結果は、実行した「Applet」のCheck the log of your Applet runs "view activity"から確認できます。