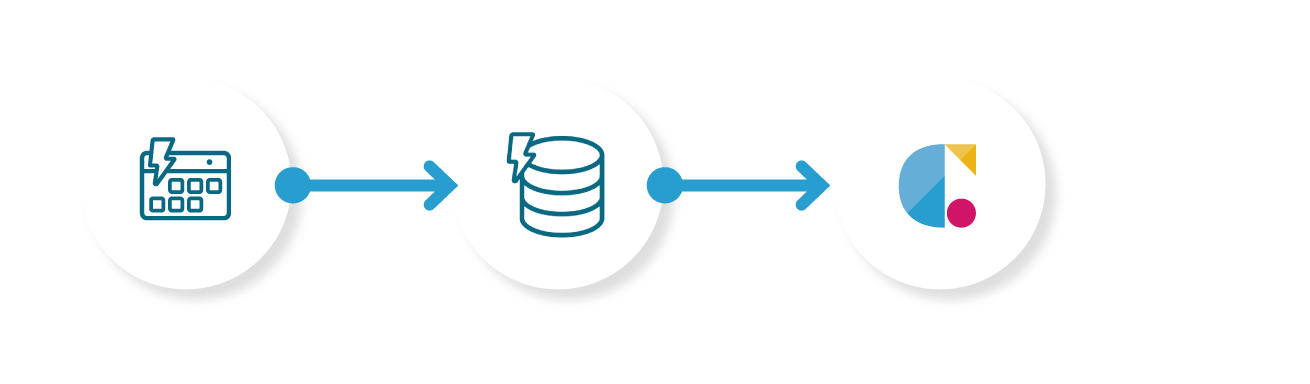
データベースから取得した一覧データをBOTの入力値(グループデータ)として実行

ホーム > 外部サービス連携 > Yoom > データベースから取得した一覧データをBOTの入力値(グループデータ)として実行
フローボット作成
データベースから取得した一覧データをBOTの入力値(グループデータ)として実行するフローボットを作成します。
スケジュール(指定したスケジュー ルになったら)
スケジュール指定でトリガーを発生させます。
データベースを操作する(レコードを取得する)
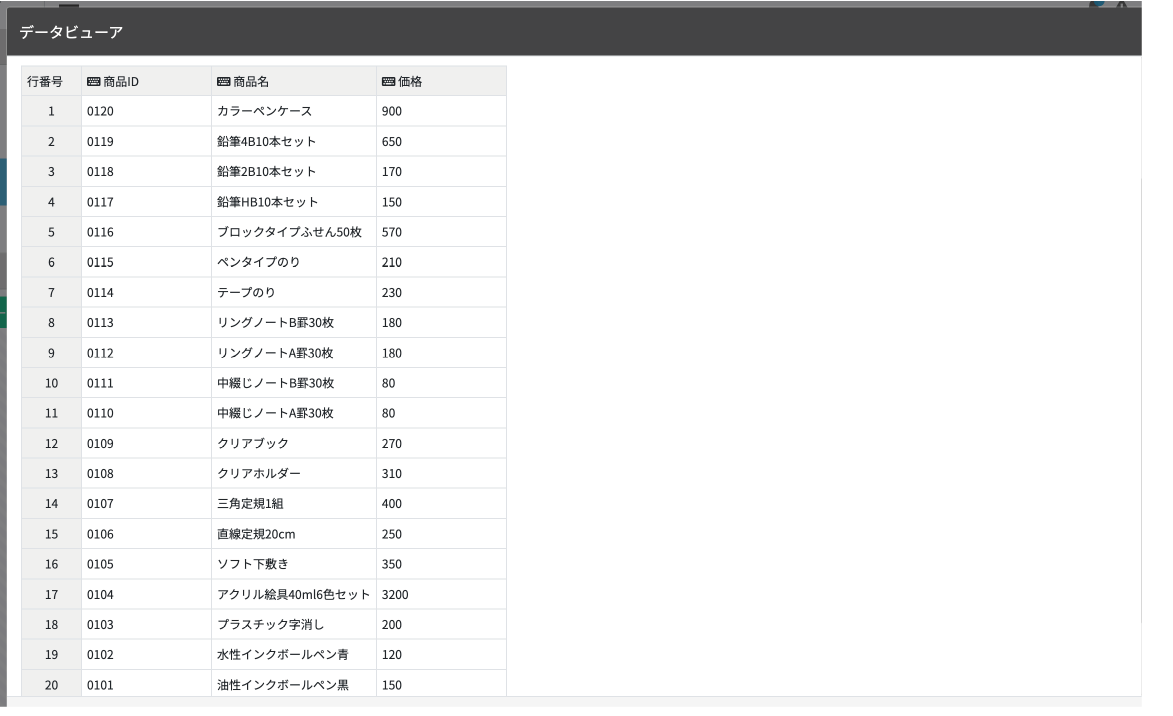
データベースの行データを複数取得します。
クラウドBOT(ボットを実行)
任意のBOTを実行します。
スケジュールを設定する
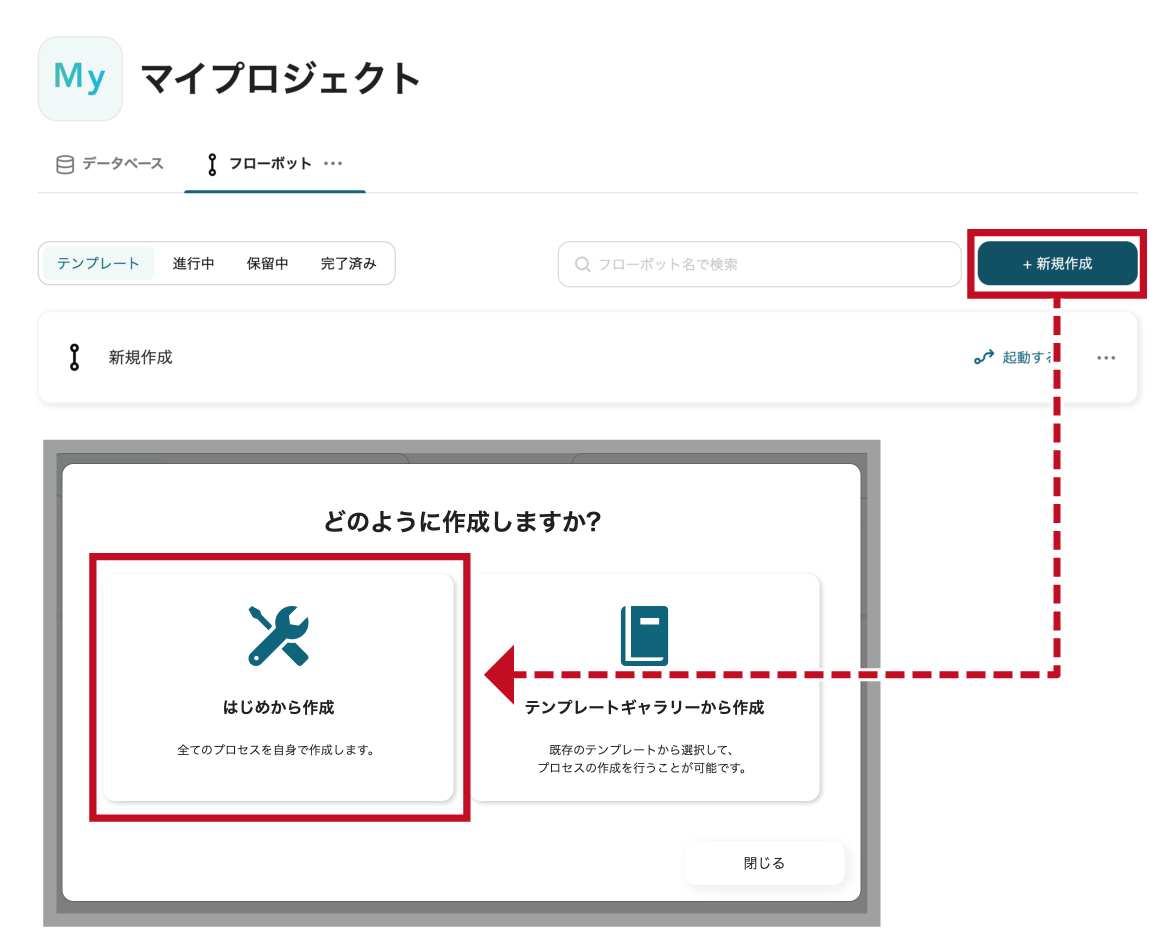
1. "新規作成"をクリックし、"はじめから作成"をクリックします。
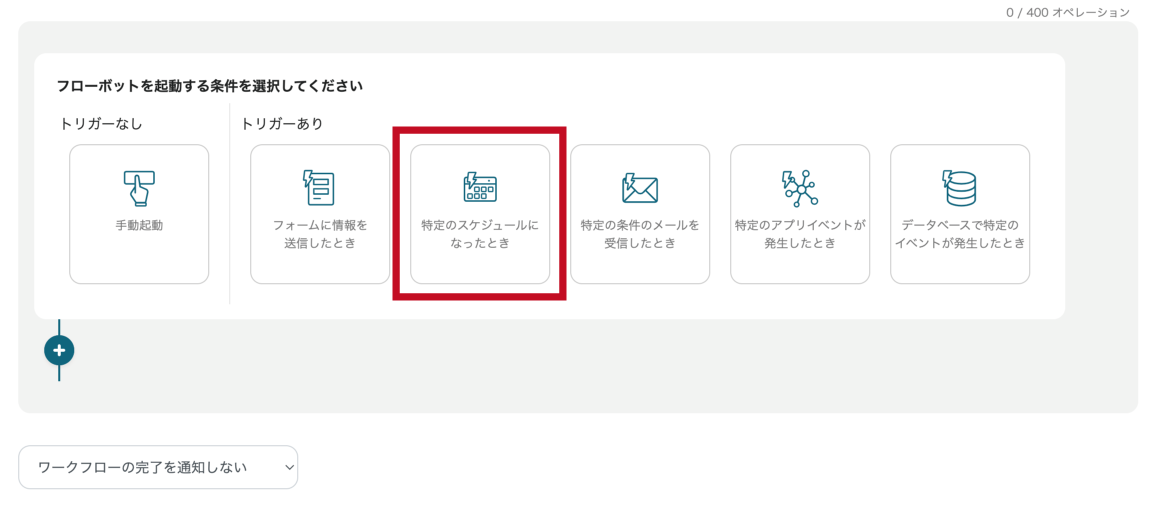
2. フローボットを起動する条件として"特定のスケジュールになったとき"をクリックします。
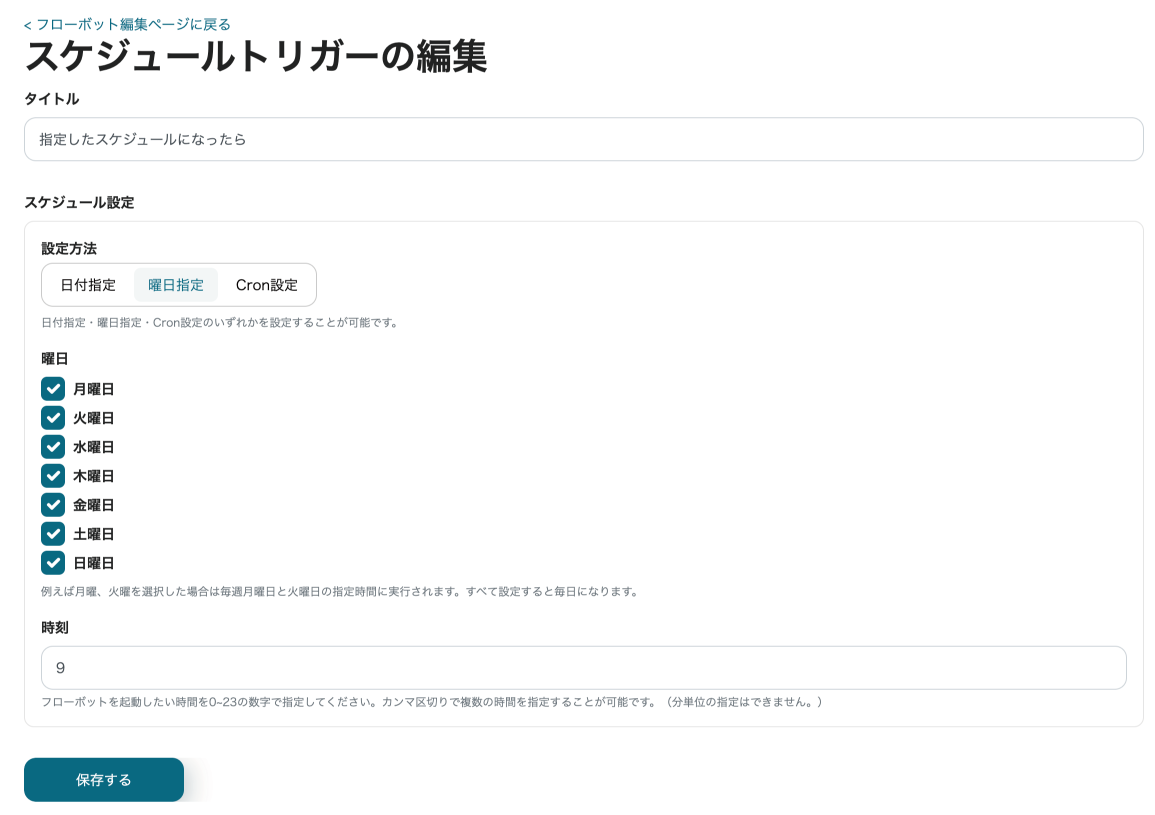
3. スケジュールトリガーを設定します。設定が完了したら"保存する"をクリックします。
データベース(レコードを取得する)を設定する
1. "プラス"ボタンをクリックし、オペレーションを追加します。
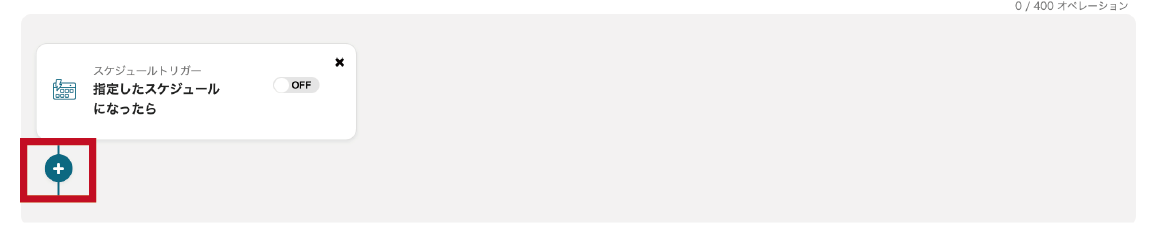
2. "データベースを操作する"をクリックします。"Yoom"のアイコンをクリックします。

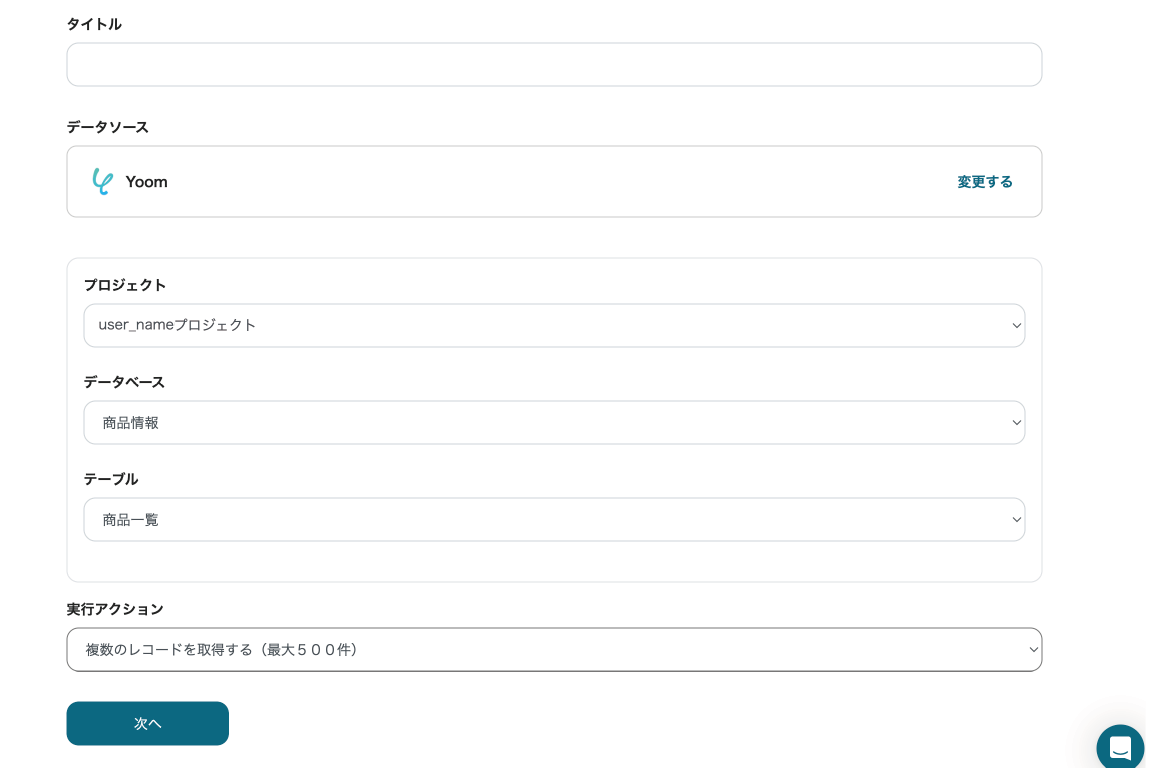
3. データベースの実行アクションを設定し、"次へ"をクリックします。
画像の例では、プロジェクト、データベース、テーブルを指定し、実行アクションとして"複数のレコードを取得する"を選択しています。
4. 実行アクションの検索条件設定をします。ここでは全てのレコードを対象にします。
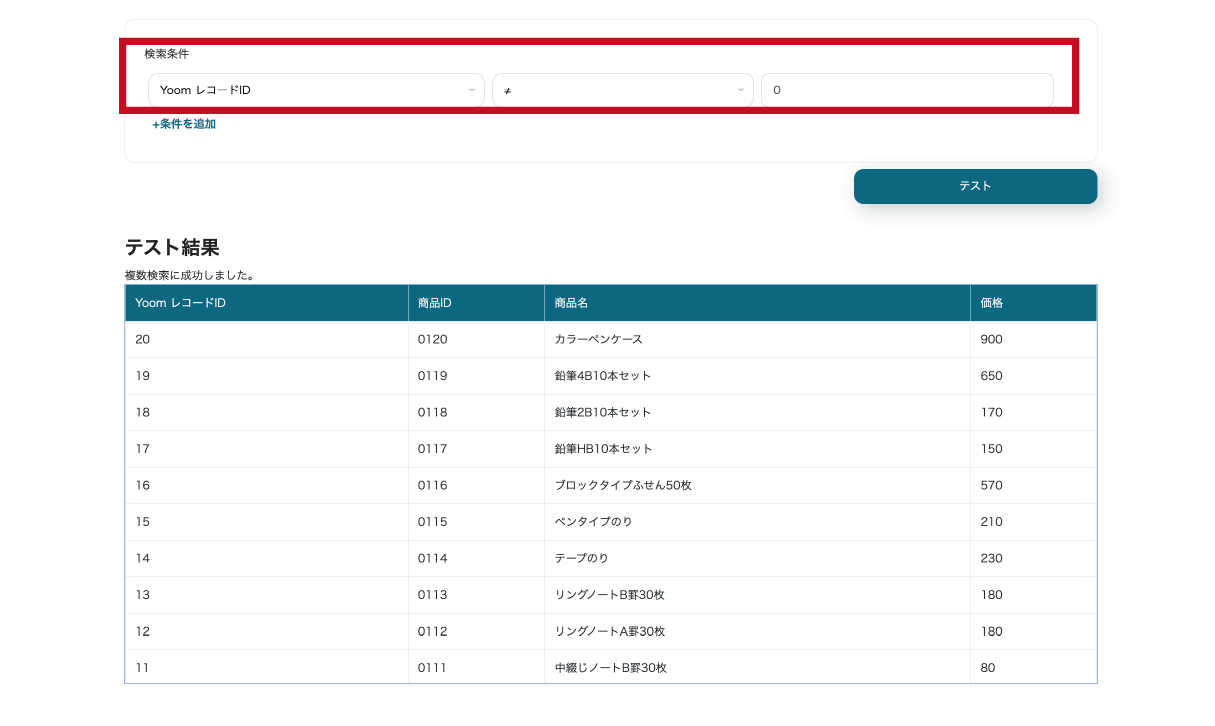
5. 設定が完了したら"テスト"をクリックし、動作確認を行います。実行結果が確認できたら"保存する”をクリックします。
クラウドBOT(ボットを実行)を設定する
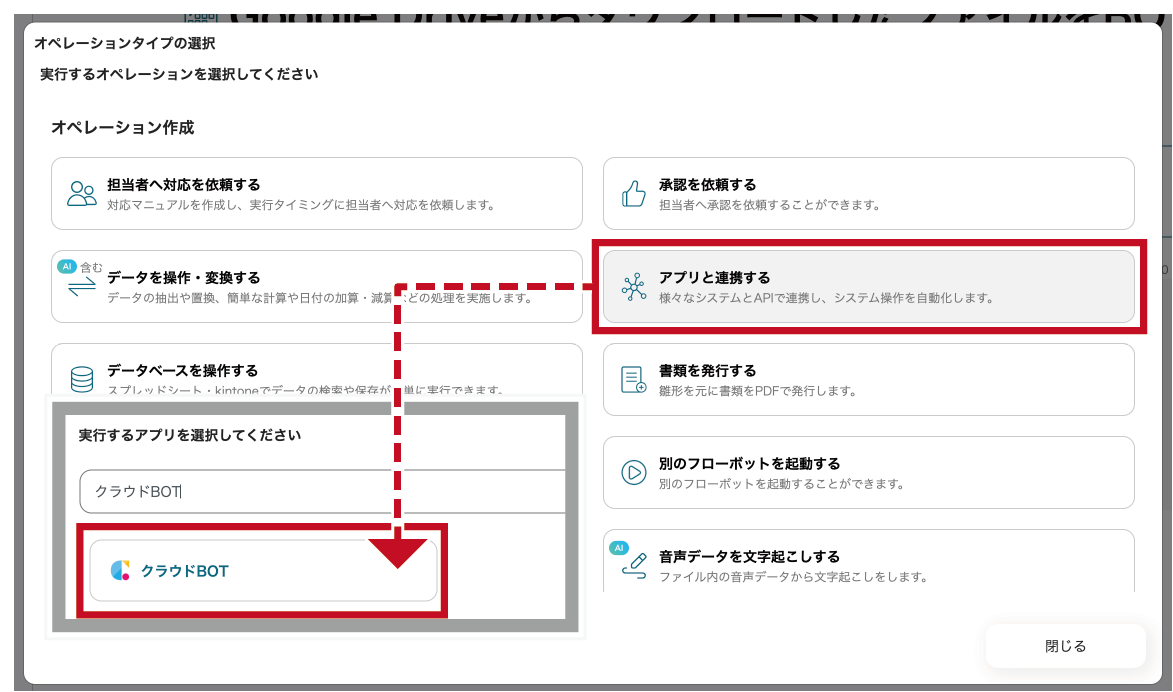
1. "プラス"ボタンをクリックし、オペレーションを追加します。
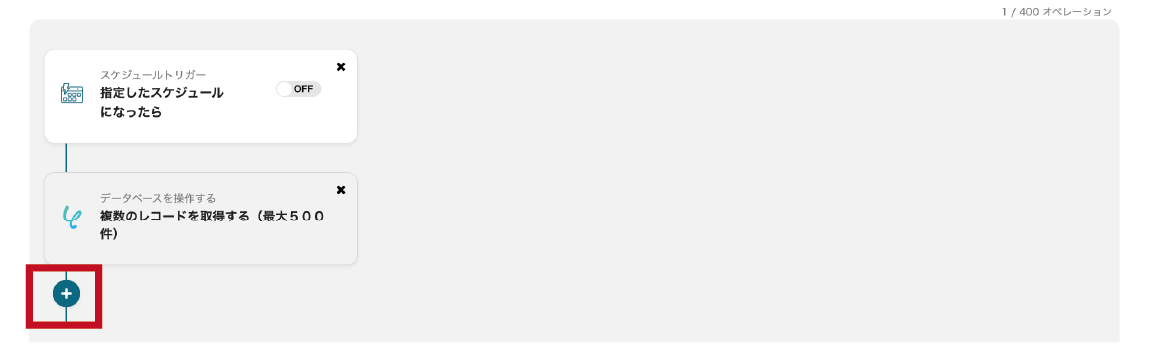
2. "アプリと連携する" をクリックします。検索欄で"クラウドBOT"と検索し、アイコンをクリックします。
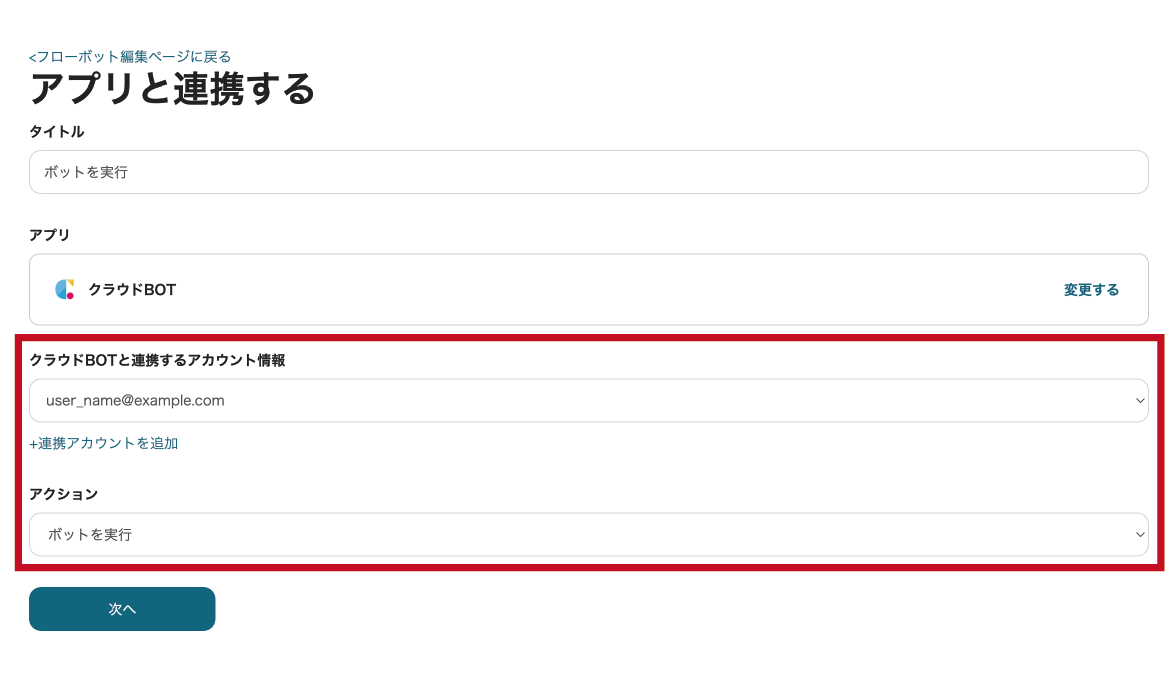
3. クラウドBOTと連携するアカウント情報、アクションを設定し、"次へ"をクリックします。
画像の例では、アクションとして"ボットを実行"を選択しています。
*接続がない場合は接続を作成します。接続の作成についてはこちら。
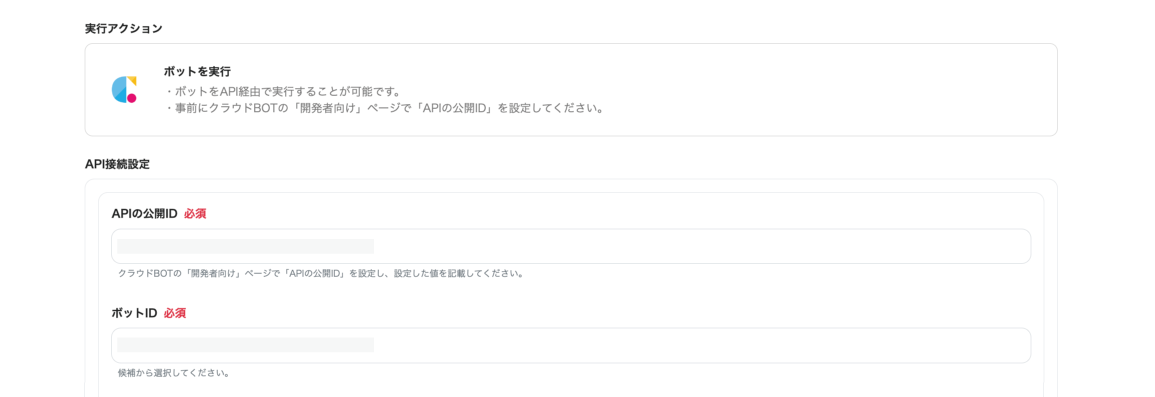
4. "ボットを実行"アクションを設定します。 設定値についてはこちら。
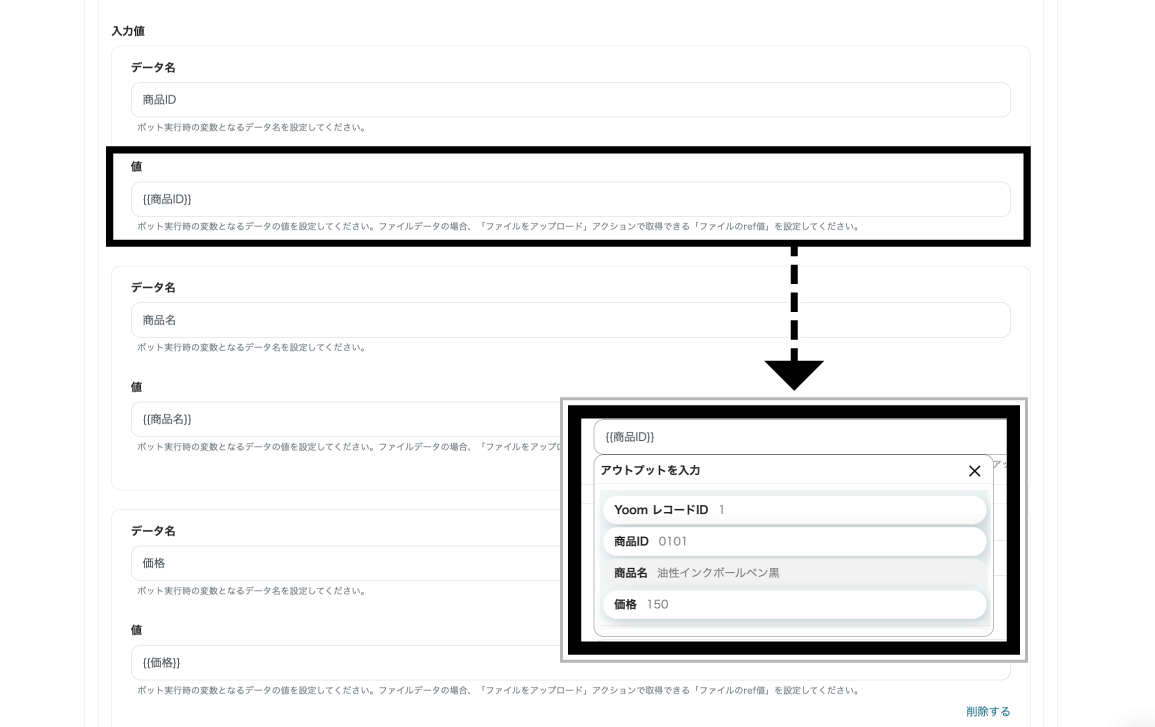
5. 入力値を設定します。
画像の例では、データベースで取得したリスト形式のアウトプットを使用しています。
実行結果をクラウドBOTの実行ログで確認できます。
実行結果が確認できたら"保存する"をクリックします。 これでフローボットの作成は完了です。