BOTで取得したグループデータをスプレッドシートへ追加

ホーム > 外部サービス連携 > Workato > BOTで取得したグループデータをスプレッドシートへ追加(Workato)
レシピ作成
クラウドBOT内で取得した一覧データを使用し、スプレッドシートへの書き込み処理を順次実行するレシピを作成します。
Cloud BOT(When BOT execution is completed)
BOT実行が完了した際にBOT実行結果を取得します。
Repeat action
When BOT execution is completedで取得したグループデータの行数分、以降のアクションを実行します。
Google Sheets(Add Row)
スプレッドシートに行データを新しく追加します。
Cloud BOT(When BOT execution is completed)を設定する
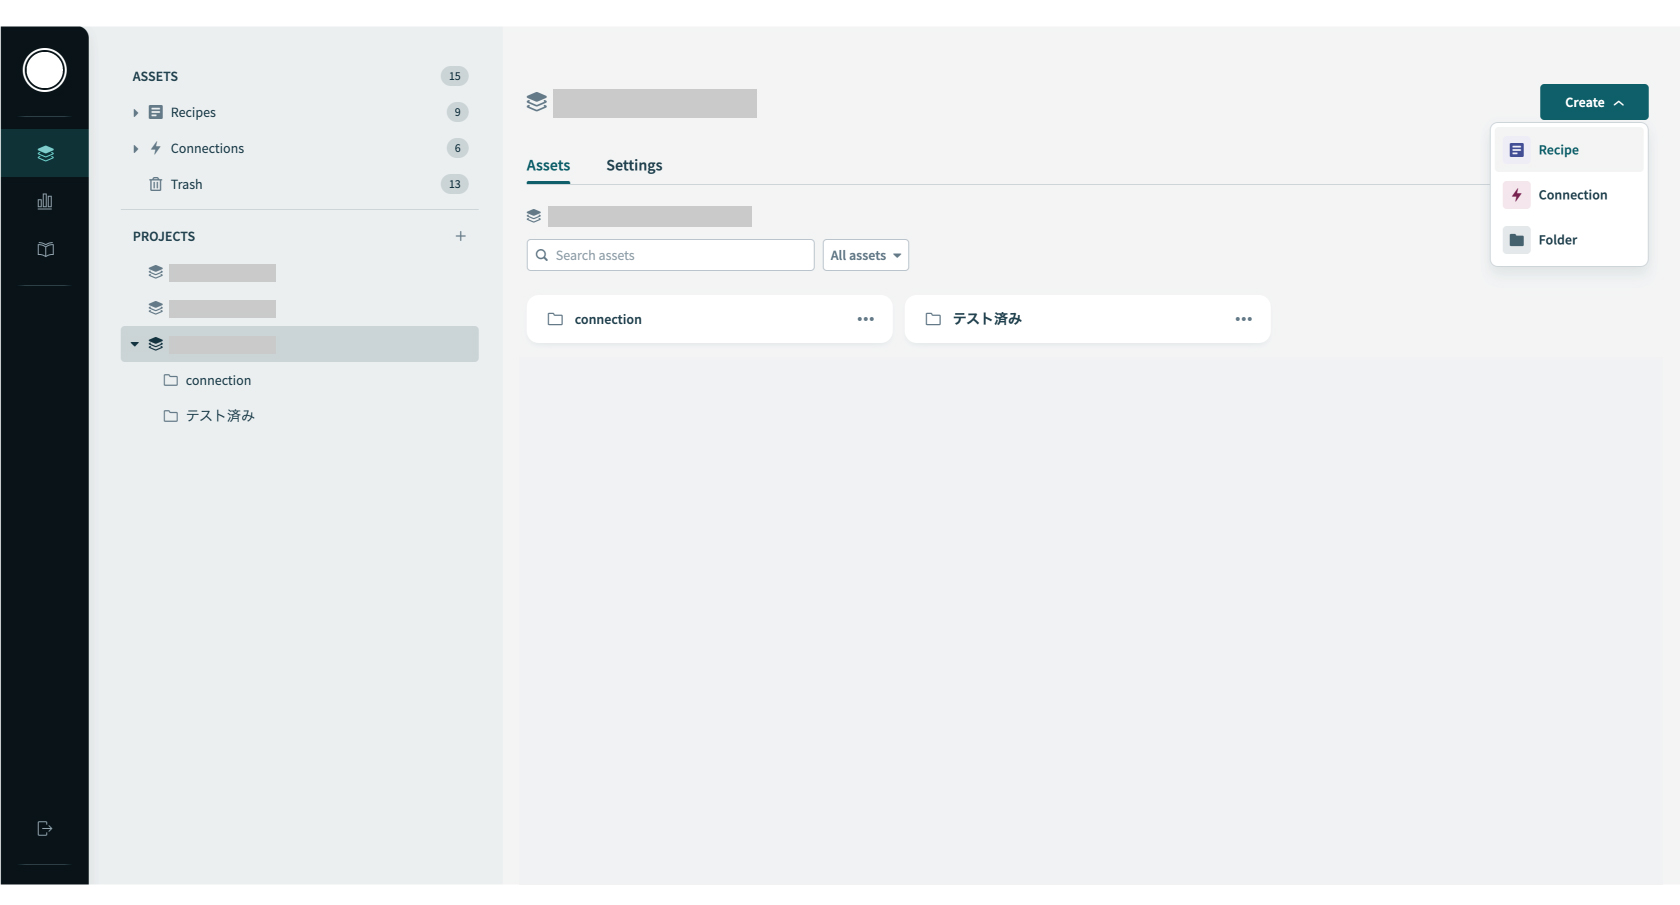
1."Create"をクリックし、"Recipe"を作成します。
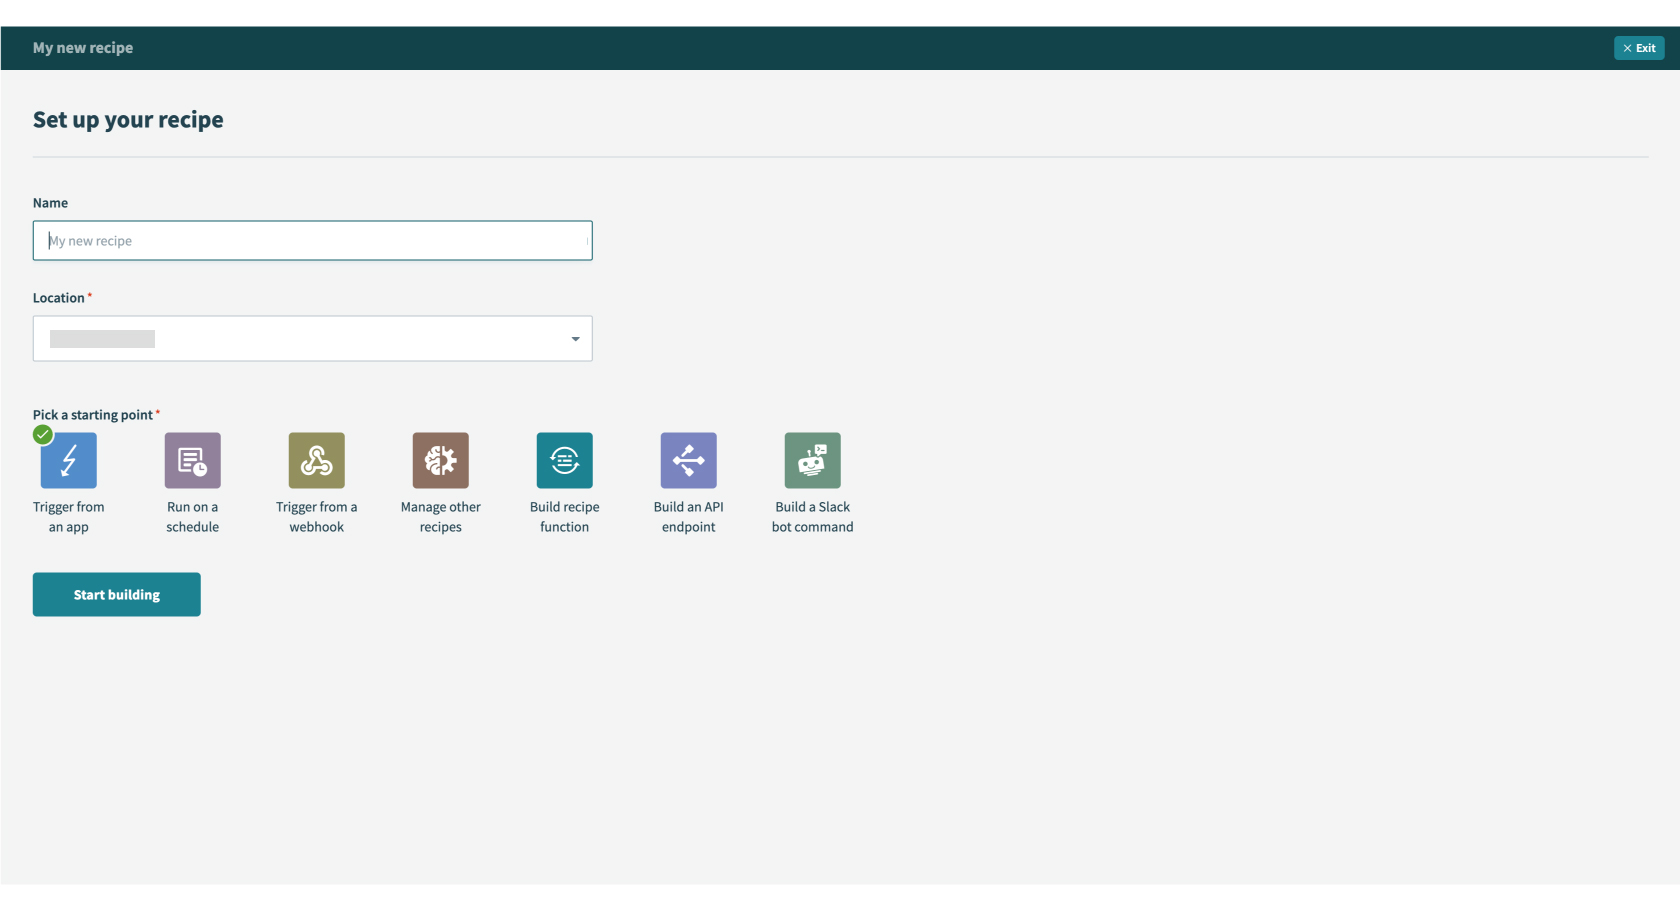
2.Recipeの"Name"を任意入力、"Location"を指定、"Start building"ボタンを押します。
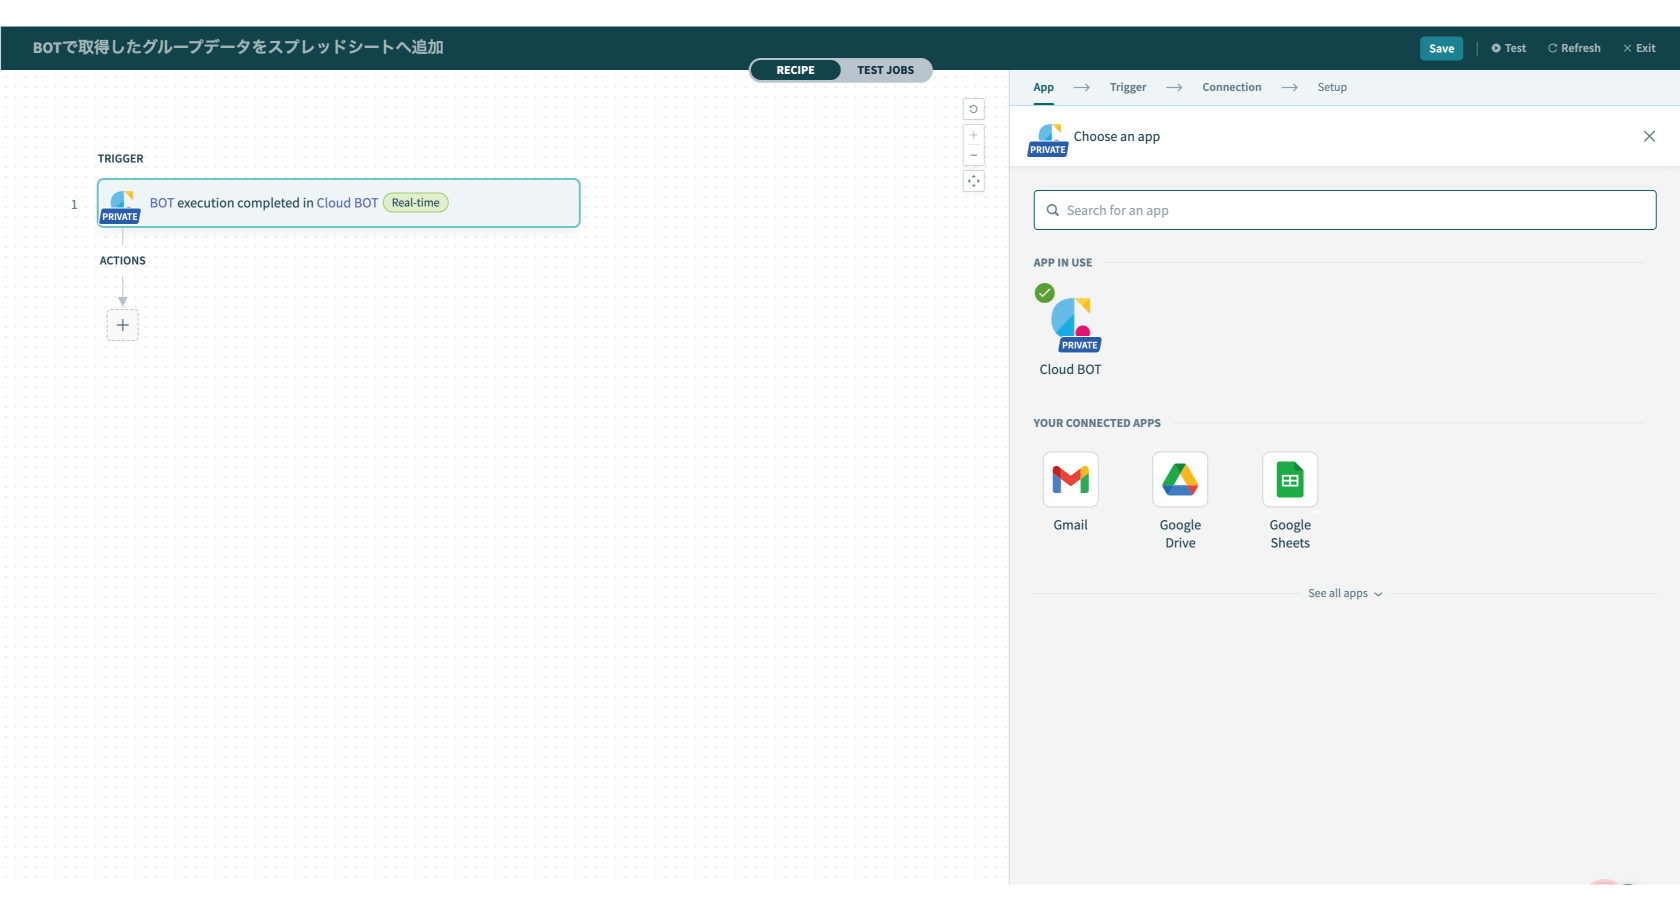
3."Cloud BOT"と検索し、Cloud BOTのアプリを選択します。クラウドBOTコネクタがインストールされている必要があります。詳しくはこちら。
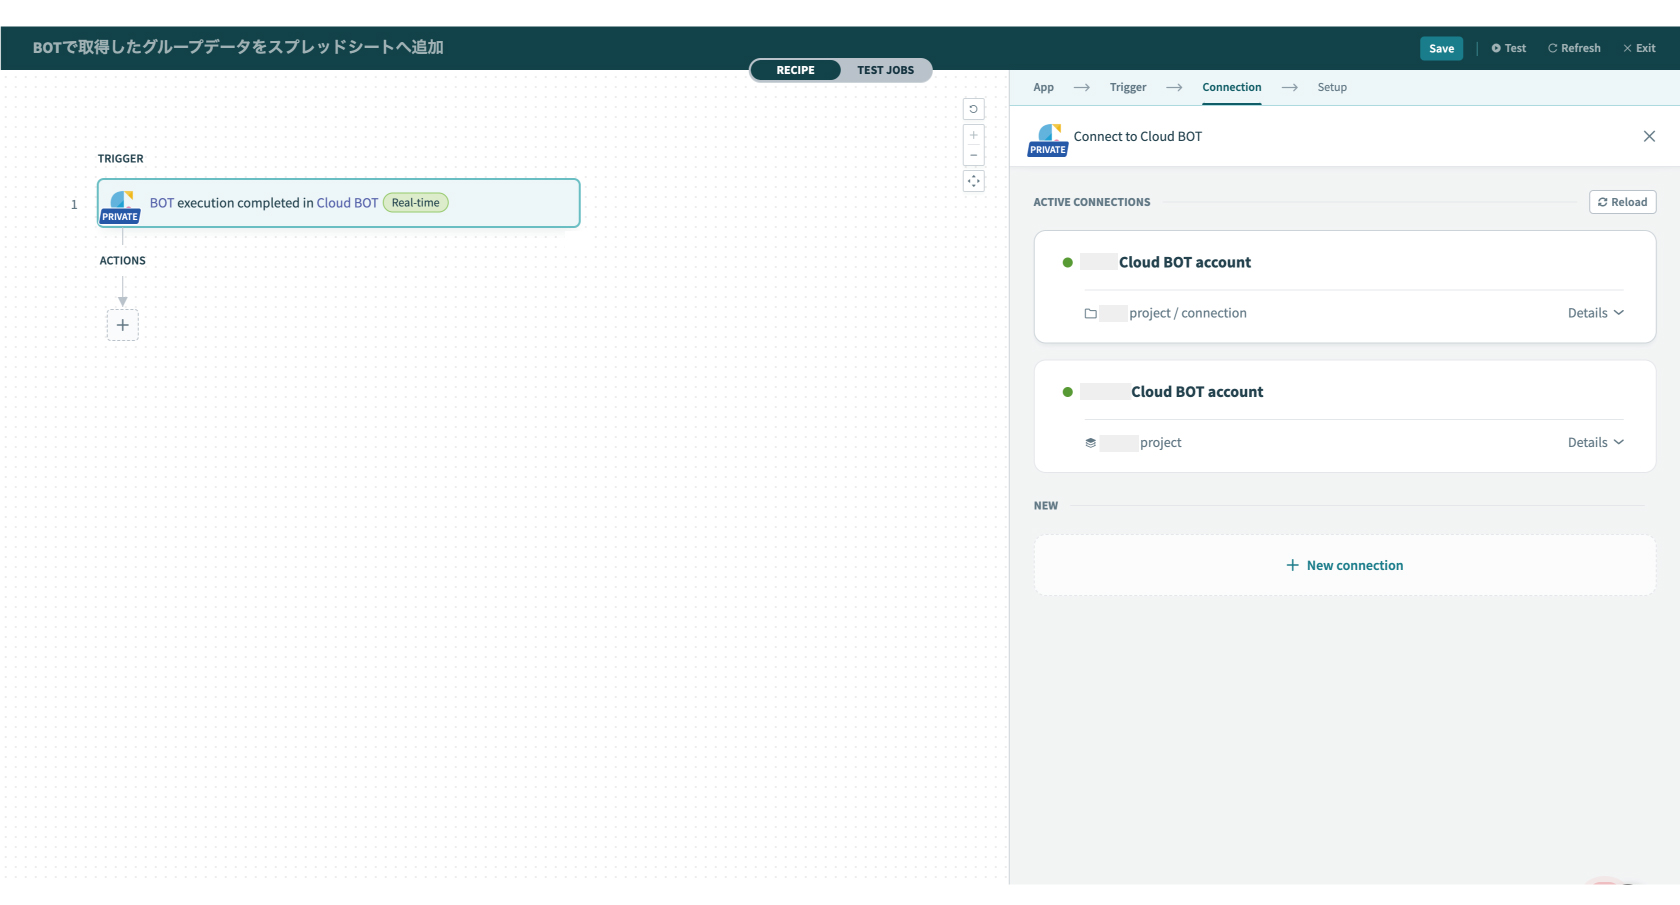
4.Connectionの設定をします。
Connectionを作成済みの場合は、作成済みのConnection一覧が表示されます。作成についてはこちら。
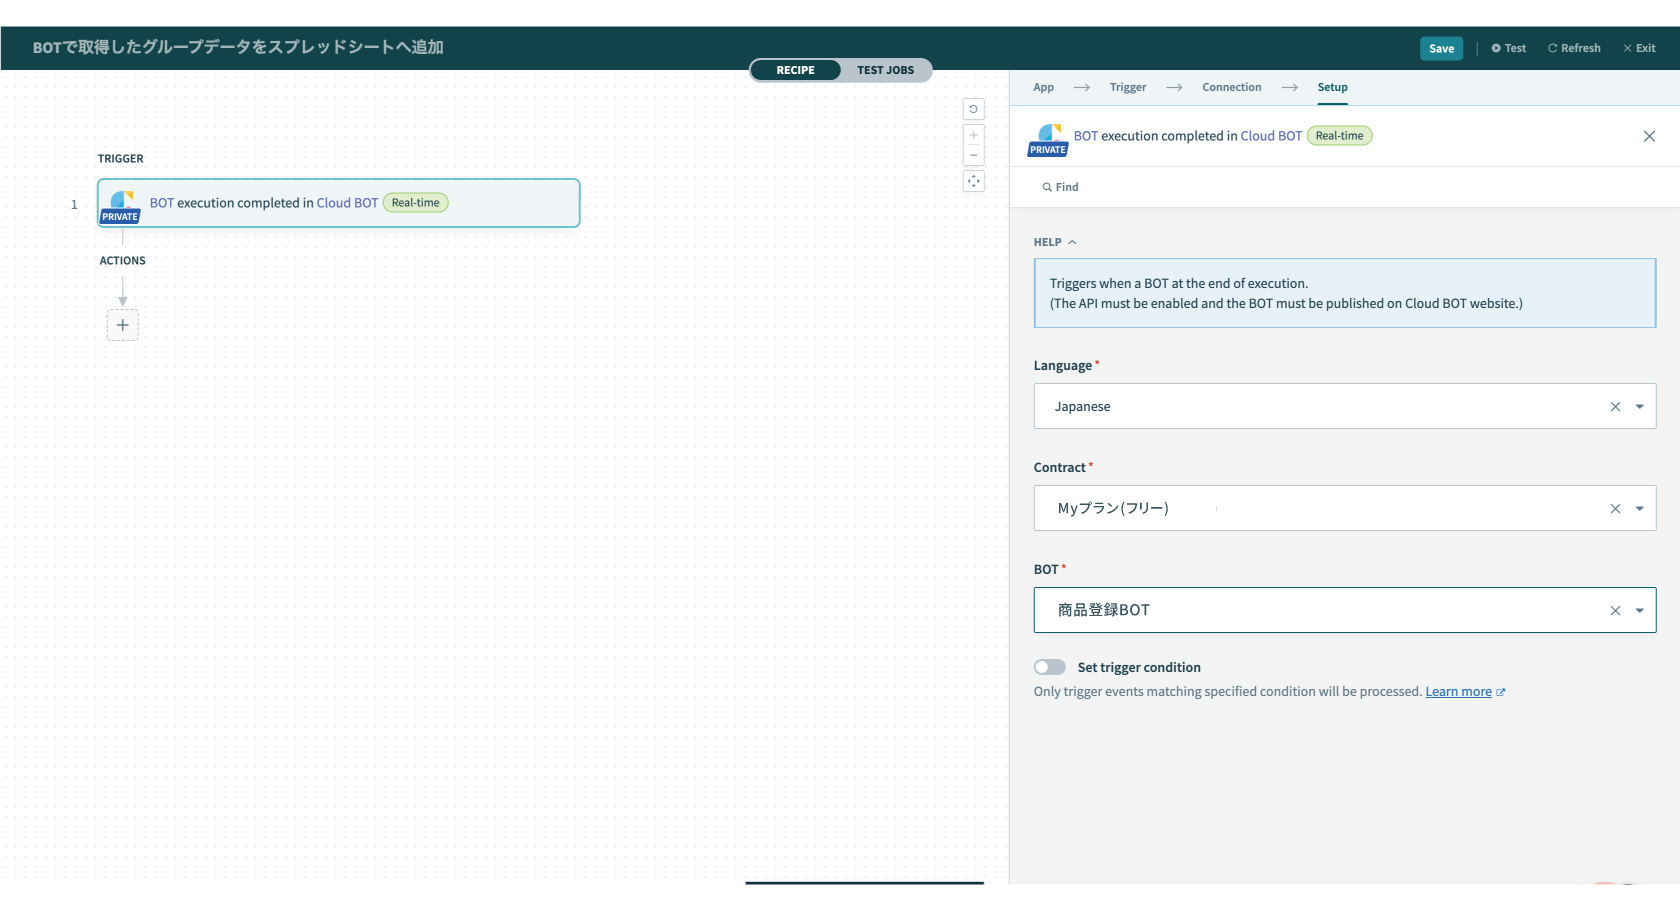
5.Setupを設定します。設定値についてはこちら。
6.上部メニュー(画面右上)の"Test"を押し、動作確認を行います。クラウドBOTのWEBサイトで該当するBOTを実行します。
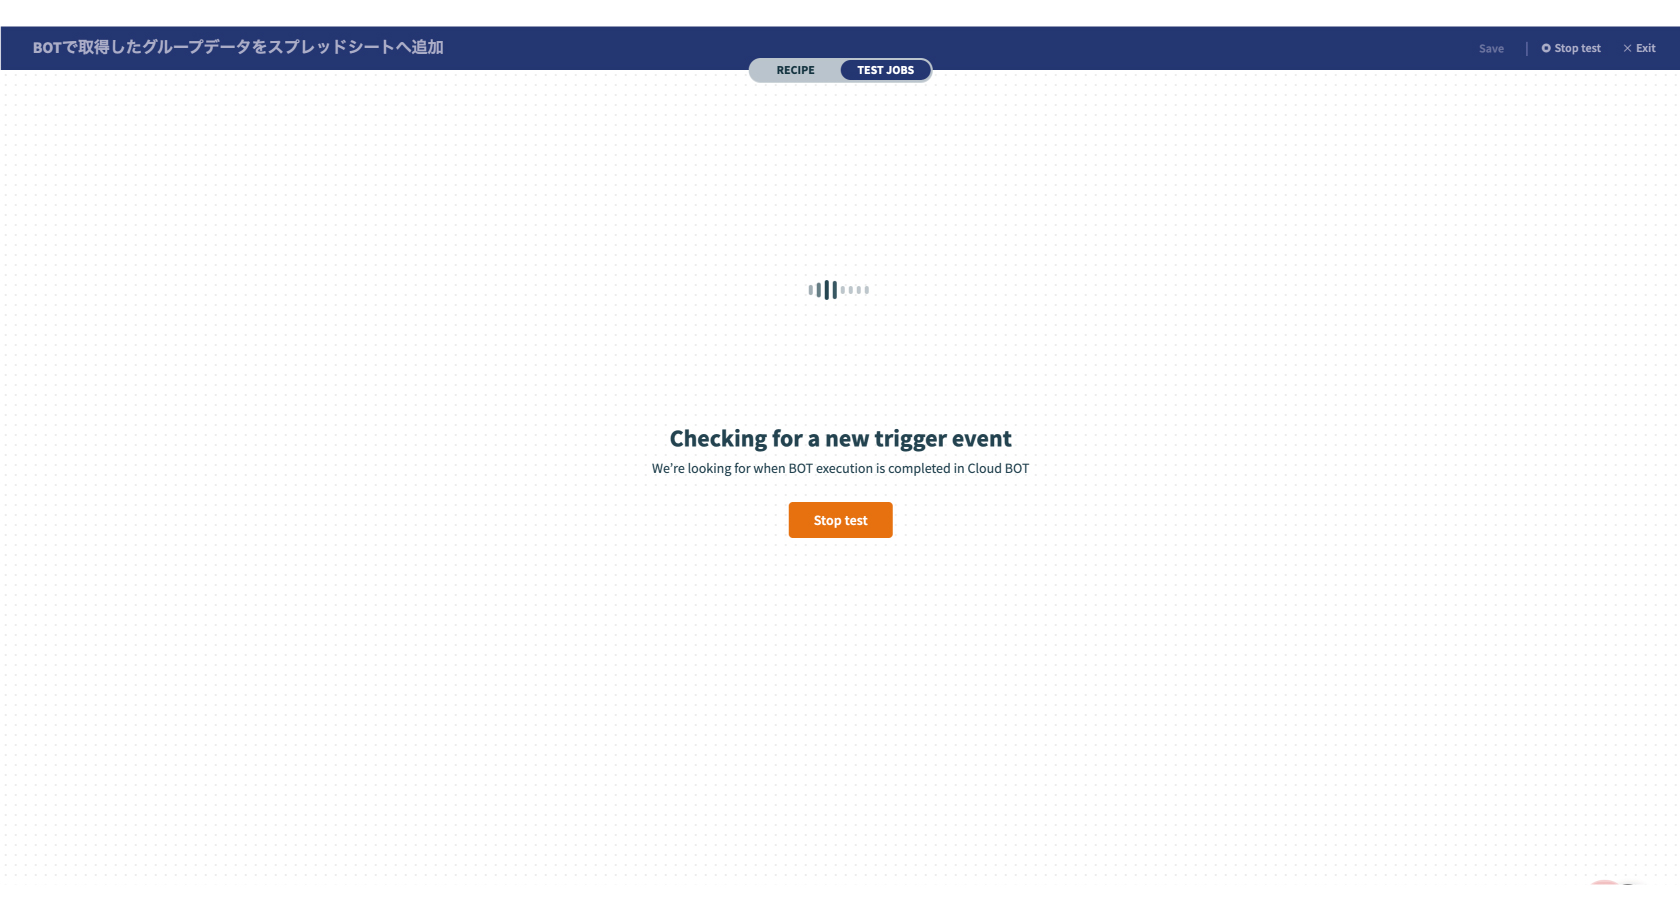
実行結果が確認できればトリガーの設定は完了です。
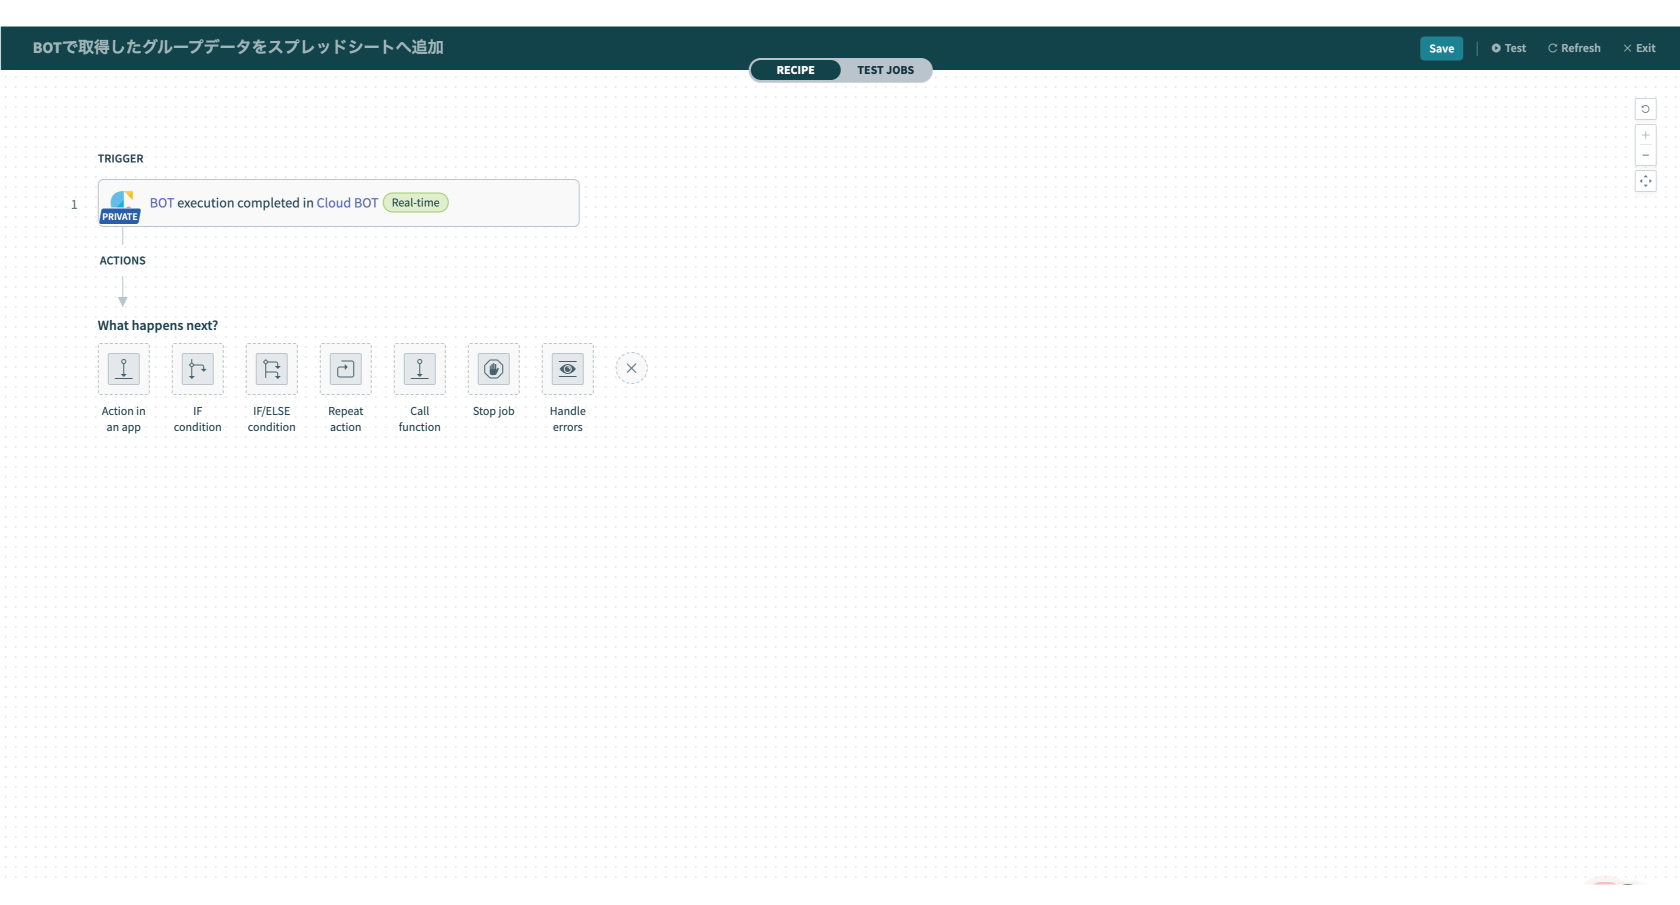
Repeat actionを設定する
1.ACTIONSを設定します。"+"をクリックし、"Repeat action"を選択します。
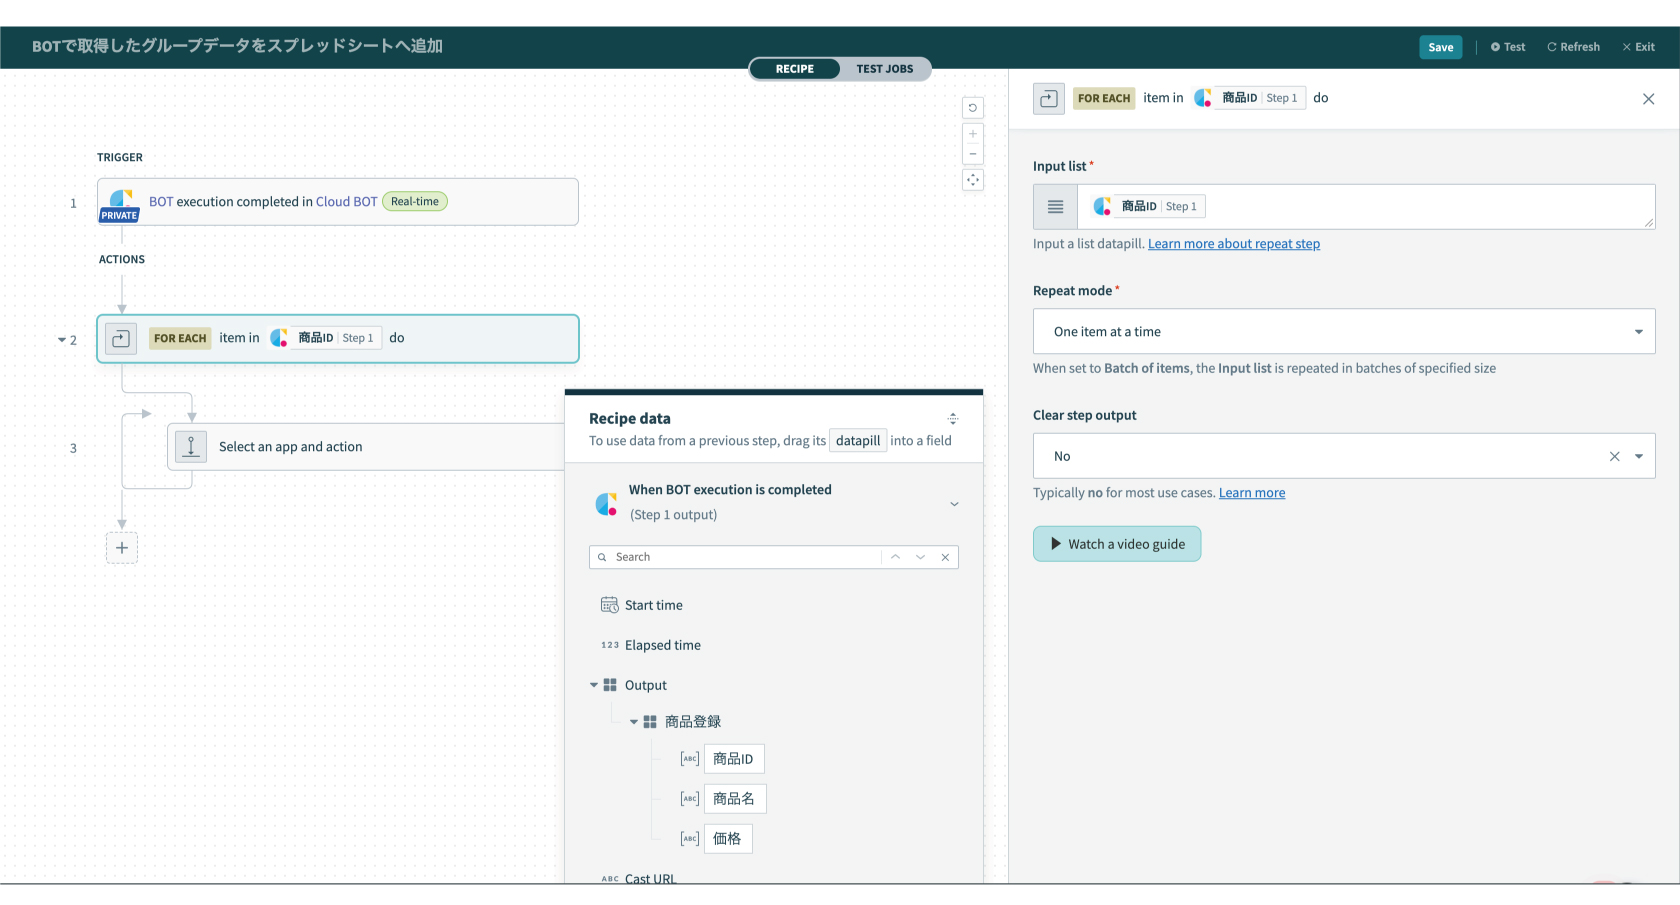
2.Input listへクラウドBOTから取得したグループデータ(list)を指定します。
今回の例では、Recipe dataのdatapillを使っています。
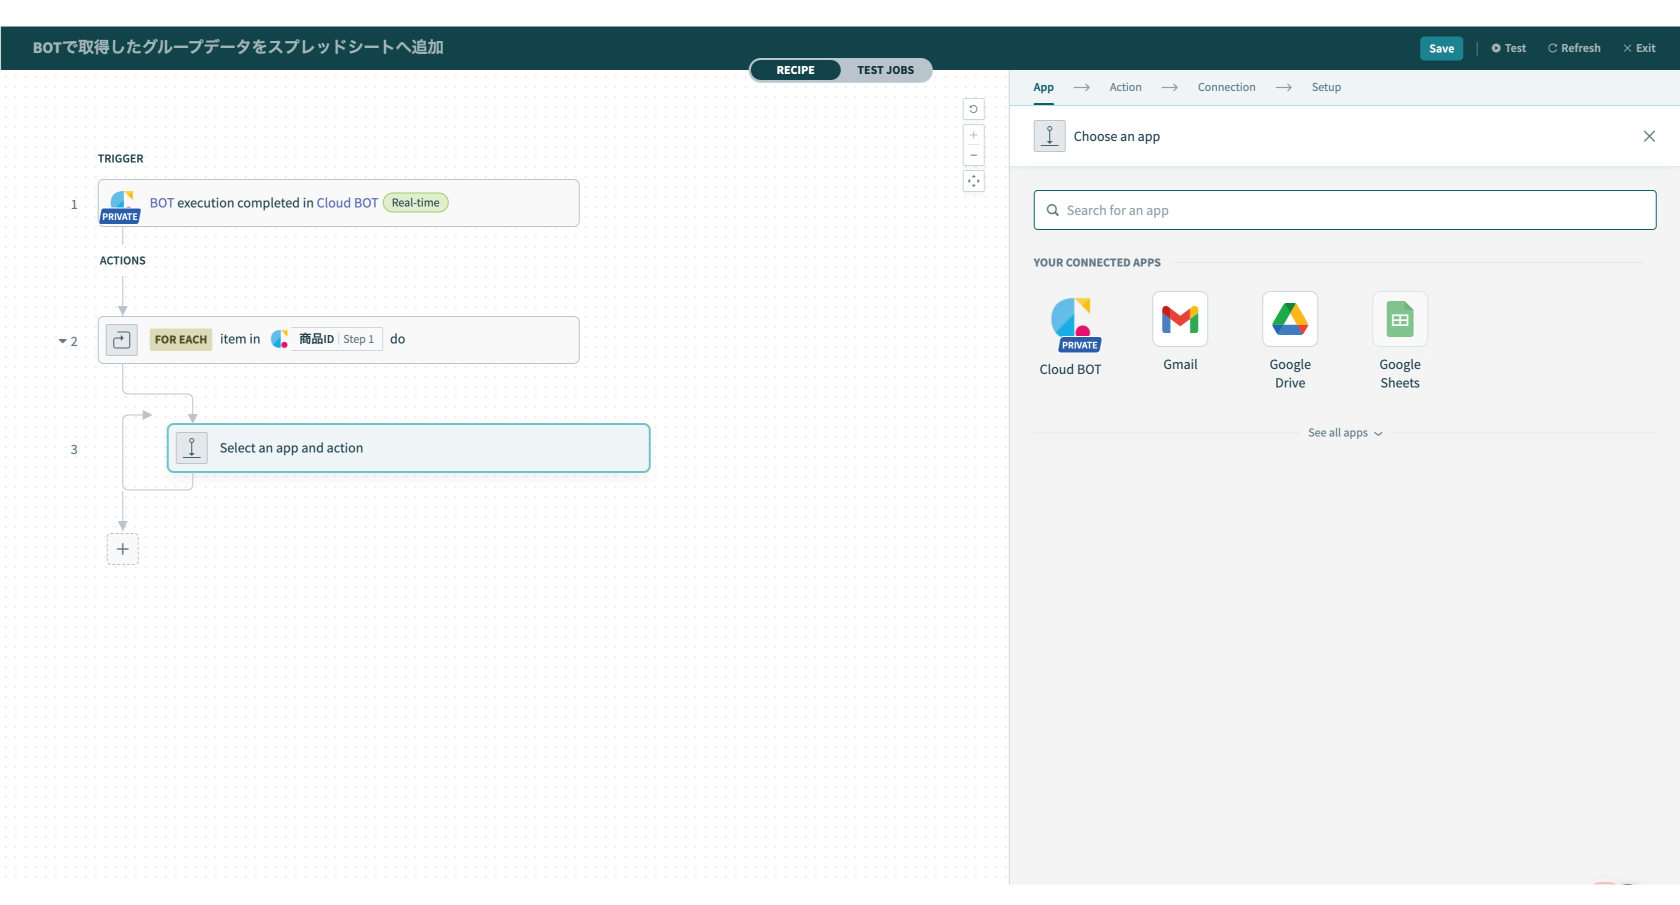
Google Sheetsを設定する
1."Select an app and action"では、Repeat actionのアプリを設定します。検索欄に"Google Sheets"と入力し、アプリを選びます。
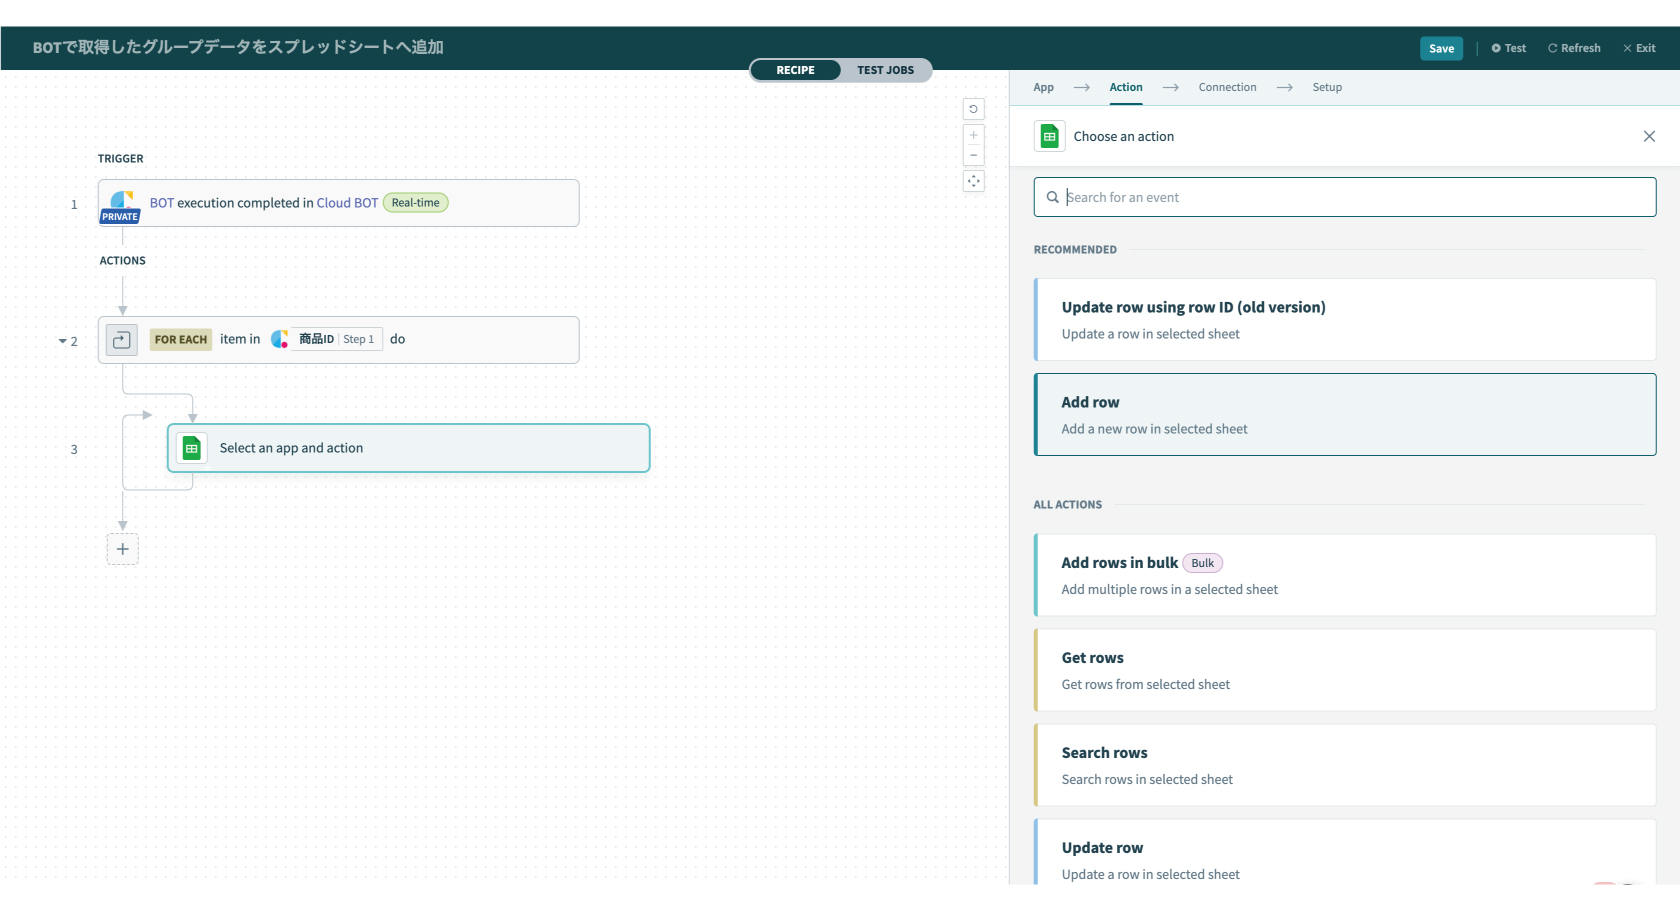
2.アクションの種類を選びます。今回は"Add row"を選択します。
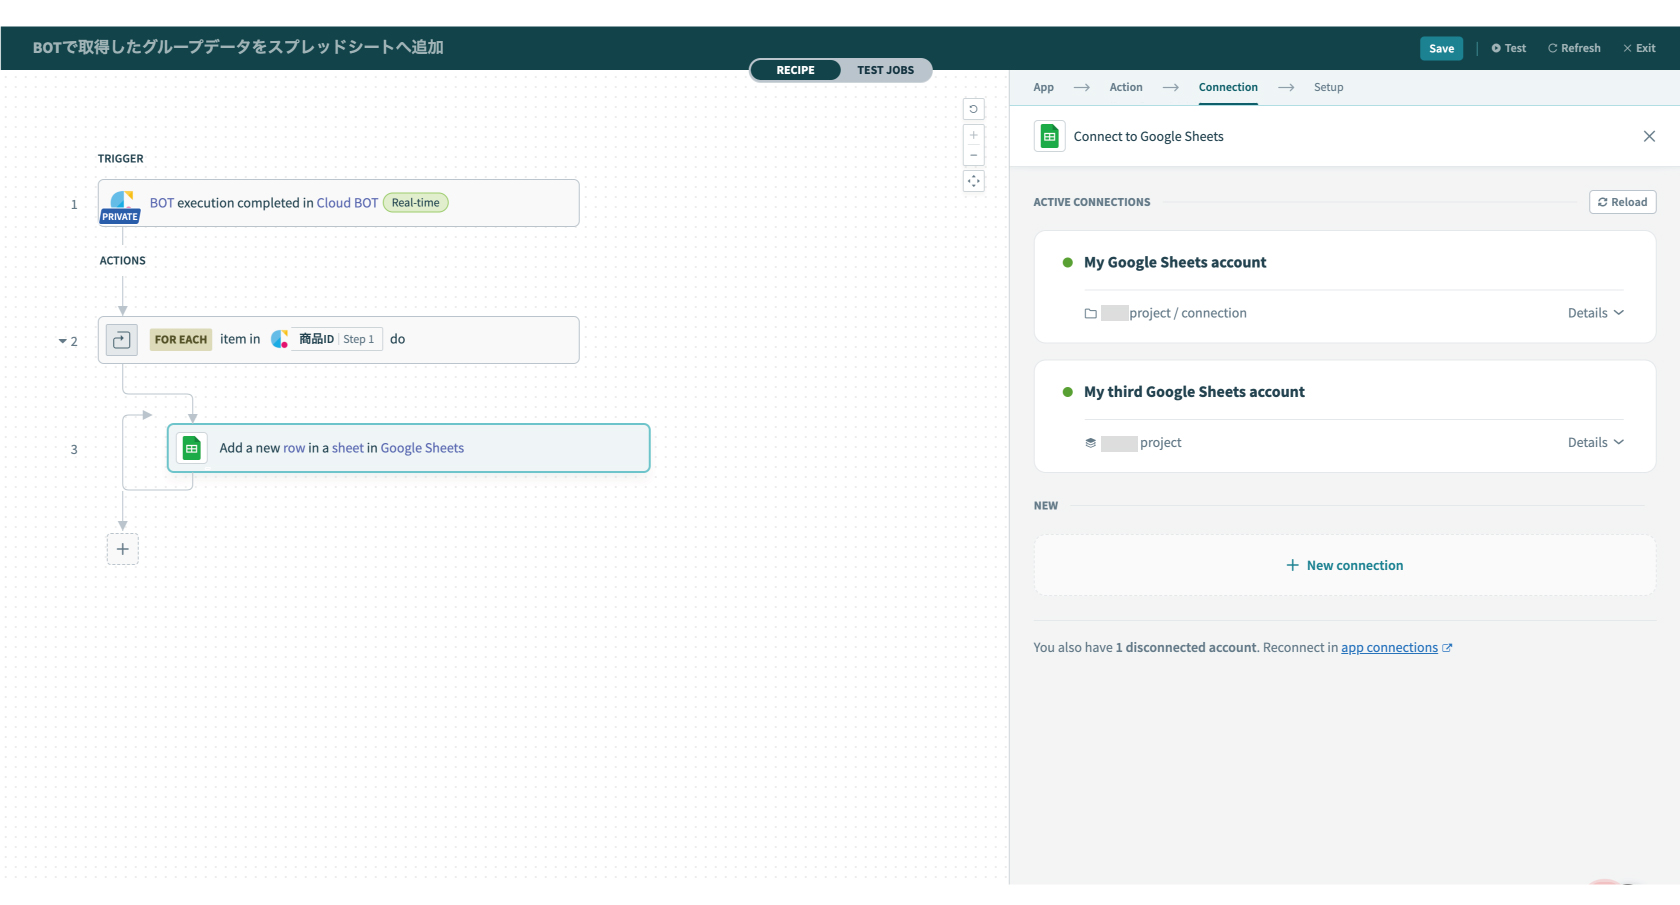
4.Connectionの設定をします。
Connectionを作成済みの場合は、作成済みのConnection一覧が表示されます。作成についてはこちら。
5.Setupを設定します。
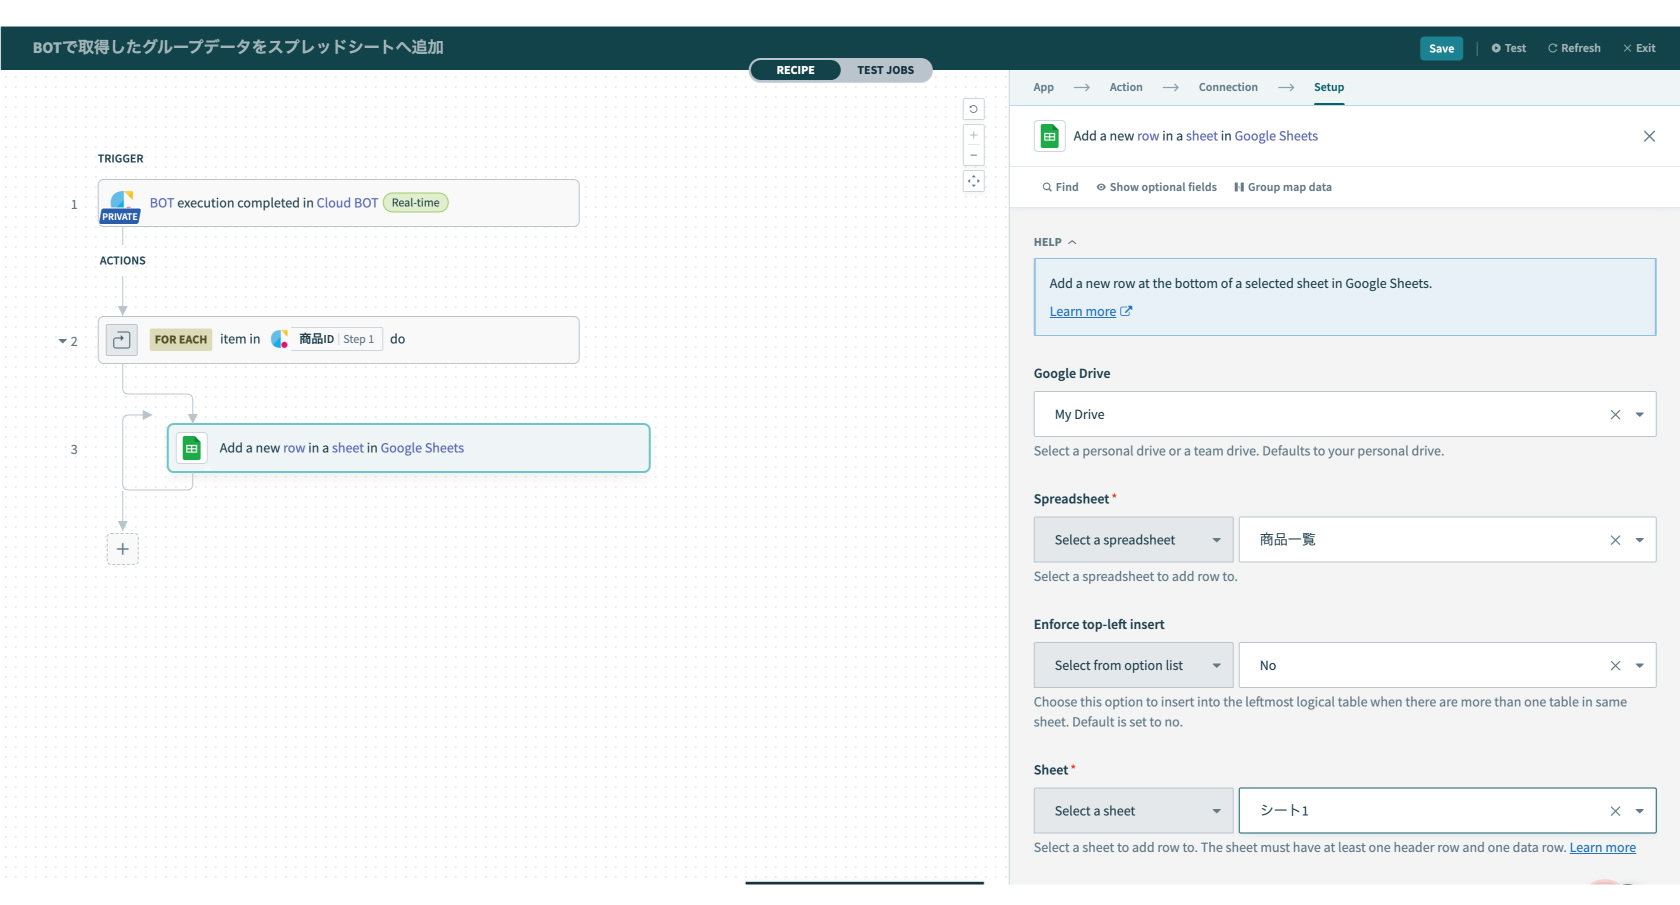
画像の例では、Coloummsフィールドを"Formula"に変更し、クラウドBOTの出力値からRepeat actionのindexをkeyとして指定することで値を抽出しています。

6.上部メニュー(画面右上)の"Test"を押し、動作確認を行います。実行結果が確認できれば設定は完了です。
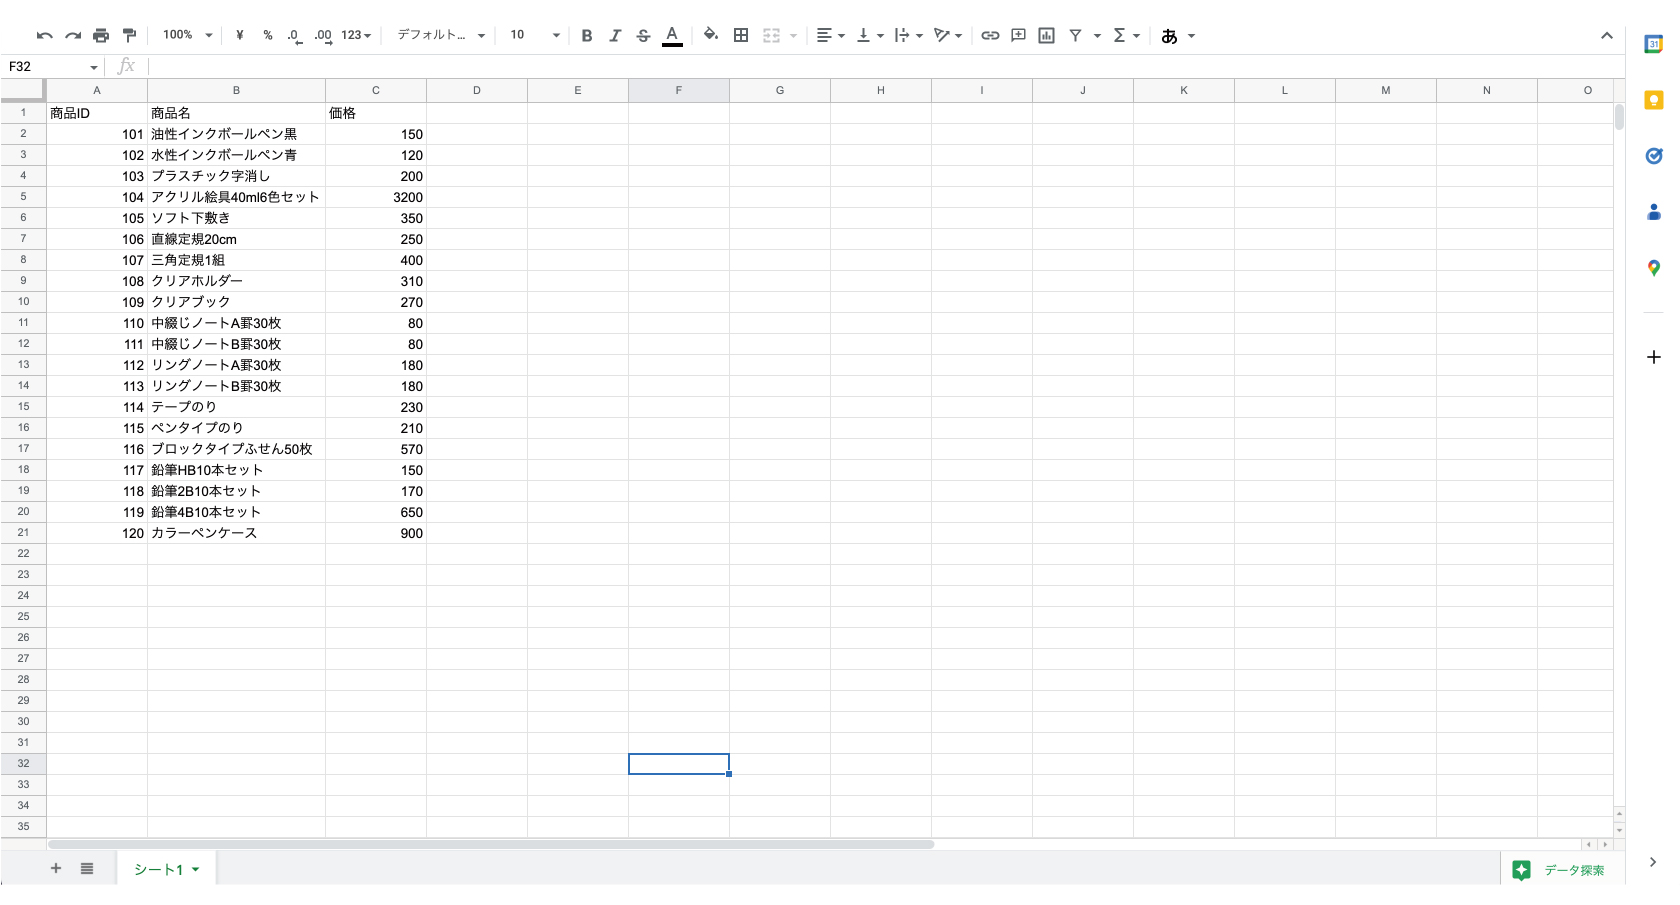
実際にスプレッドシートで確認すると、下記のように書き込みされています。