スプレッドシートに新しい行が追加されたらBOTを実行

ホーム > 外部サービス連携 > Workato > スプレッドシートに新しい行が追加されたらBOTを実行(Workato)
レシピ作成
スプレッドシートに新しい行が追加された際に、特定のBOTを実行するレシピを作成します。

Google Sheets(New row in sheet in My Drive)
スプレッドシートに新しい行が追加されることでトリガーされます。
Cloud BOT(Execute BOT)
任意のBOTを実行します。
Google Sheetsを設定する
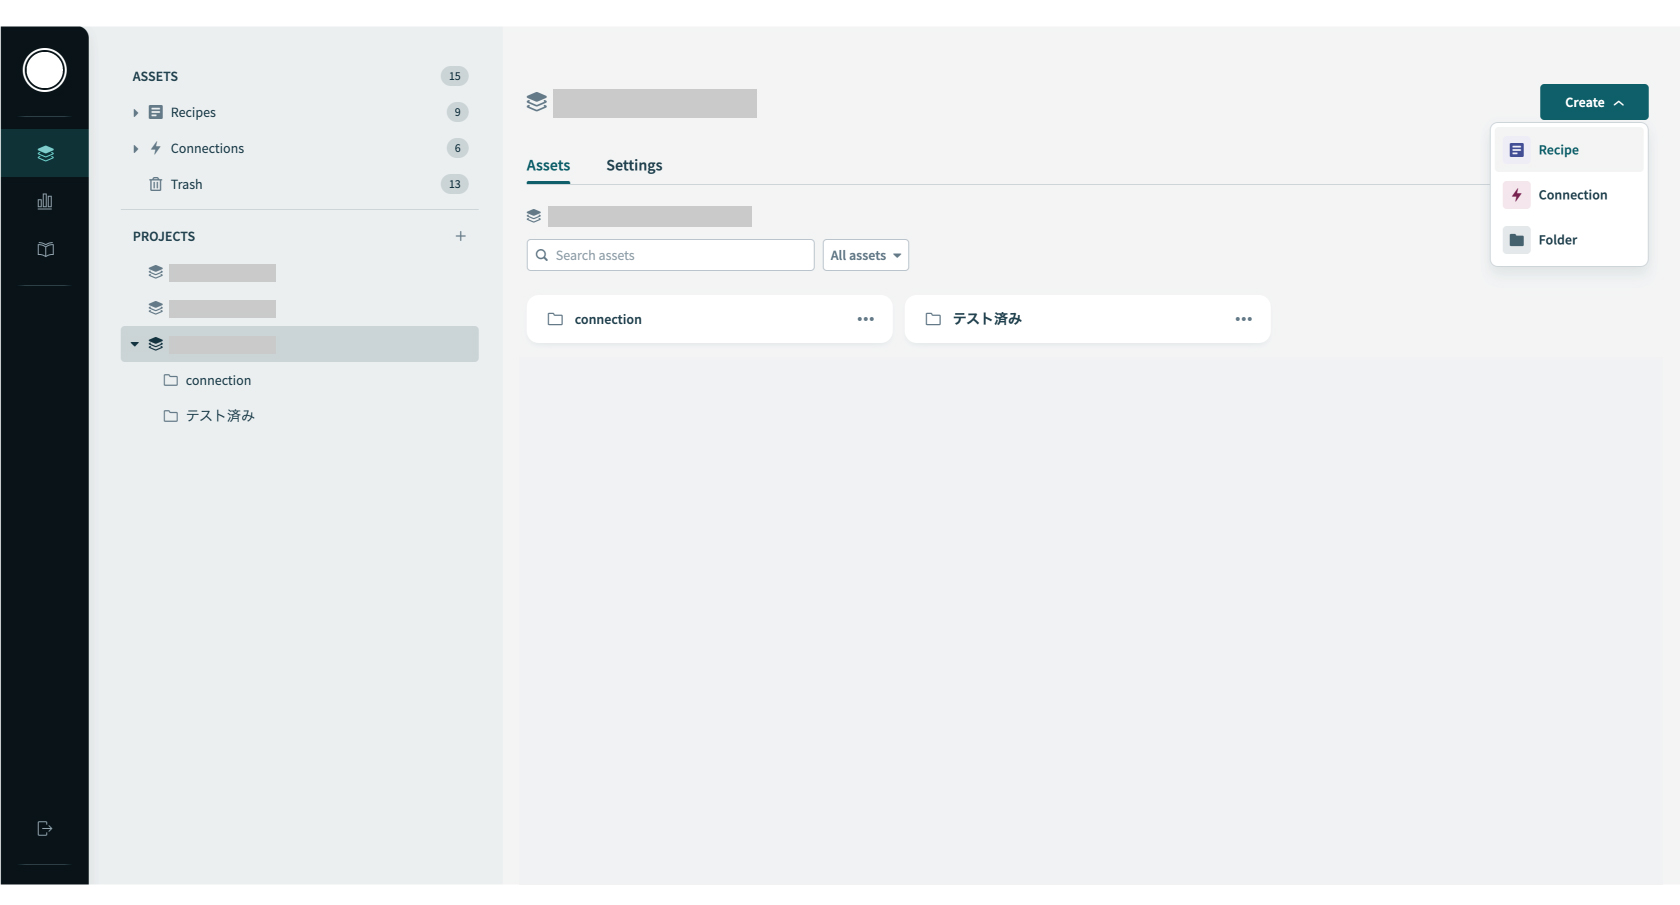
1."Create"をクリックし、"Recipe"を作成します。
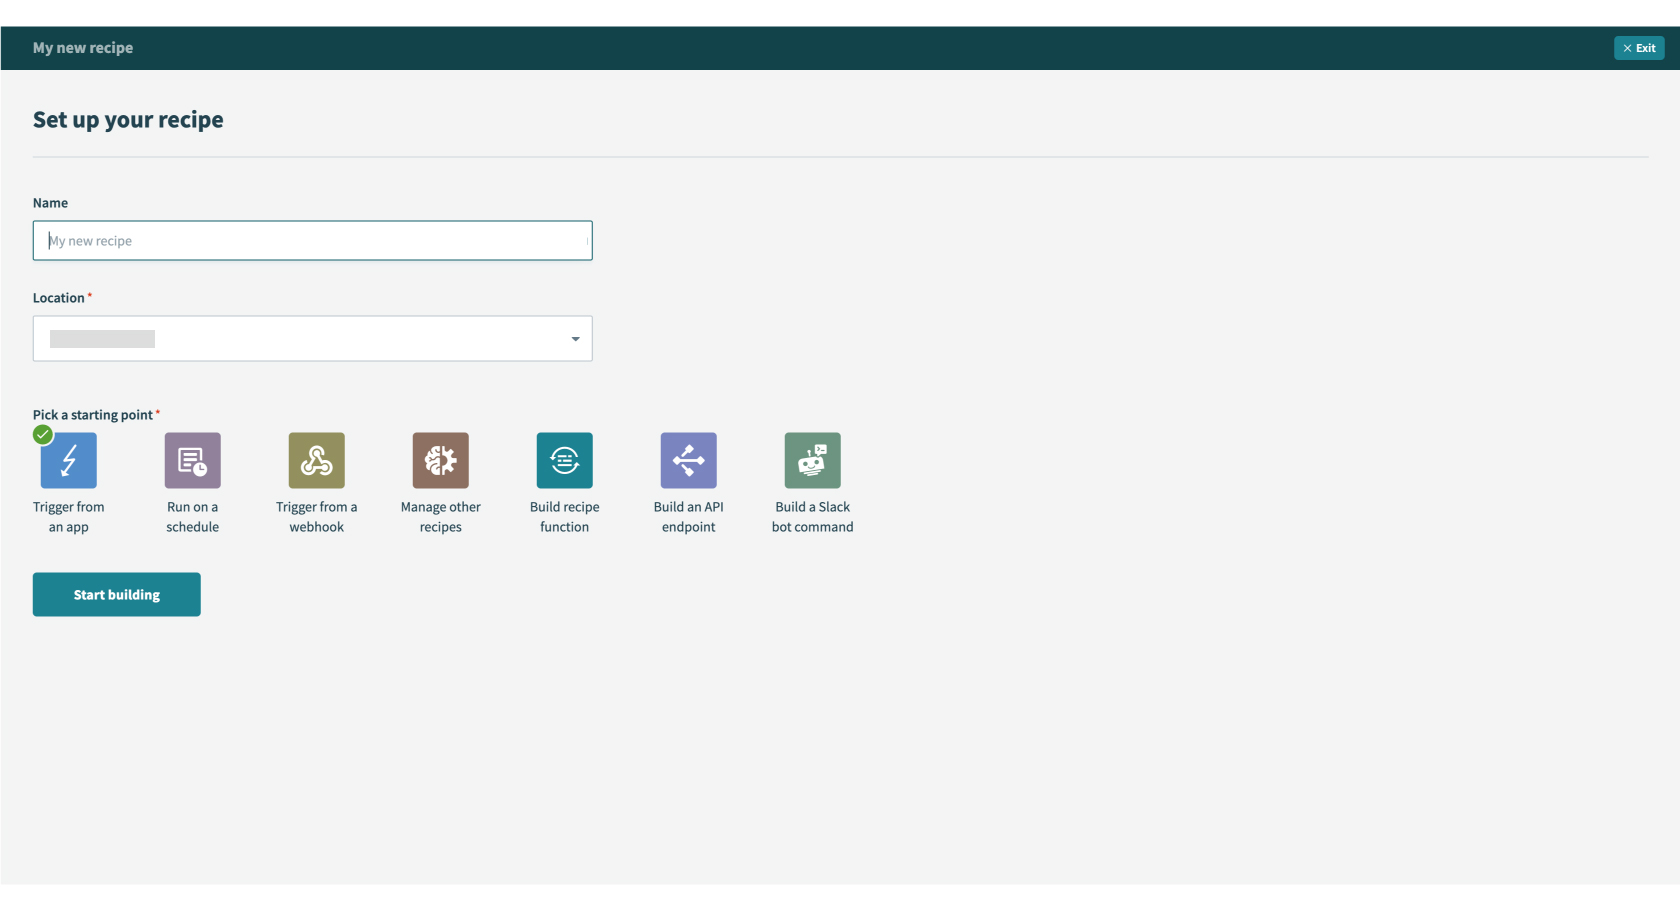
2.Recipeの"Name"を任意入力、"Location"を指定、"Start building"ボタンを押します。
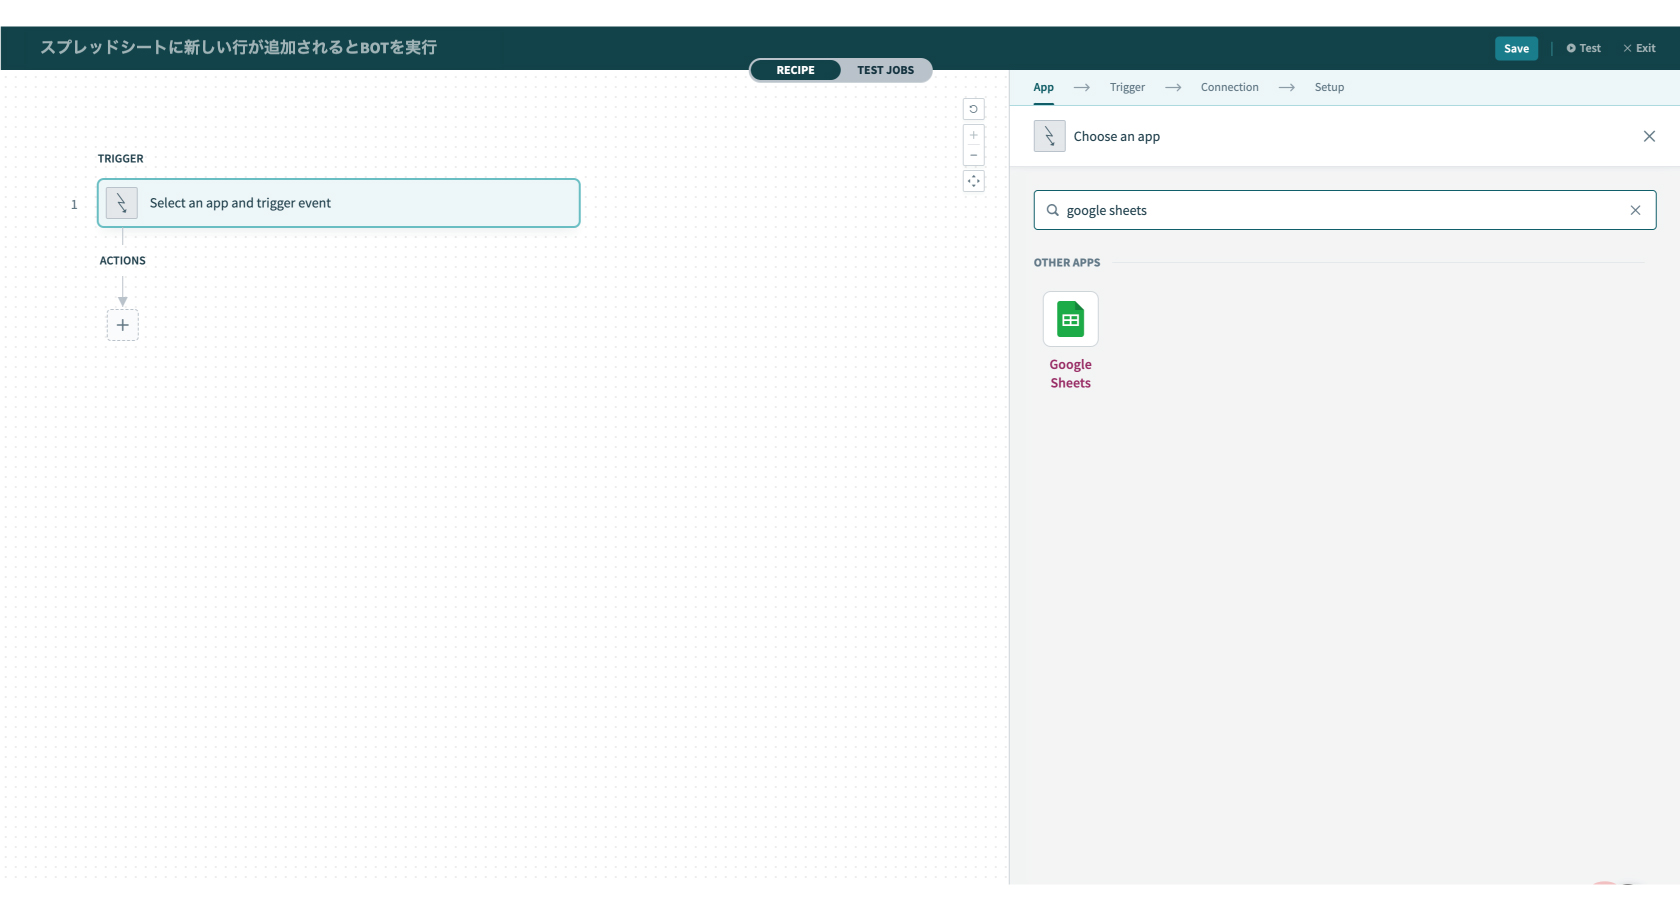
3."Google Sheets"と検索し、Google Sheetsアプリを選択します。
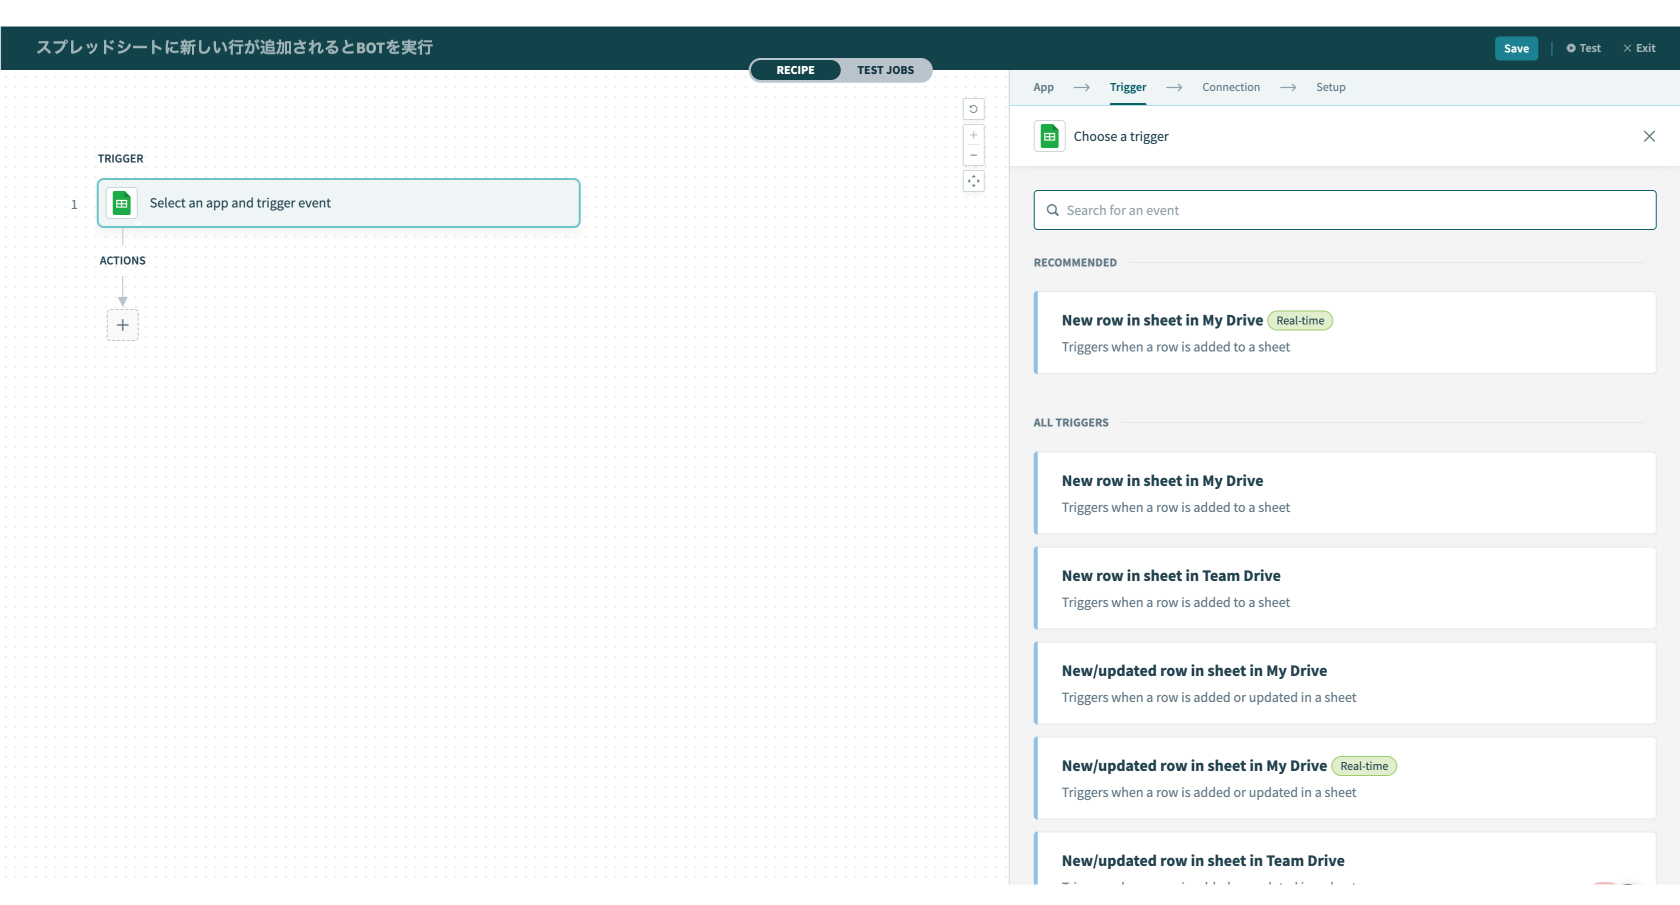
4.トリガーの種類を選びます。今回は"New row in sheet in My Drive"を選択します。
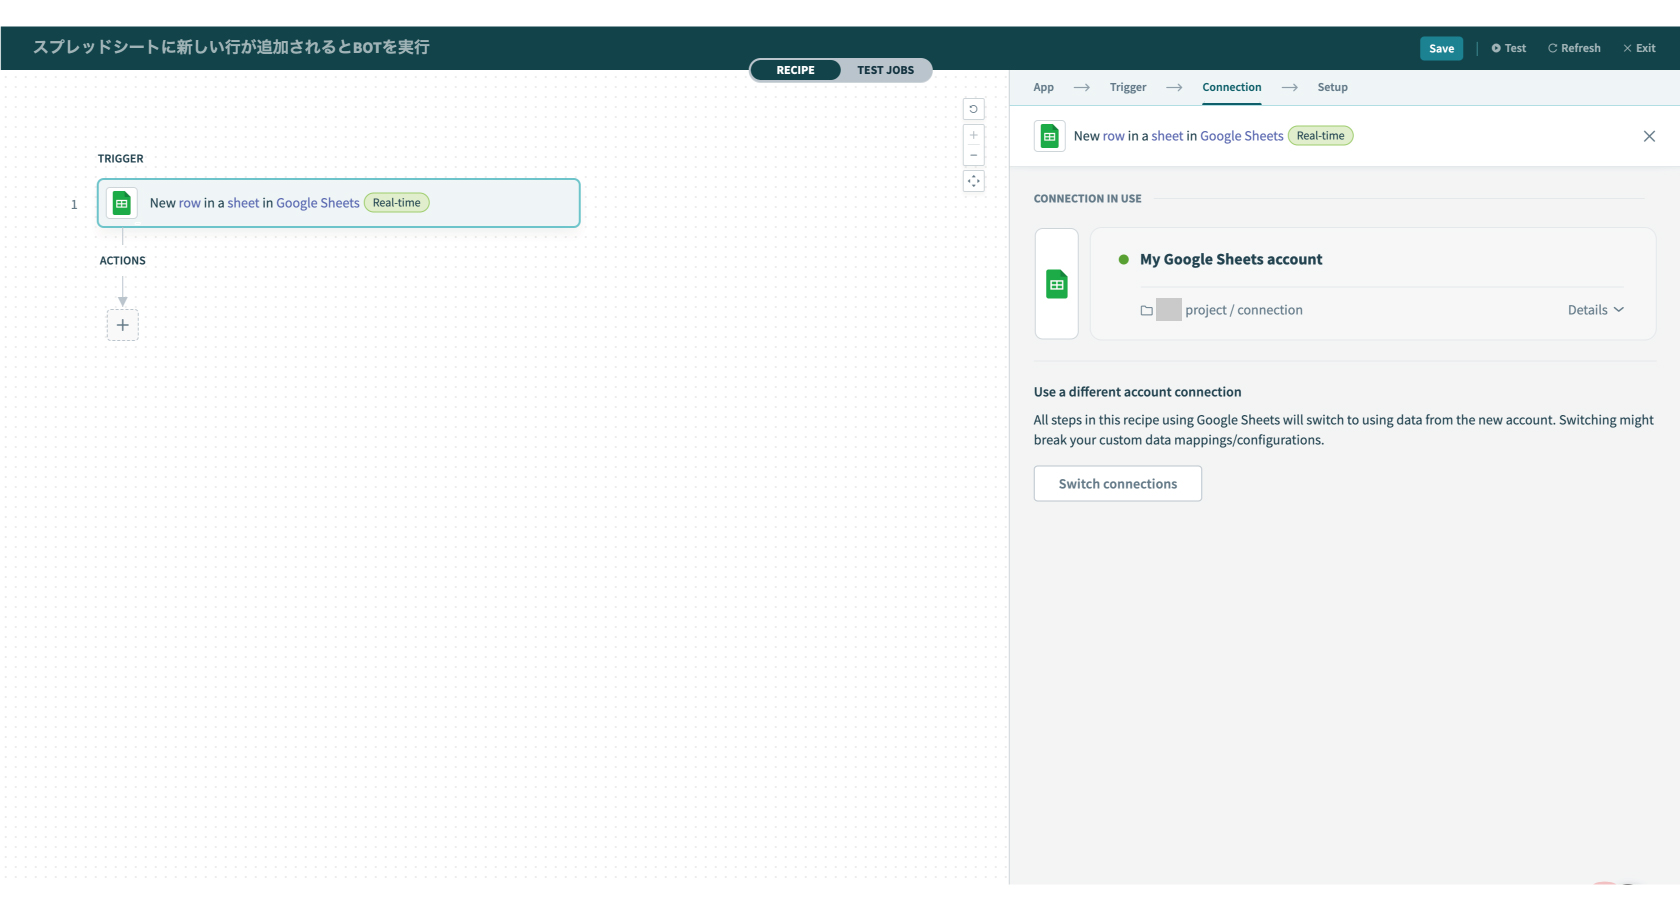
5.Connectionの設定をします。
Connectionを作成済みの場合は、作成済みのConnection一覧が表示されます。作成についてはこちら。
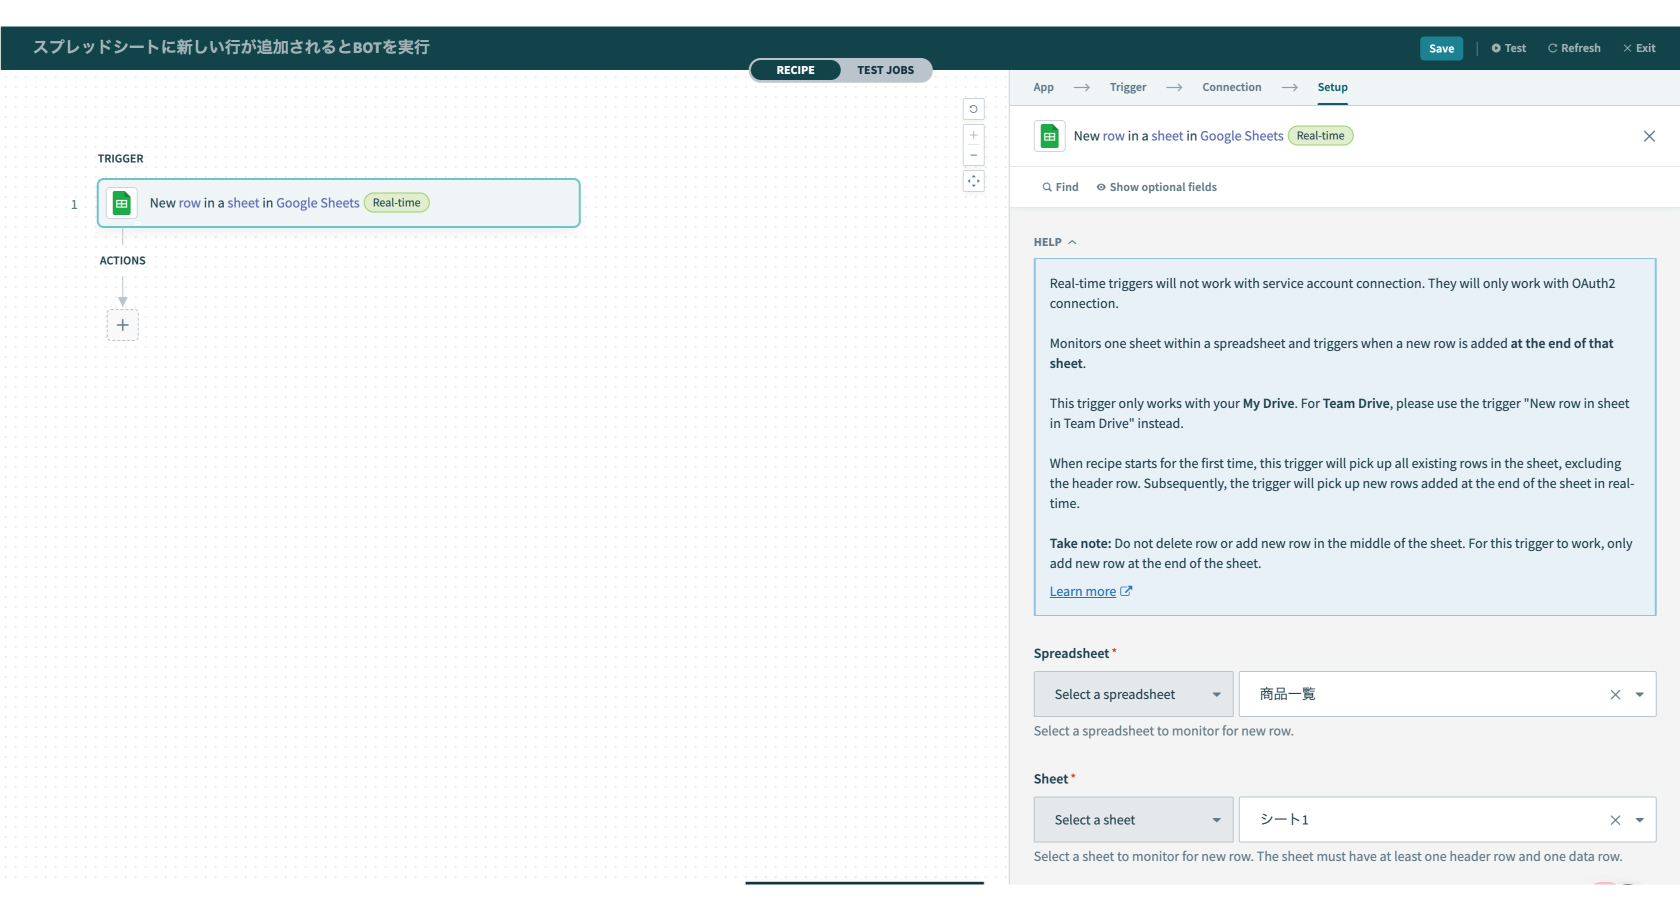
6.Setupを設定します。Spreadsheet,Sheetを指定します。
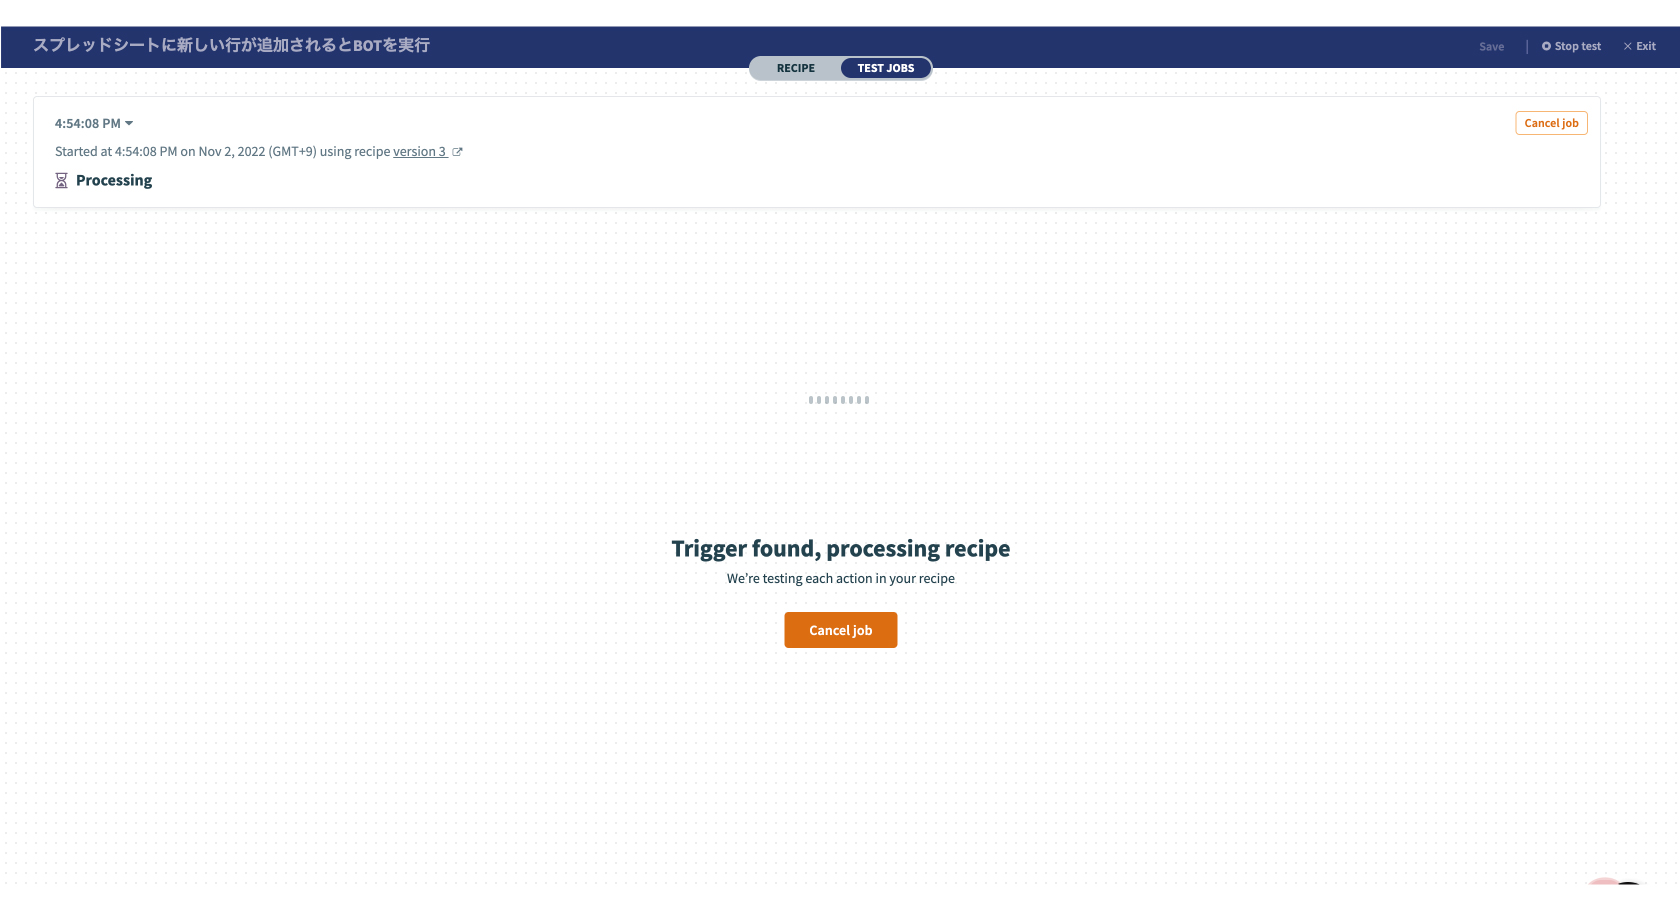
6.上部メニュー(画面右上)の"Test"を押し、動作確認を行います。実行結果が確認できればトリガーの設定は完了です。
指定したシートの最後に新しい行を追加することで、トリガーを発生させます。
Cloud BOTを設定する
1.ACTIONSを設定します。"+"をクリックし、"Action in an app"を選択します。
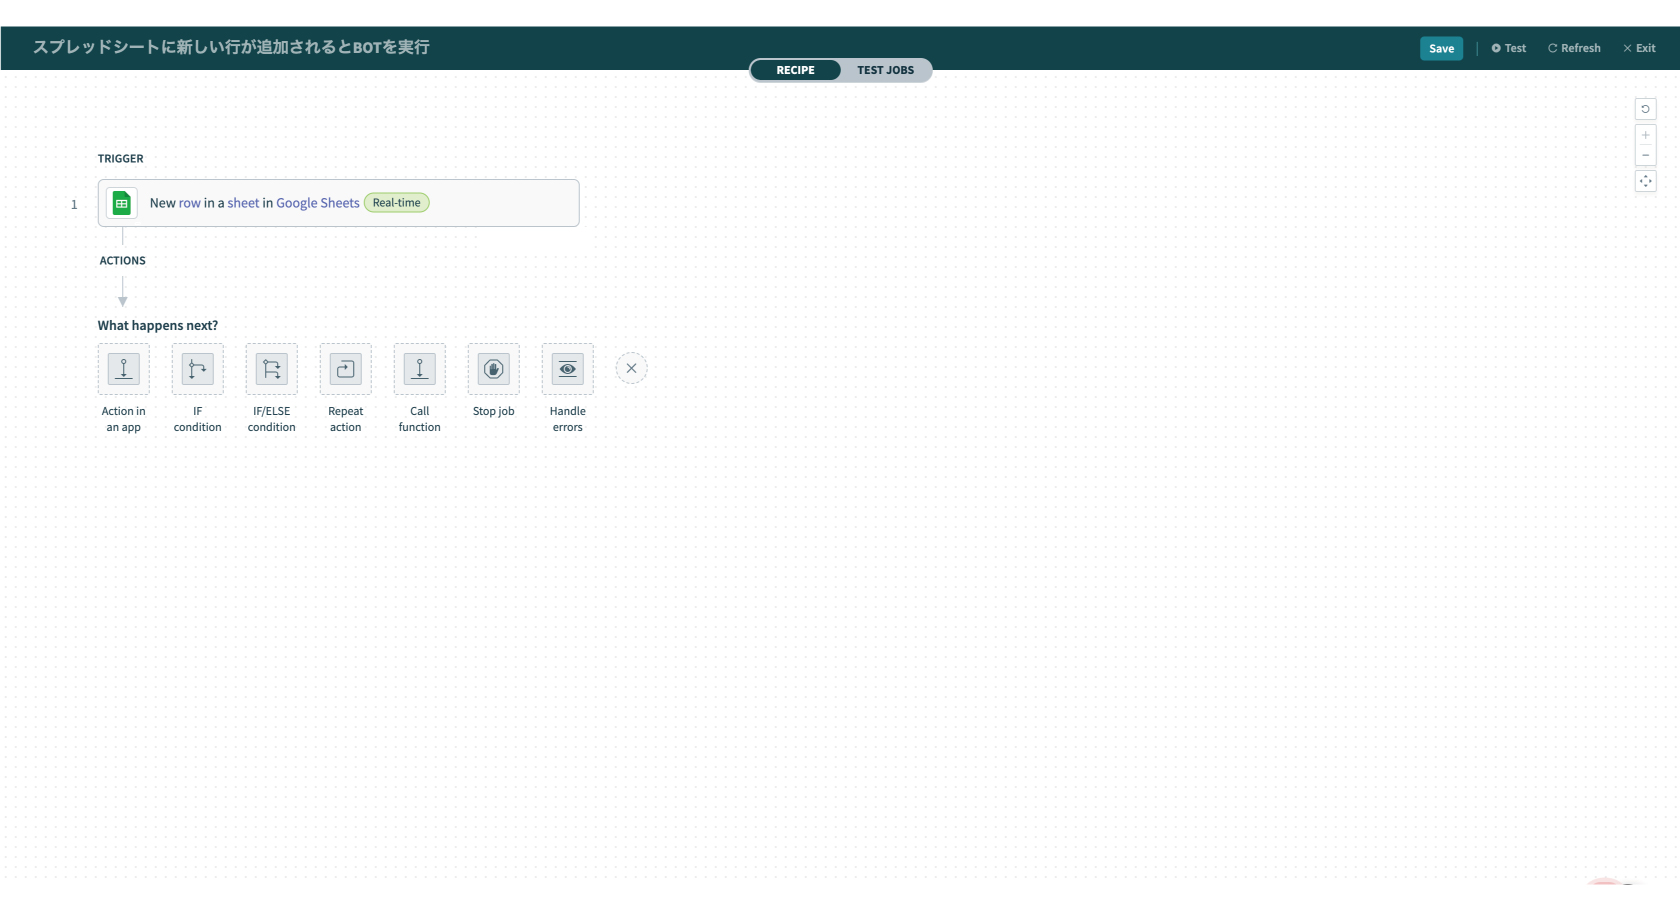
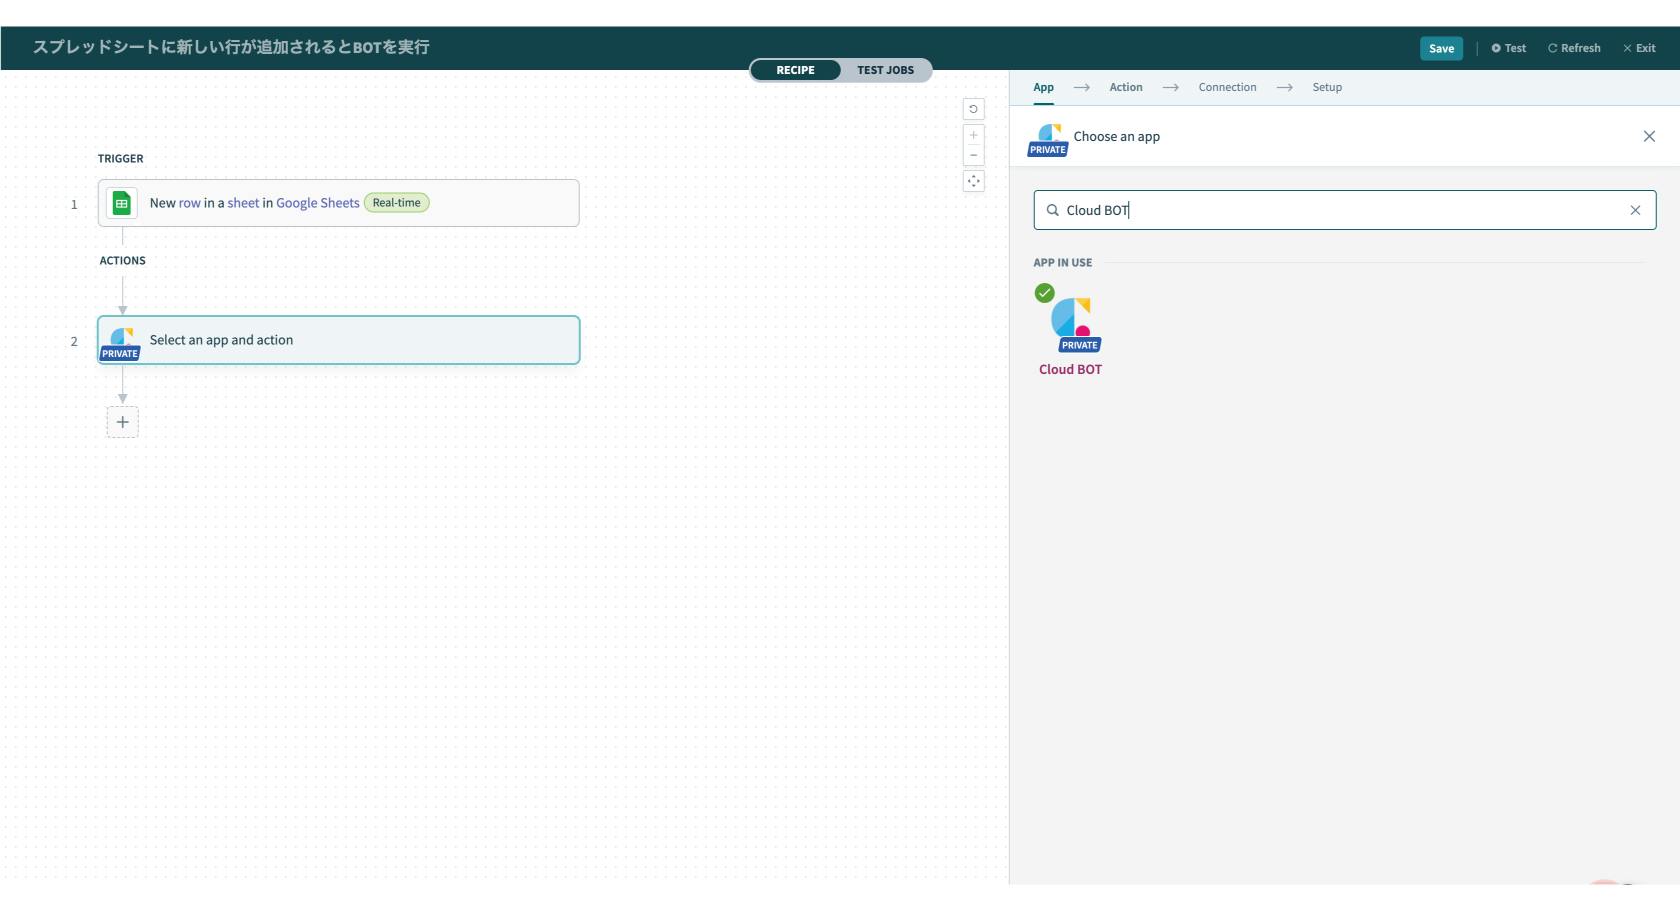
2.検索欄に"Cloud BOT"と入力し、アプリを選びます。
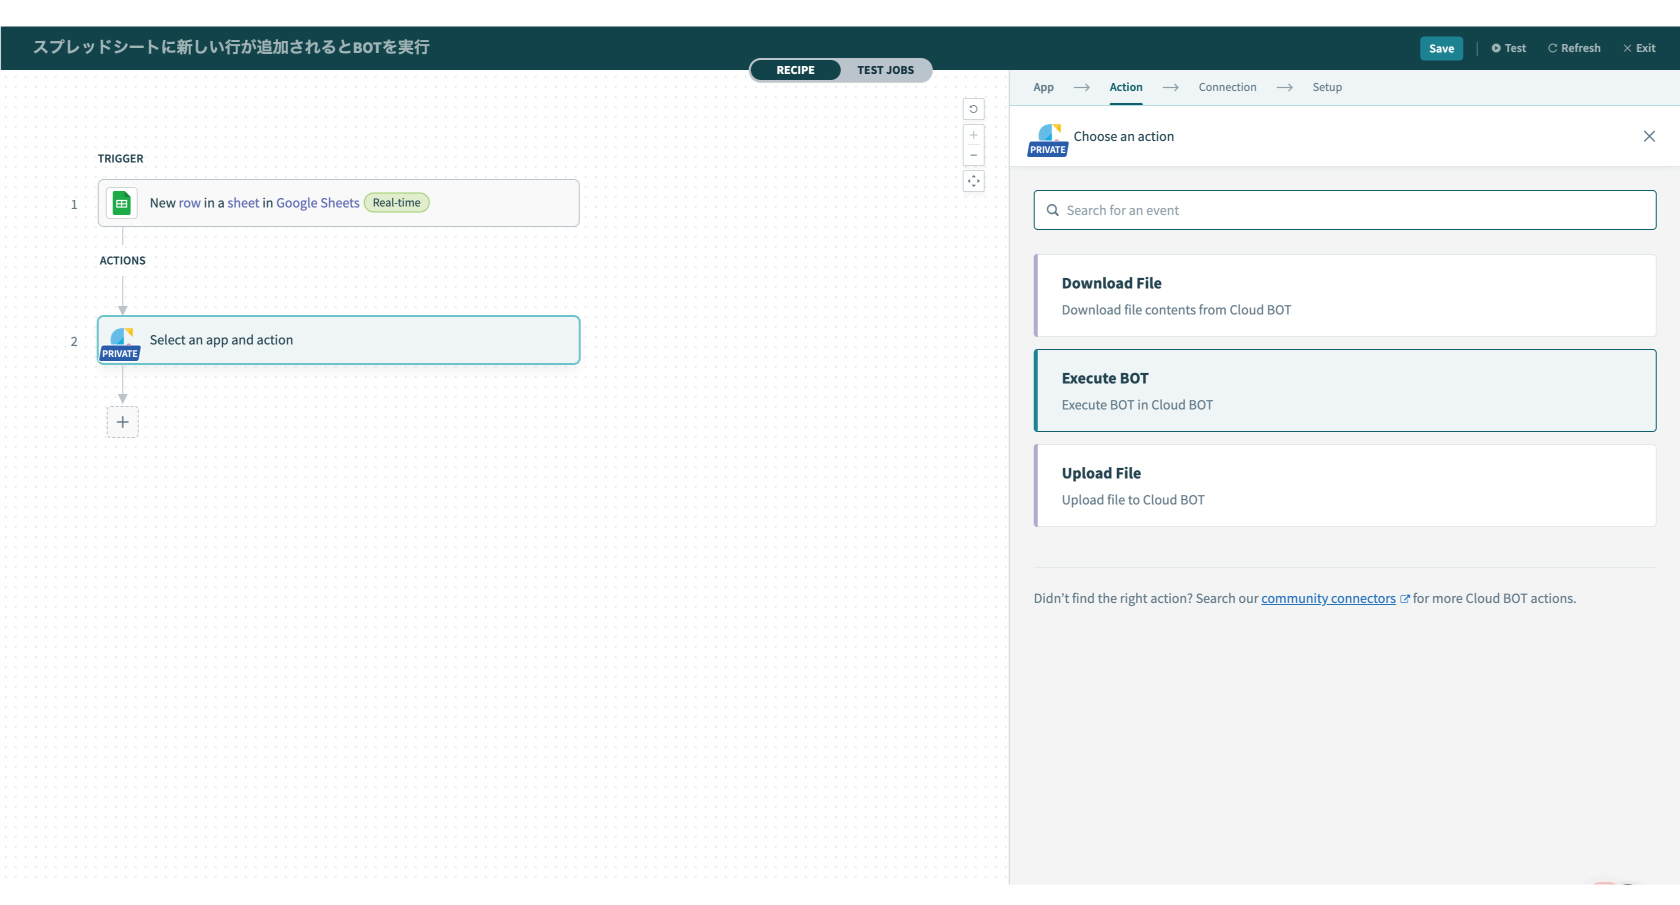
3.アクションの種類を選びます。今回は"Execute BOT"を選択します。
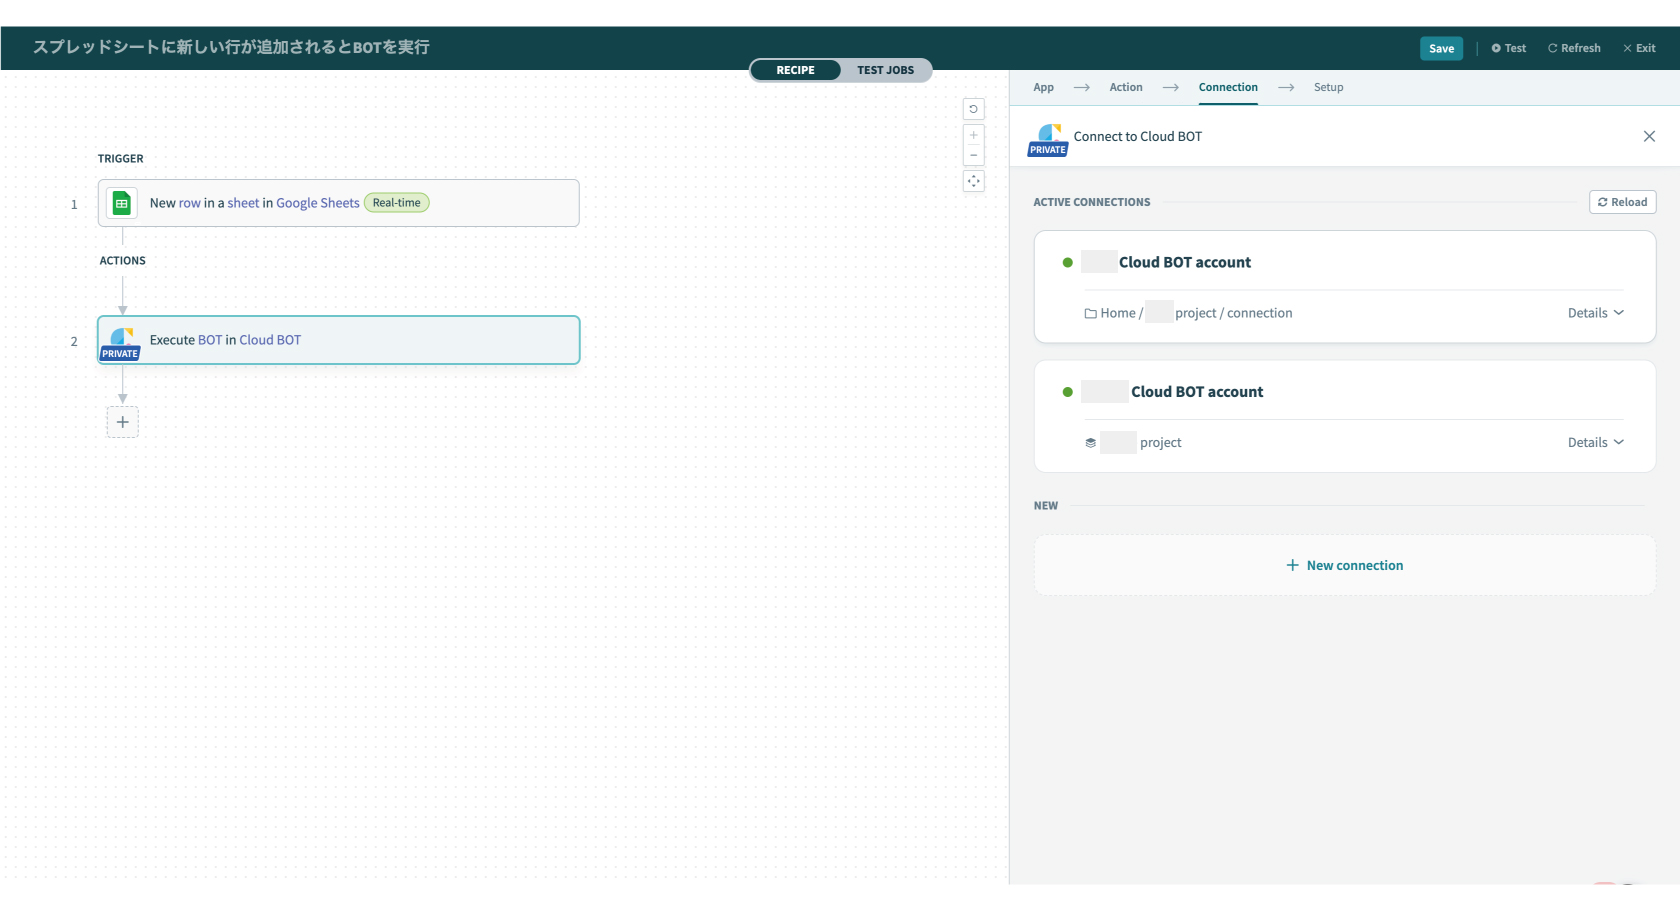
4.Connectionの設定をします。
Connectionを作成済みの場合は、作成済みのConnection一覧が表示されます。作成についてはこちら。
5.Setupを設定します。設定値についてはこちら。

6.レシピが作成できました。上部メニュー(画面右上)の"Test"から動作確認を行います。実行結果が確認できれば設定は完了です。